
Part 1
Data acquisition for Real-Time Nature
Creating believable foliage is notoriously difficult, but forcing dense vegetation to respect tight real-time performance budgets is where the real challenges begin.
While real-time rendering now powers the pinnacle of visual content delivery, foliage remains one of the hardest assets to scale effectively.
In this 3 part study, we want to dissect the work going on behind the scenes to create complex, real-time foliage:
Data Acquisition / 3D Scanning
The Asset Pipeline
Unreal Engine Implementation
Part 1 of this study breaks down the field capture and photogrammetry pipeline:
Identifying the elements: x
Atlasing: x
Processing: x
Contents of this study:
01 — x
x
02 — x
x
03 — x
x
04 — x
x
05 — x
Note that this is not a tutorial, but rather a complete, surface-level look at the methods and processes behind capturing and processing content for real-time, cinematic productions.
Rendered in Unreal Engine 5
Identifying the elements
Dissecting the environment is a core part of understanding how an environment is built, and ensuring we capture all the necessary elements required to rebuild the environment in an efficient and modular way.
In this case, we will be primarily looking at dissecting a tree species we created as an internal workflow study.
Trunks
Its important to capture a wide range of shapes and sizes when creating a complete species, as it has to encompass the species from sapling to adult to broken/fallen.
Include both easily re-usable shapes and more unique ones to break up the repetition. Try to also look for some interesting color & pattern variations.
Besides being used to build the tree, from an environment creation POV many of these elements are the foundation of a forest, and will be used as ground scatter.
That is also why we make sure to capture closed meshes, as we at times use simulation to create a volumetric and layered forest base.
The standard aspect ratio for bark is 2:1, but sometimes 4:1 is used on thin branches.
Elements
Surfaces
Test case: Pinus halepensis
The tileable surfaces are derived from the trunk scans. They are baked onto mapped cylindrical meshes. Doing this gives us natural horizontal tiling.
01
02
Atlasing
Photometric stereo
This is the current gold standard for capturing foliage. It involves using lights in a controlled environment to capture the foliage being lit from different angles.
Once set up, it’s rather quick to get results but it does require additional equipment.
Some of the equipment—such as a proper LED backlight—can be tricky to get hold of and travel with, but capturing subsurface scattering is a nice bonus, but not a requirement.
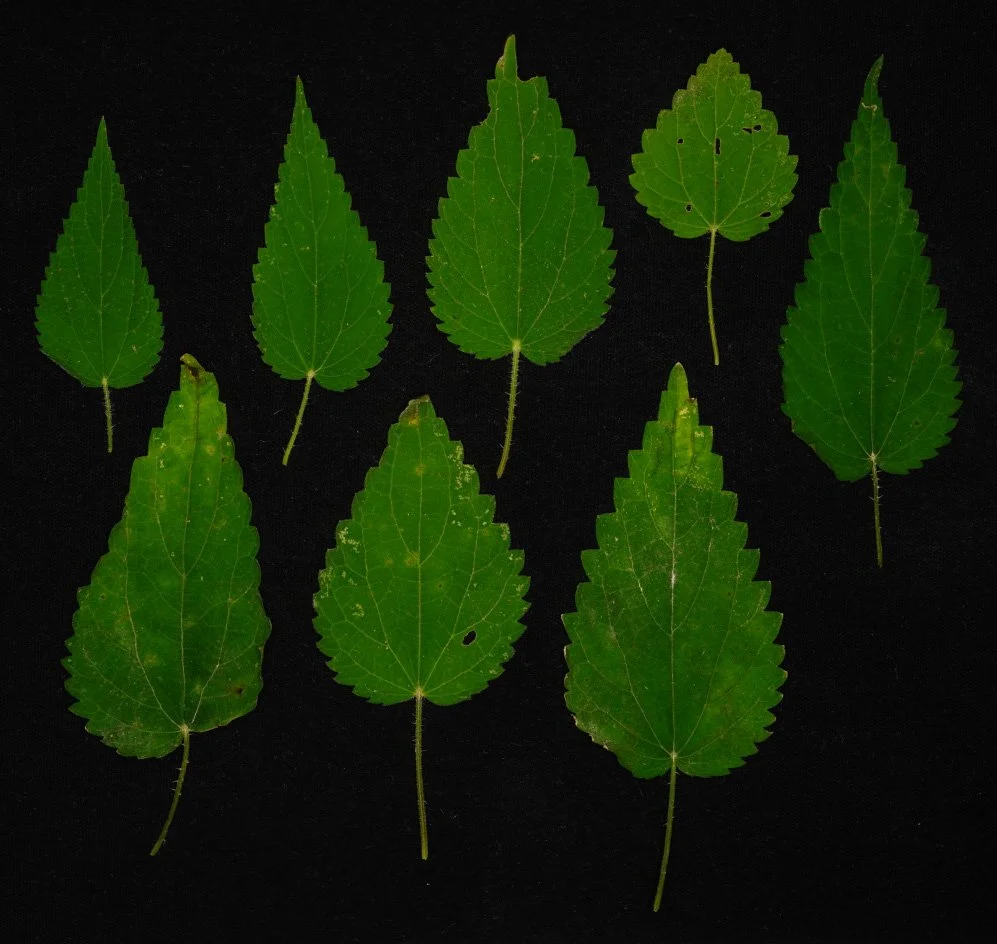
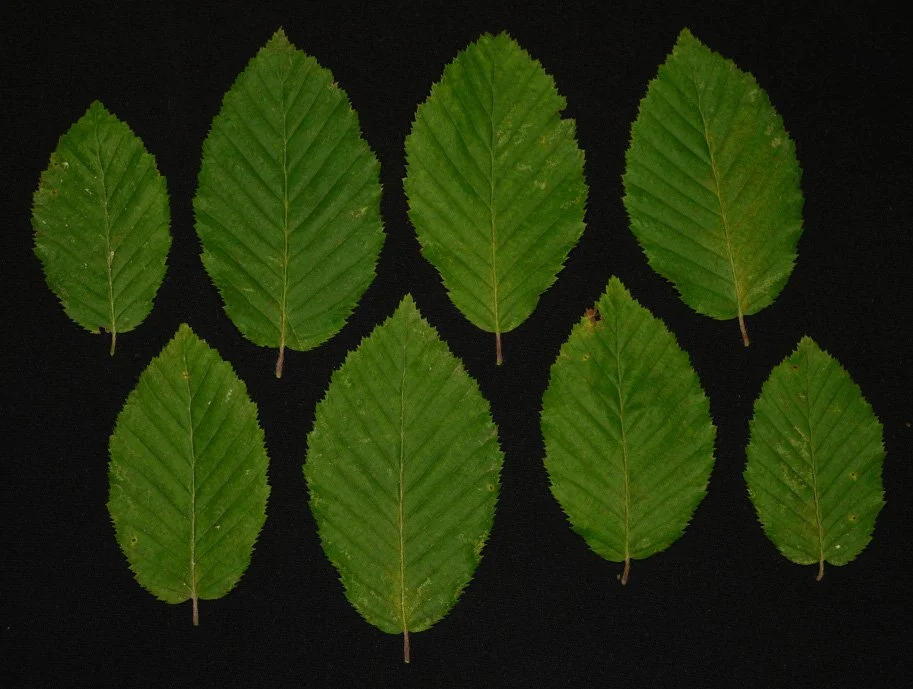
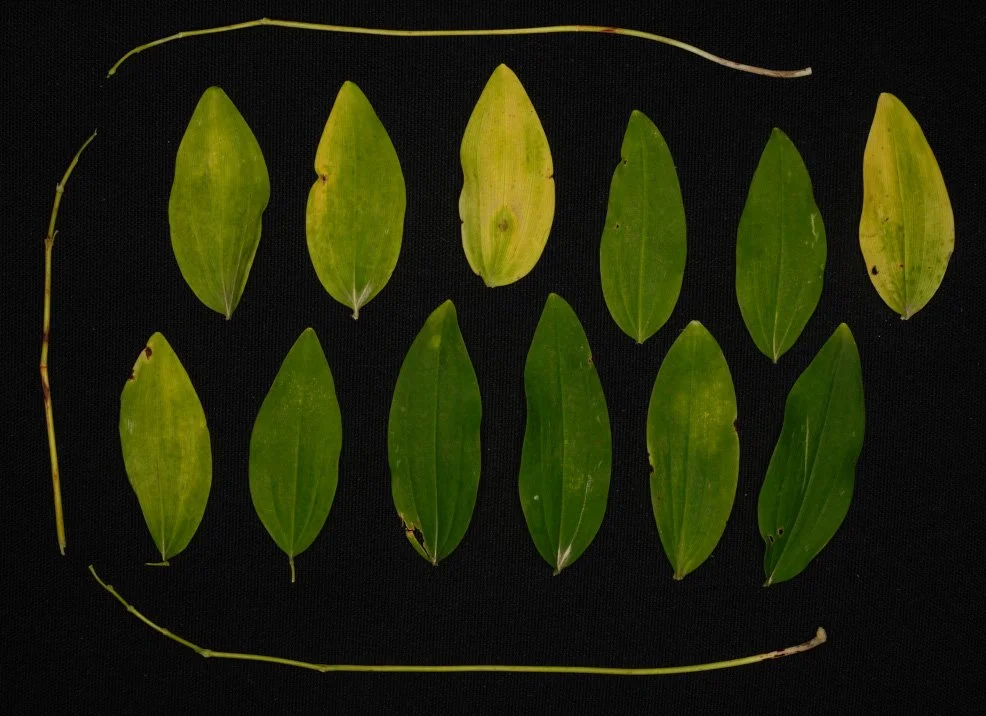
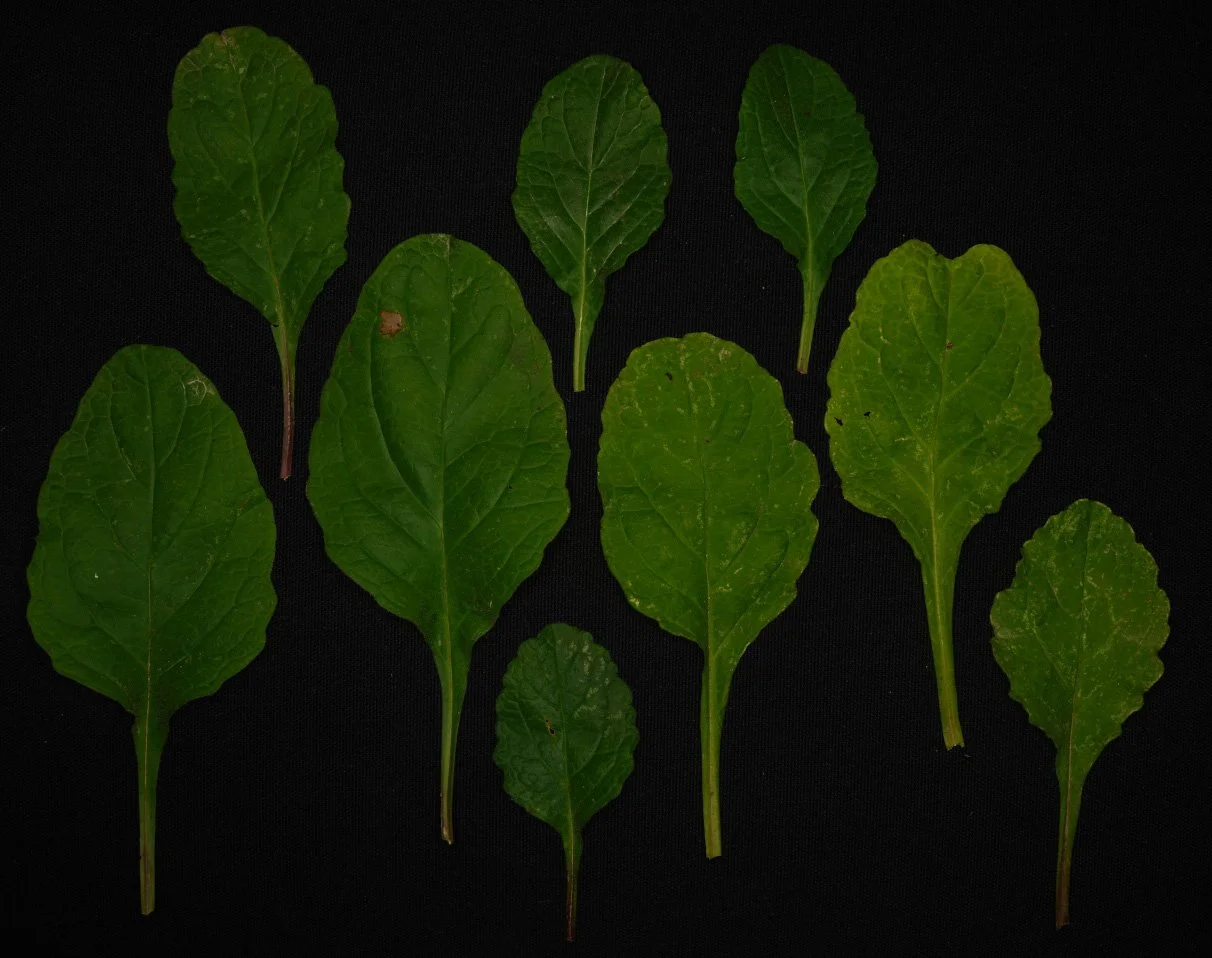
Arrange your leaves
Get off your computer and play a IRL game of UV packing!
These examples don’t show it well, but if you also pack to fit your aspect ratio you can avoid repacking later.
Keep it clean
Do your best to remove dirt and other unwanted things from your atlas space. It will save you time down the line.
Light absorbing cloth
When capturing translucent surfaces, having a light and or reflective surface as a background will cause additional light bouncing when its being hit by a strong light.
This can have adverse effects, so using a black light absorbing cloth tries to get around this problem. It is primarily used for turntable scanning to make it easy to remove the background, but can be applied here as well.
Still some issues
Backlight reflections
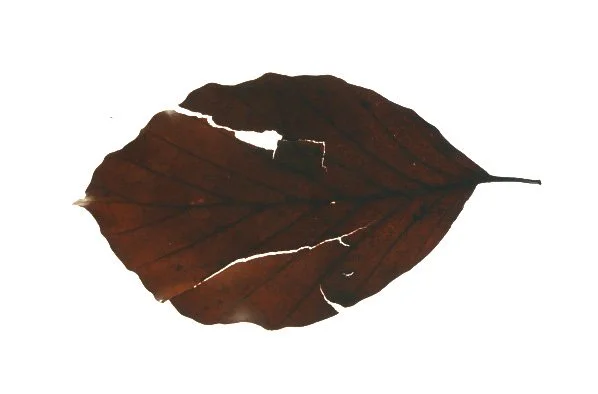
When capturing SSS using backlight, areas where the edges are heavily bent down towards the light will be lit up disproportionally.
The equipment
To do a complete capture, you need quite a bit of additional equipment. If your only goal is to capture 2D atlases, no problem, but if you also go with cameras, flashes, drones, laptops and other accessories it adds up.
As doing scan trips for weeks at a time is tough, making sure that we travel without as light as possible becomes an important logistical consideration.
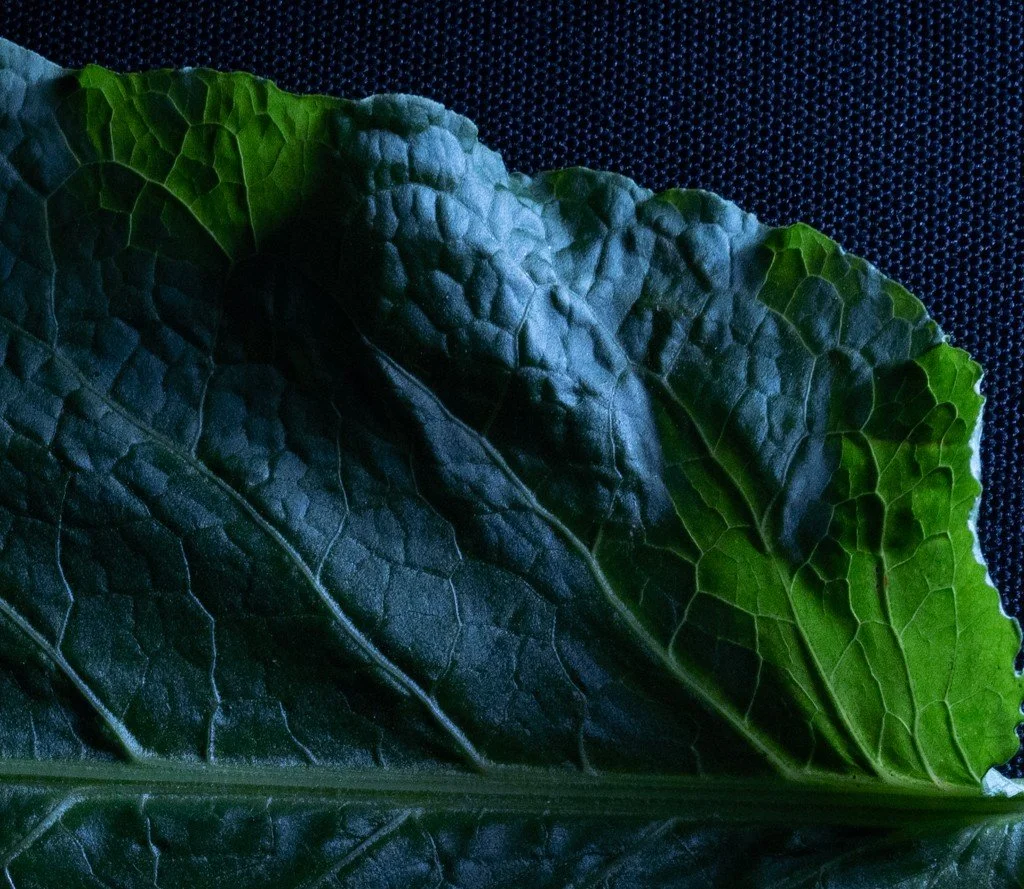
When capturing the normal map, if the leaf has a very vertically undulating shape you risk causing a translucency effect on areas catching the light from the side.
The solution is usually to move your light source up and avoid strong lighting perpendicular to the leaf, but in some cases it can be hard to avoid.
If you want to learn more about photometric stereo, this video by Grzegorz Baran touches on the basics nicely:
Self-translucency
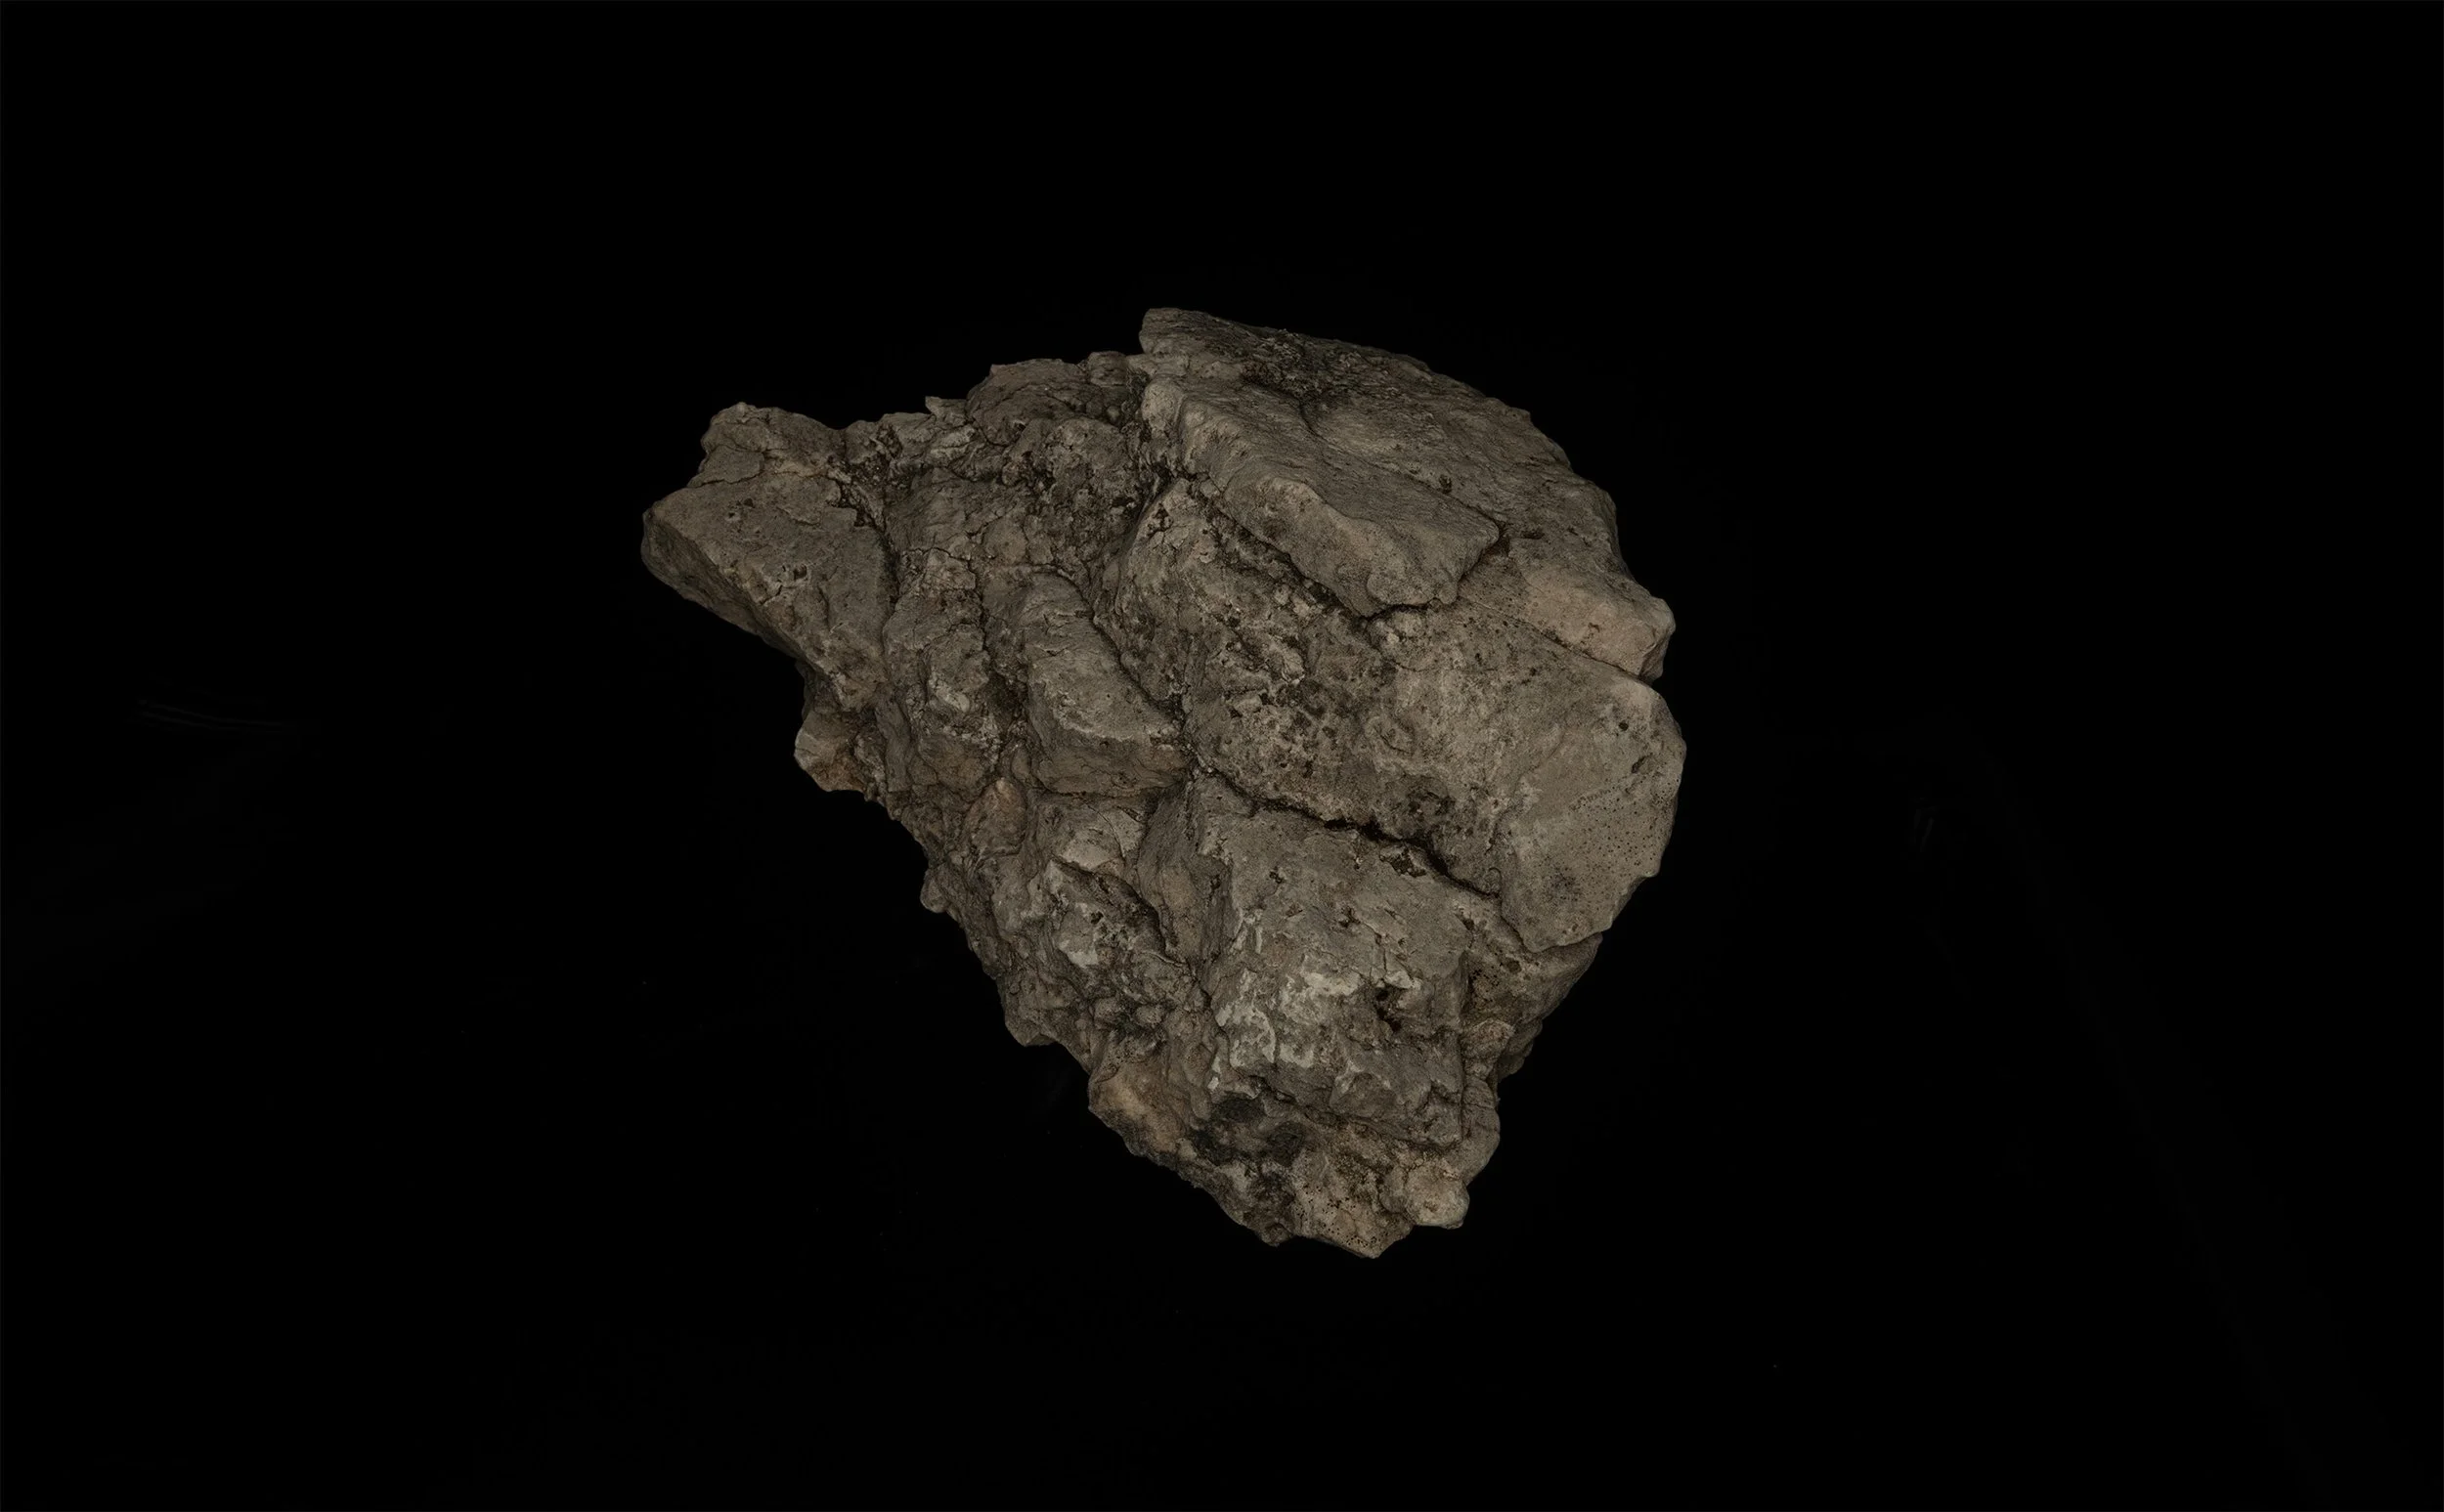
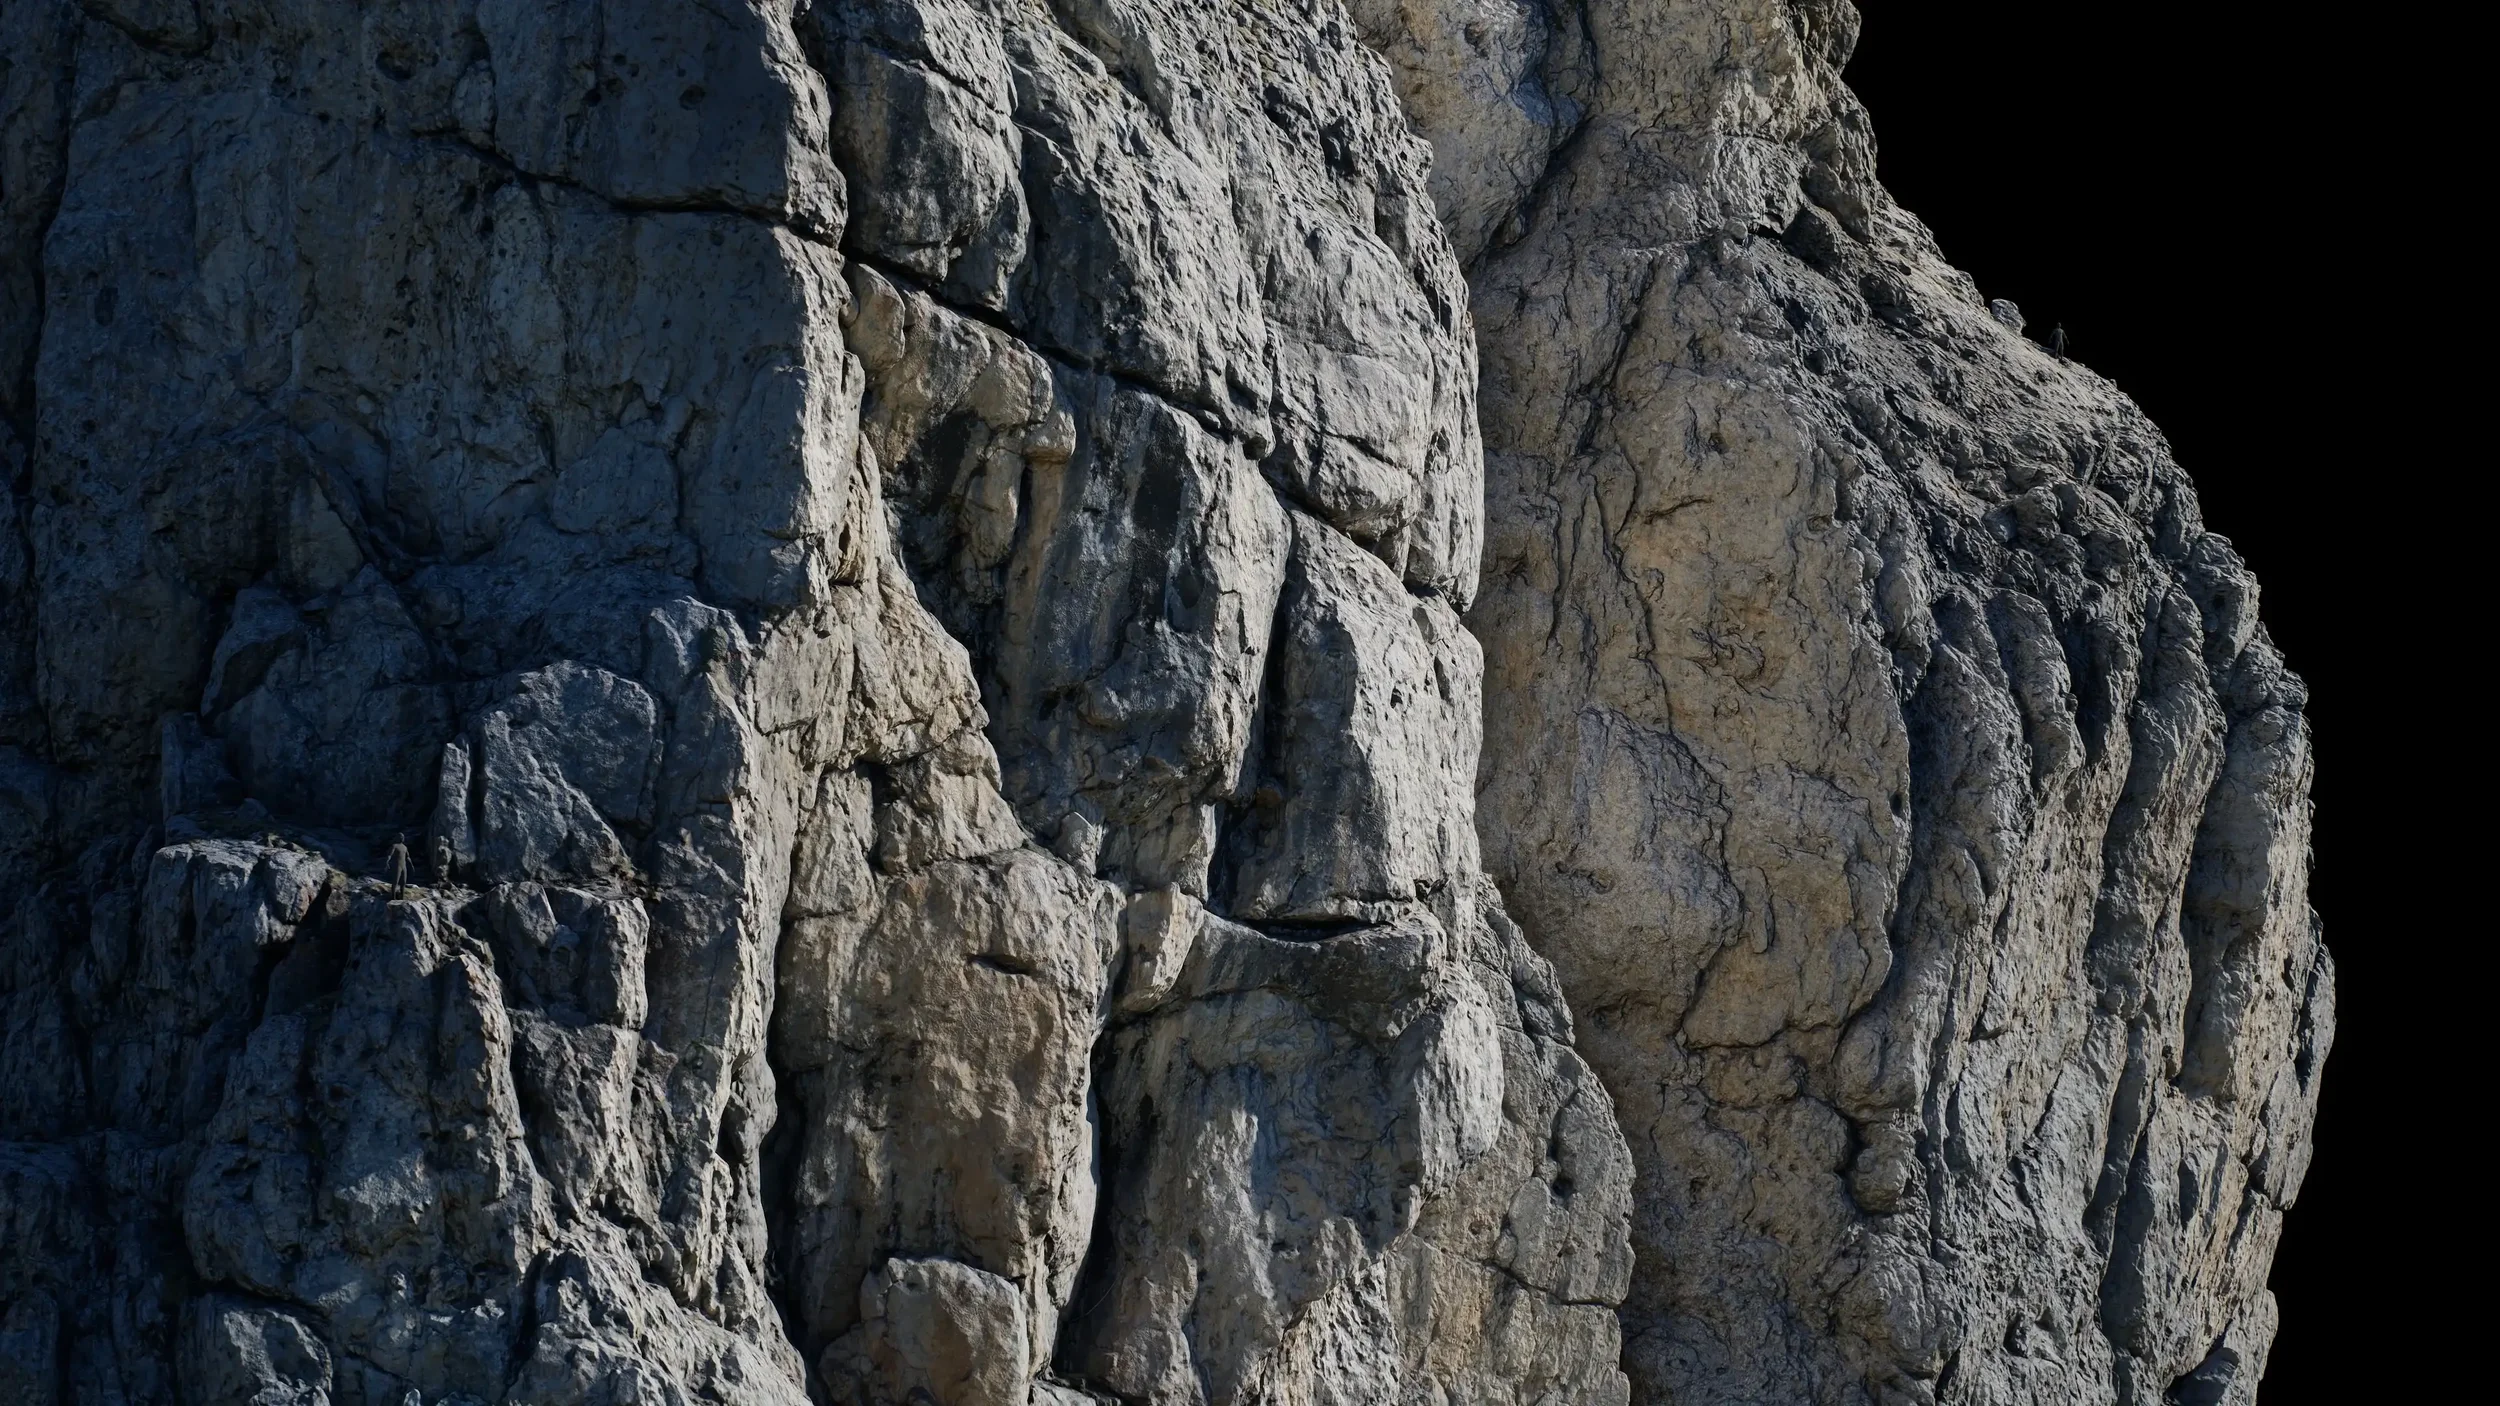
Small rock from the Dolomites collection using Musou black fabrics.
Photogrammetry
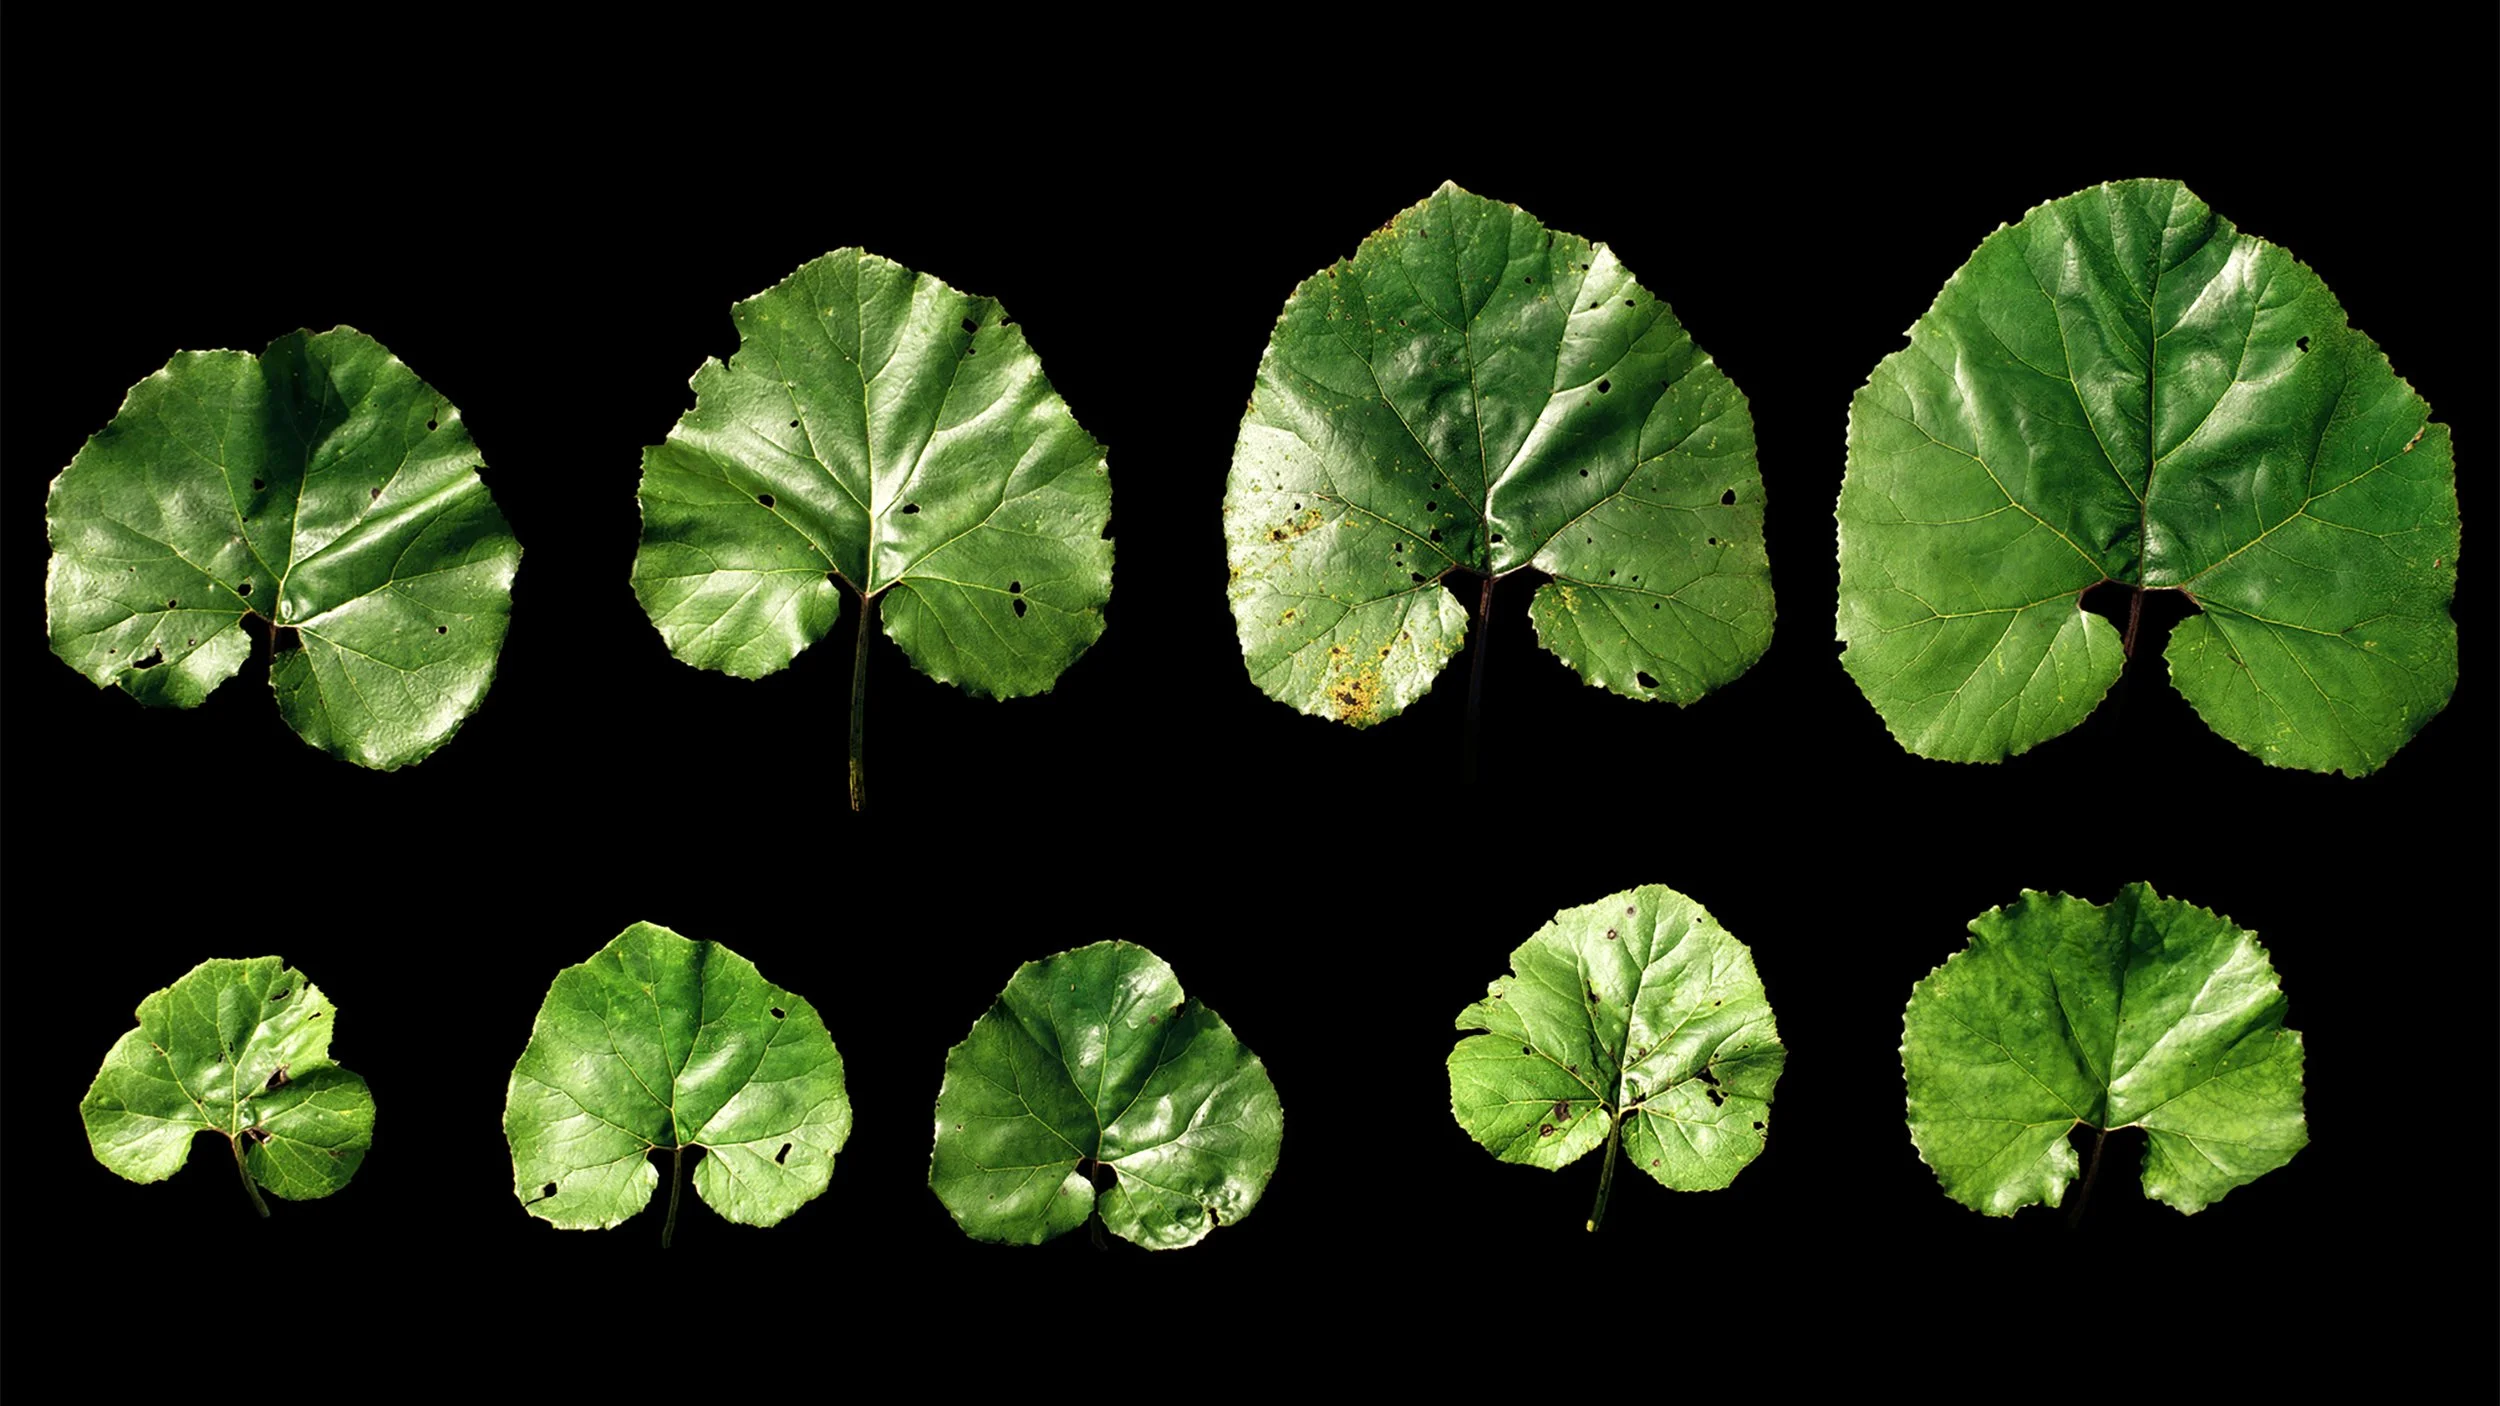
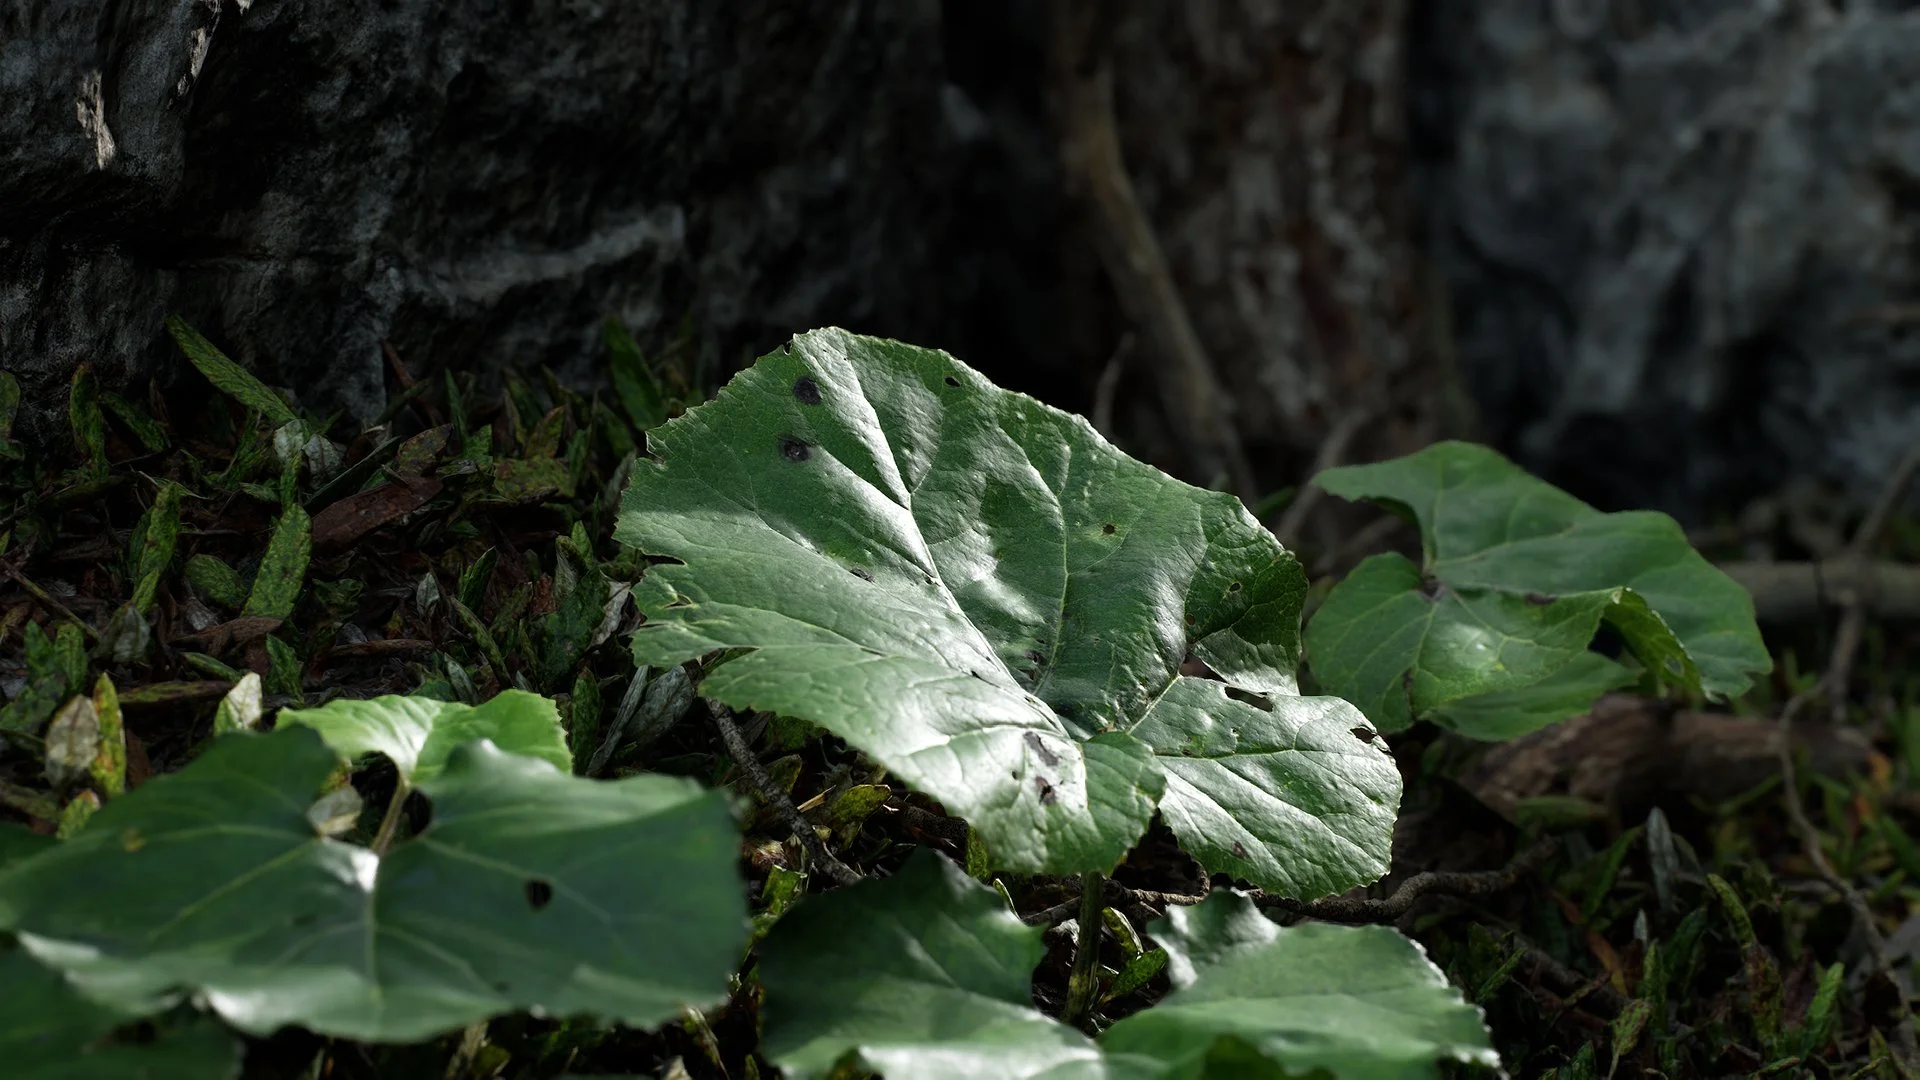
Foliage is almost everything photogrammetry doesn’t want in a subject: thin, smooth and flexible. Yet—in some cases—it can be useful.
Test case: Petasites Hybridus
Was primarily chosen since it was quite large and major vertical undulating shapes and some overlap.
Most of the time was spent on:
Processing each leaf individually. Partly due to size, and partly due to the accuracy needed when doing this kind of scanning.
Creating a clean alpha map for cut-out despite the bright LED background
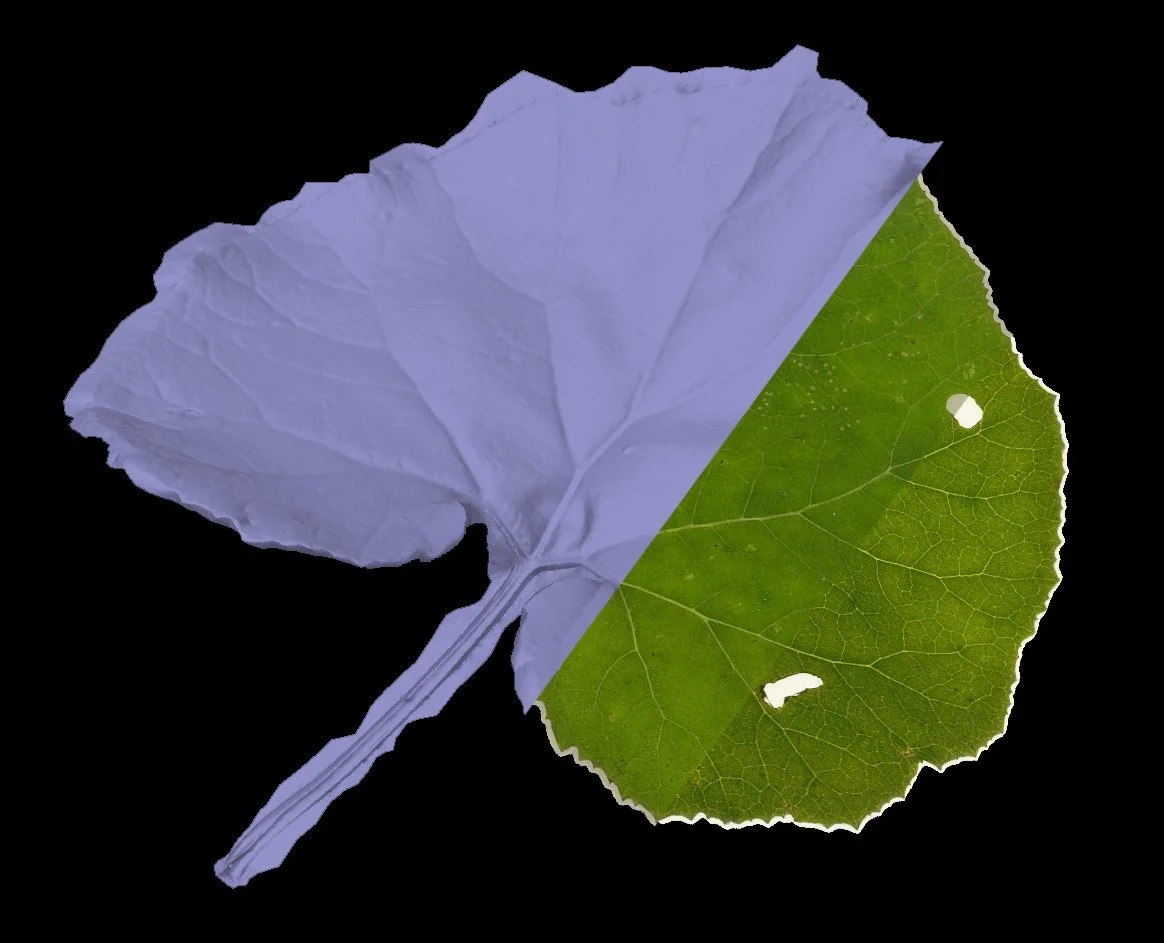
Clean mesh cut-out and retopology on the final mesh before baking the textures
Most of these things are relatively automatable. Most of it will depend on how reliable your captures are. High consistency means reliable automated output, while low consistency means manual input. This is the crux of why photometric stereo is king.
Pain points:
How to ensure leaf doesn’t deform at all during the process
Some kind of spray?
How to get fully aligned subsurface (without syncing camera/LED)
Currently only 4 images are taken with the backlight on. This is enough for relatively accurate alignment, but minor offset will probably occur
Clean retopology has quite a few steps
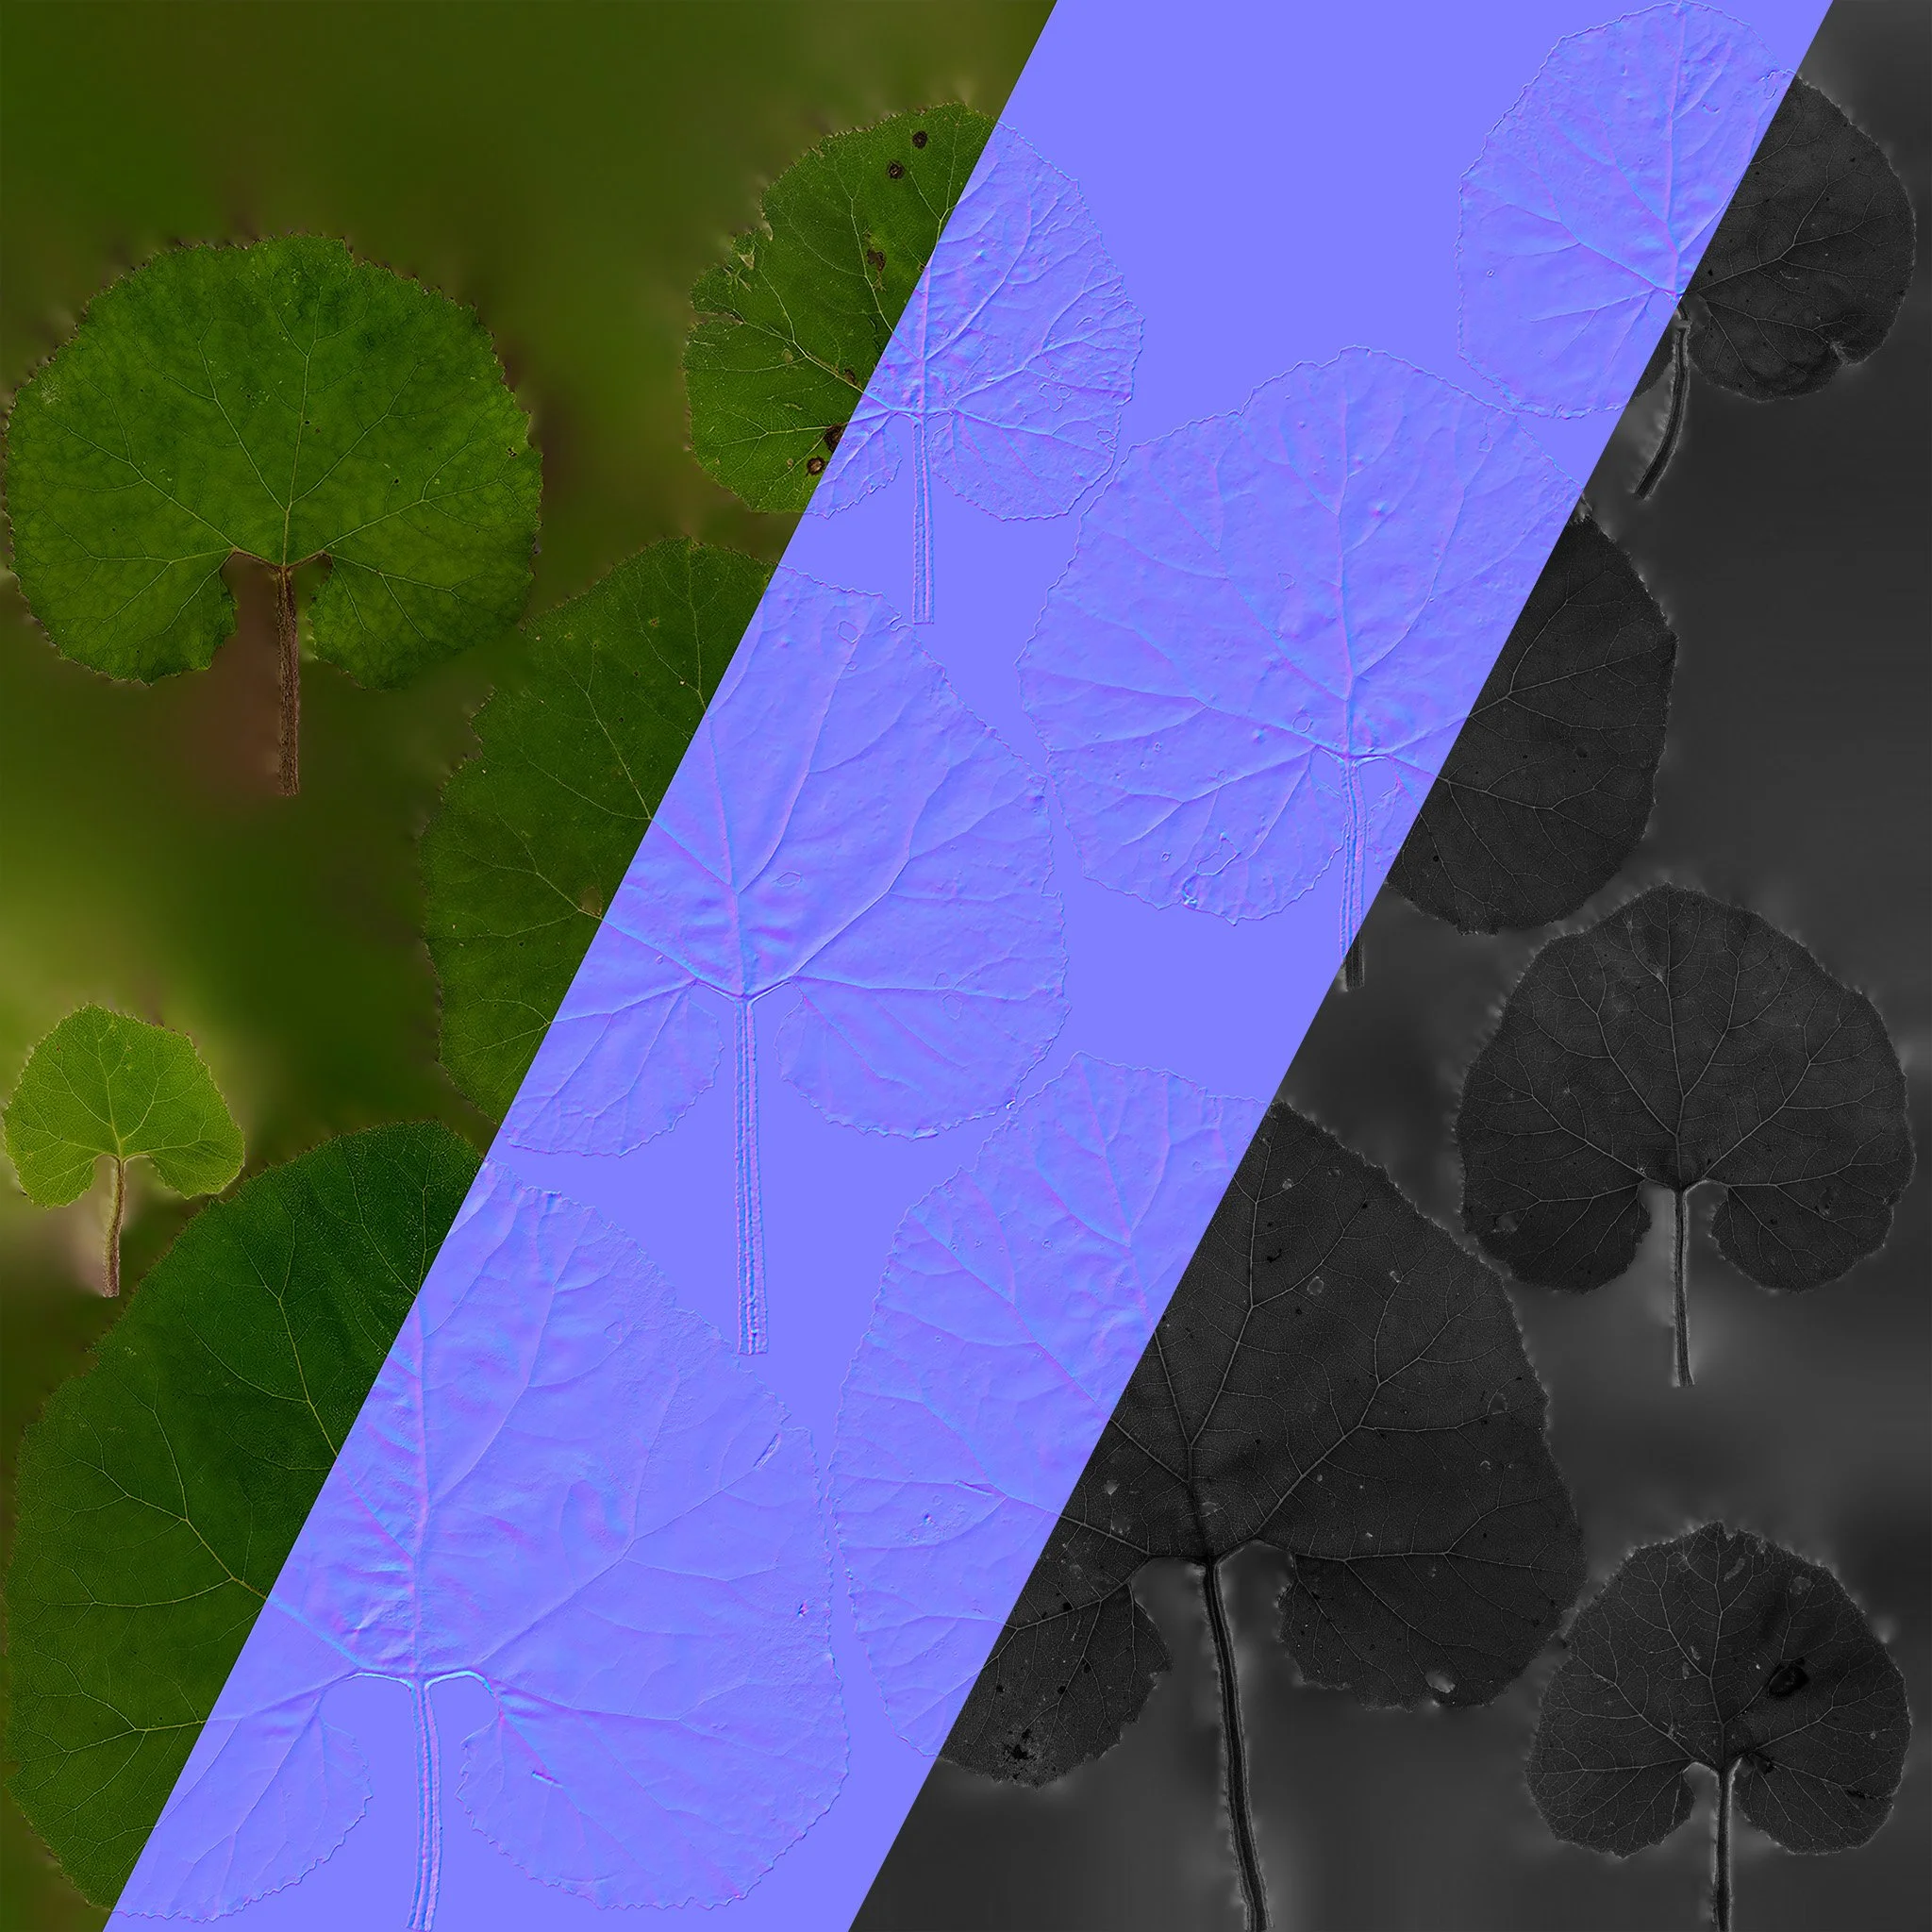
Raw mesh/Color/SSS
Building textures
Use Mosaic
Meshing
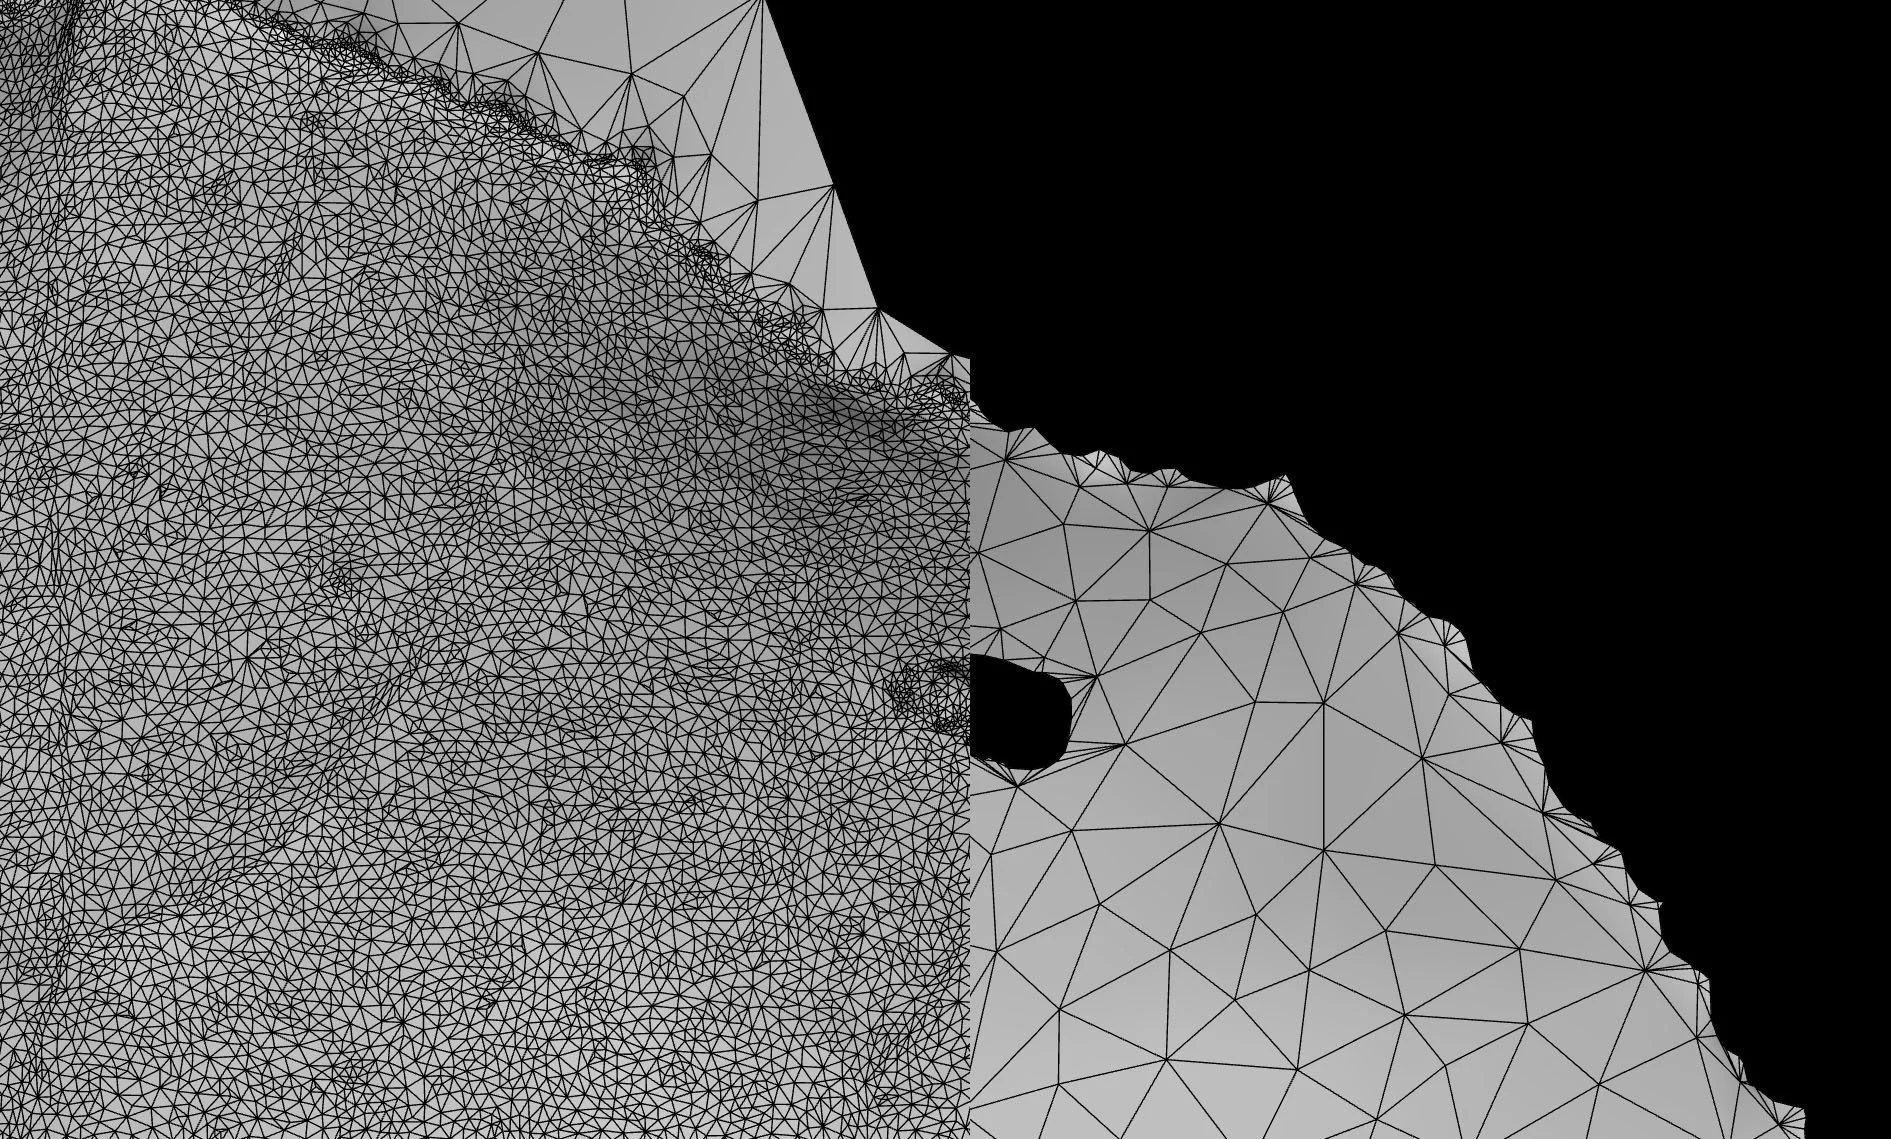
Metashape’s decimation algorithm is as solid as anything we have tried, and quick. If the asset does not contain any major topology related issues, we tend to simply decimate the highpoly source to a suitable level.
Maximizing detail, minimizing data
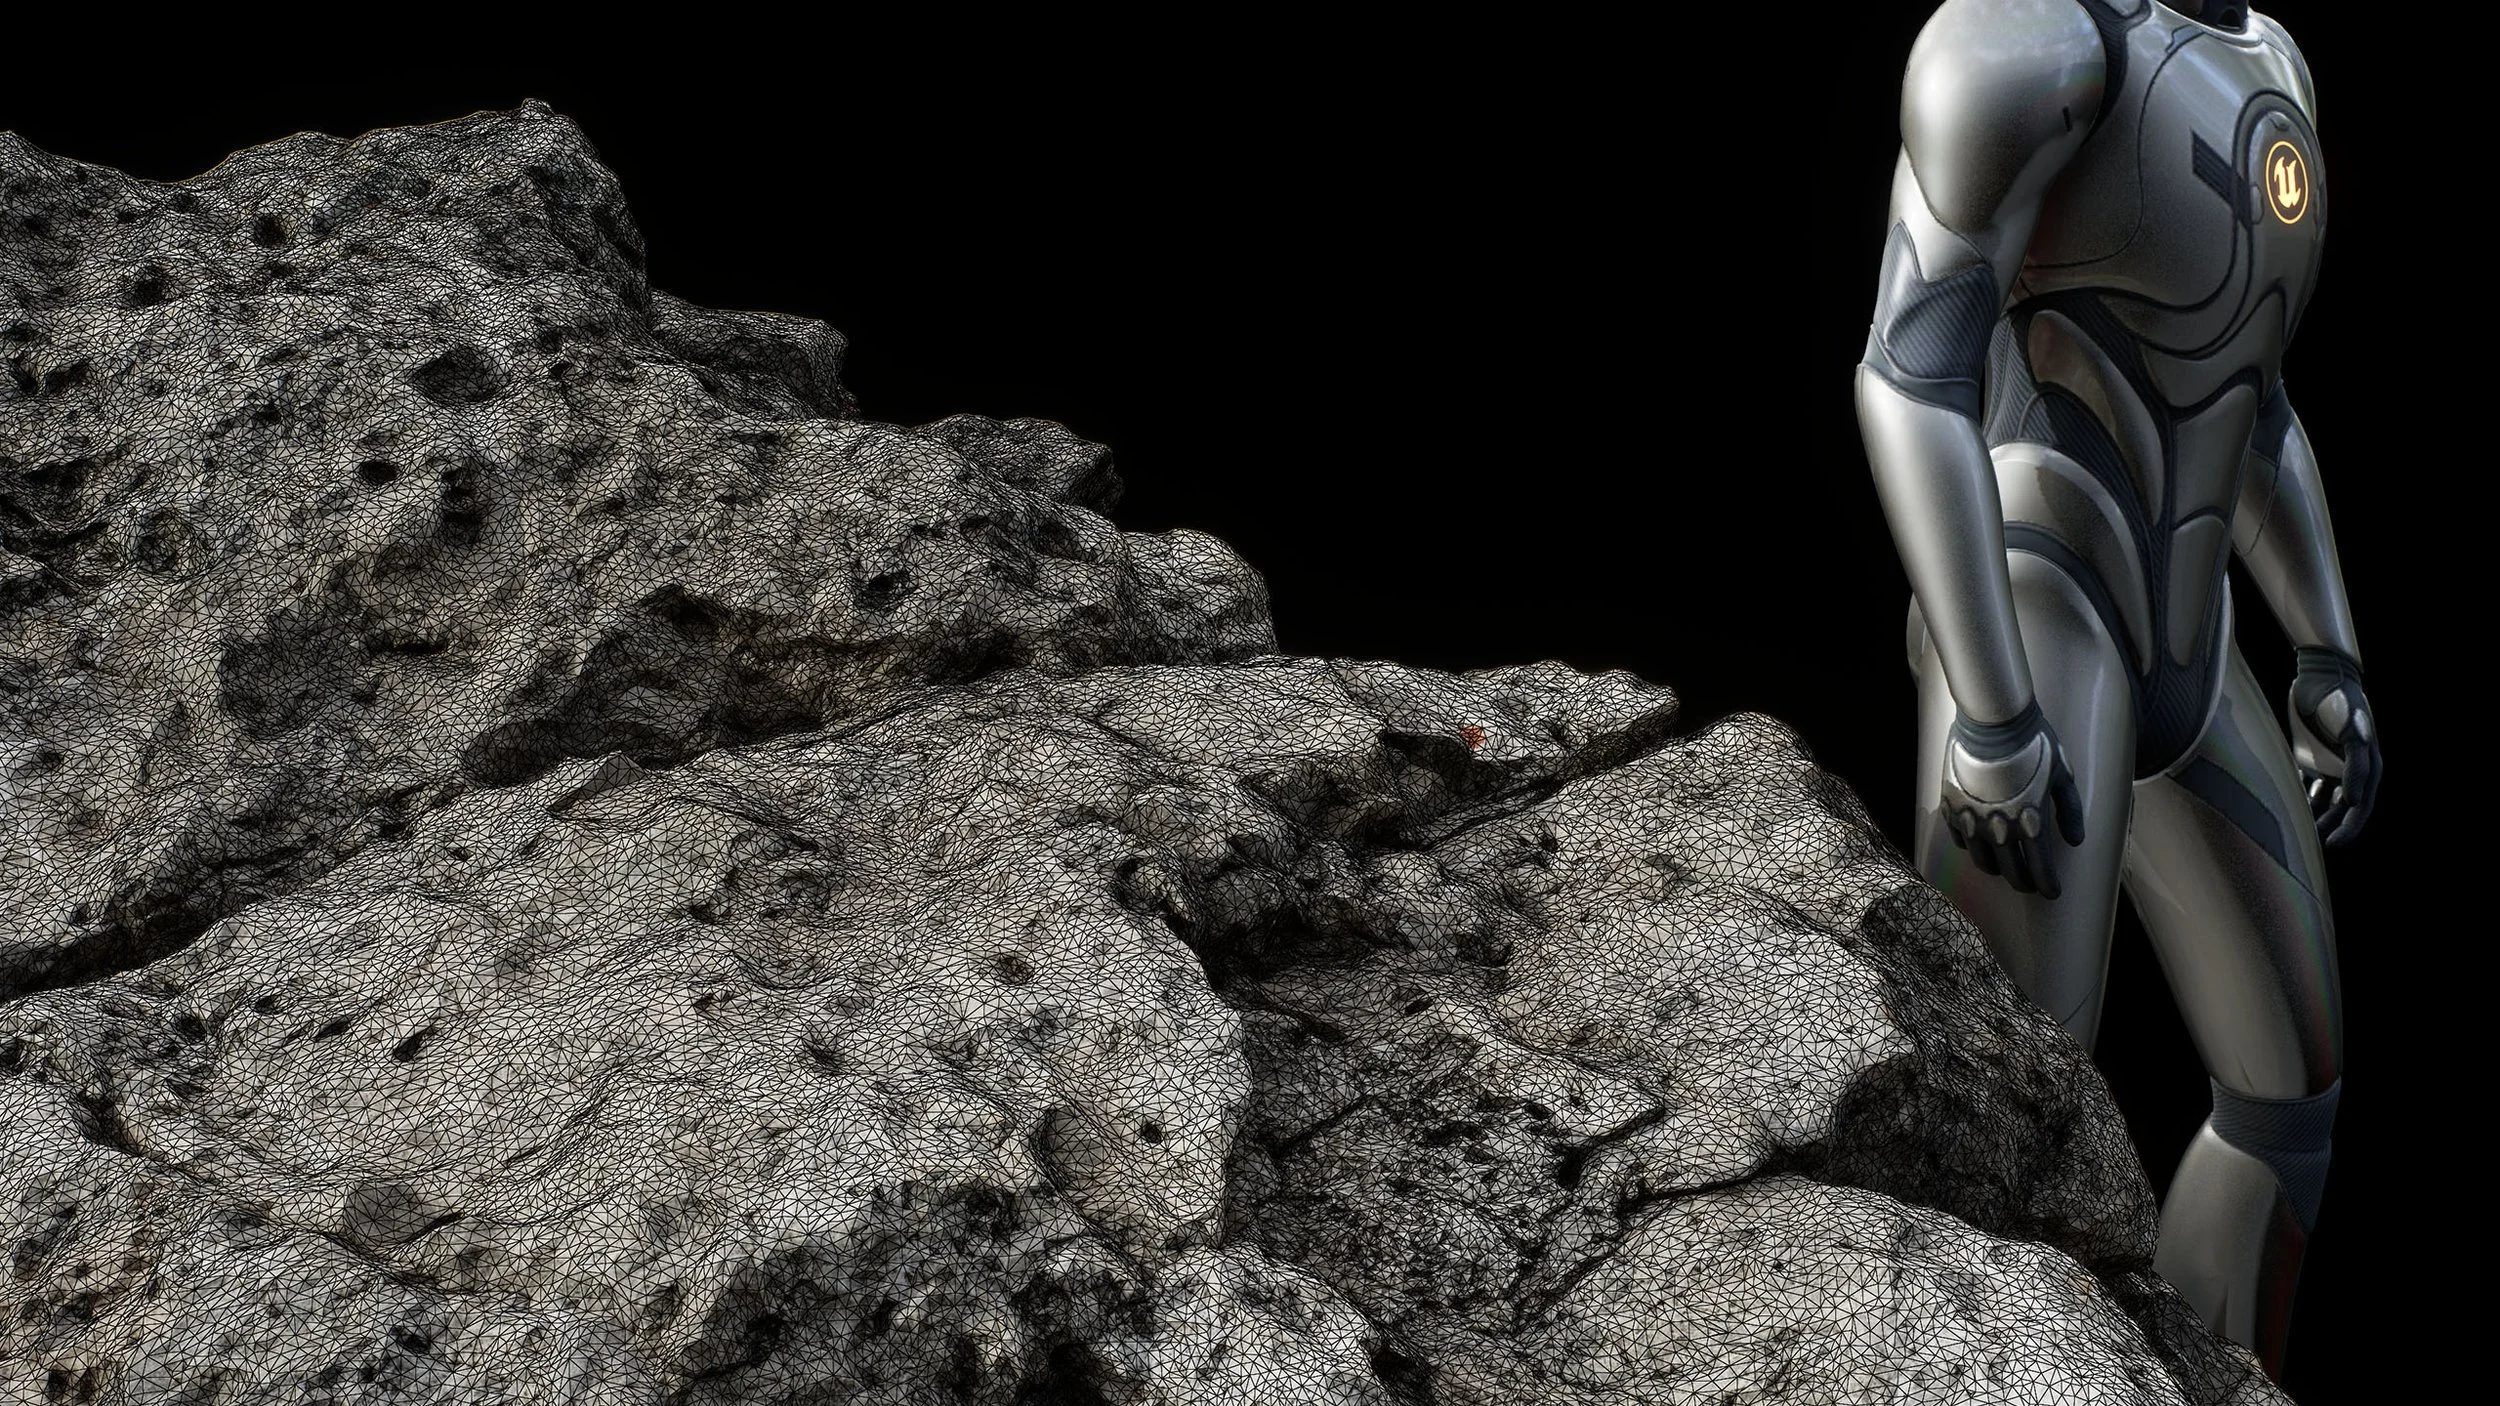
One of the goals during the meshing process is to figure out the ideal tri-count. This will naturally vary depending on use case, project specifications and performance budgets.
When creating assets without strict guidelines however, the goal shifts from being specific to finding the ideal middle ground. More specifically;
How low can we go to still hold up without tessellation
While not going so low as to not be able to cleanly recover the details
The entire point behind this methodology is to maximize the amount of recoverable data through runtime solutions such as Nanite Tessellation, while keeping a “lightweight” foundation.
Ultimately, too much geometry has some nasty side effects in the production pipeline:
It slows down asset production
It has negative effects on the auto UV process
It increases scene memory usage
It creates a lot more data on disk
A general rule of thumb: it’s easier to cleanly remove complexity than to add.
Processing
RAW images
With a proper cross-polarized camera setup and good, consistent shot-taking, there is generally little that needs to be done to the RAW images. However, because it is always better to do adjustments in RAW, some common tweaks include:
Exposure & Highlights
Vignette — due to the nature of using a ring flash combined with depth, the edges of the image tend to be darker.
Vignette removal, before/after.
Do not do any lens distortion correction, and do not do any AI upres/denoise operations on your RAW images even though it may seem tempting. This will likely mess with your alignment accuracy.
Software
Metashape has over the years been our primary photogrammetry engine.
One of the realities of capturing in the wild is that you will probably not get a perfect dataset, and that is why reliability is the most important factor. Metashape handles data variance exceptionally well, which helps reduce the number of bad scans to near 0.
Other features such as rolling shutter compensation for drones with a rolling shutter can be a literal scan-saver when capturing in rough conditions.
However, Metashape is not a one-click problem solver. It requires more time to process and we wish there were better possibilities for automation, which ultimately leads to more time being spent cleaning up the scans.
Natural texture blending over sharpens and can create stretching and other errors. It also takes significantly longer and is comparatively resource heavy.
Avoiding CPU blending
When building diffuse texture on your source model you might notice that at some point it switches to using CPU during the blending stage. This happens when you run out of available VRAM on your GPU, and it massively slows down the process.
The main culprit is the amount of triangles your source mesh has. On an RTX 4090 with 24gb of VRAM, the limit tends to sit around 100 million triangles before it will run out.
To mitigate, we create a decimated duplicate of the source mesh to allow full GPU usage throughout the process.
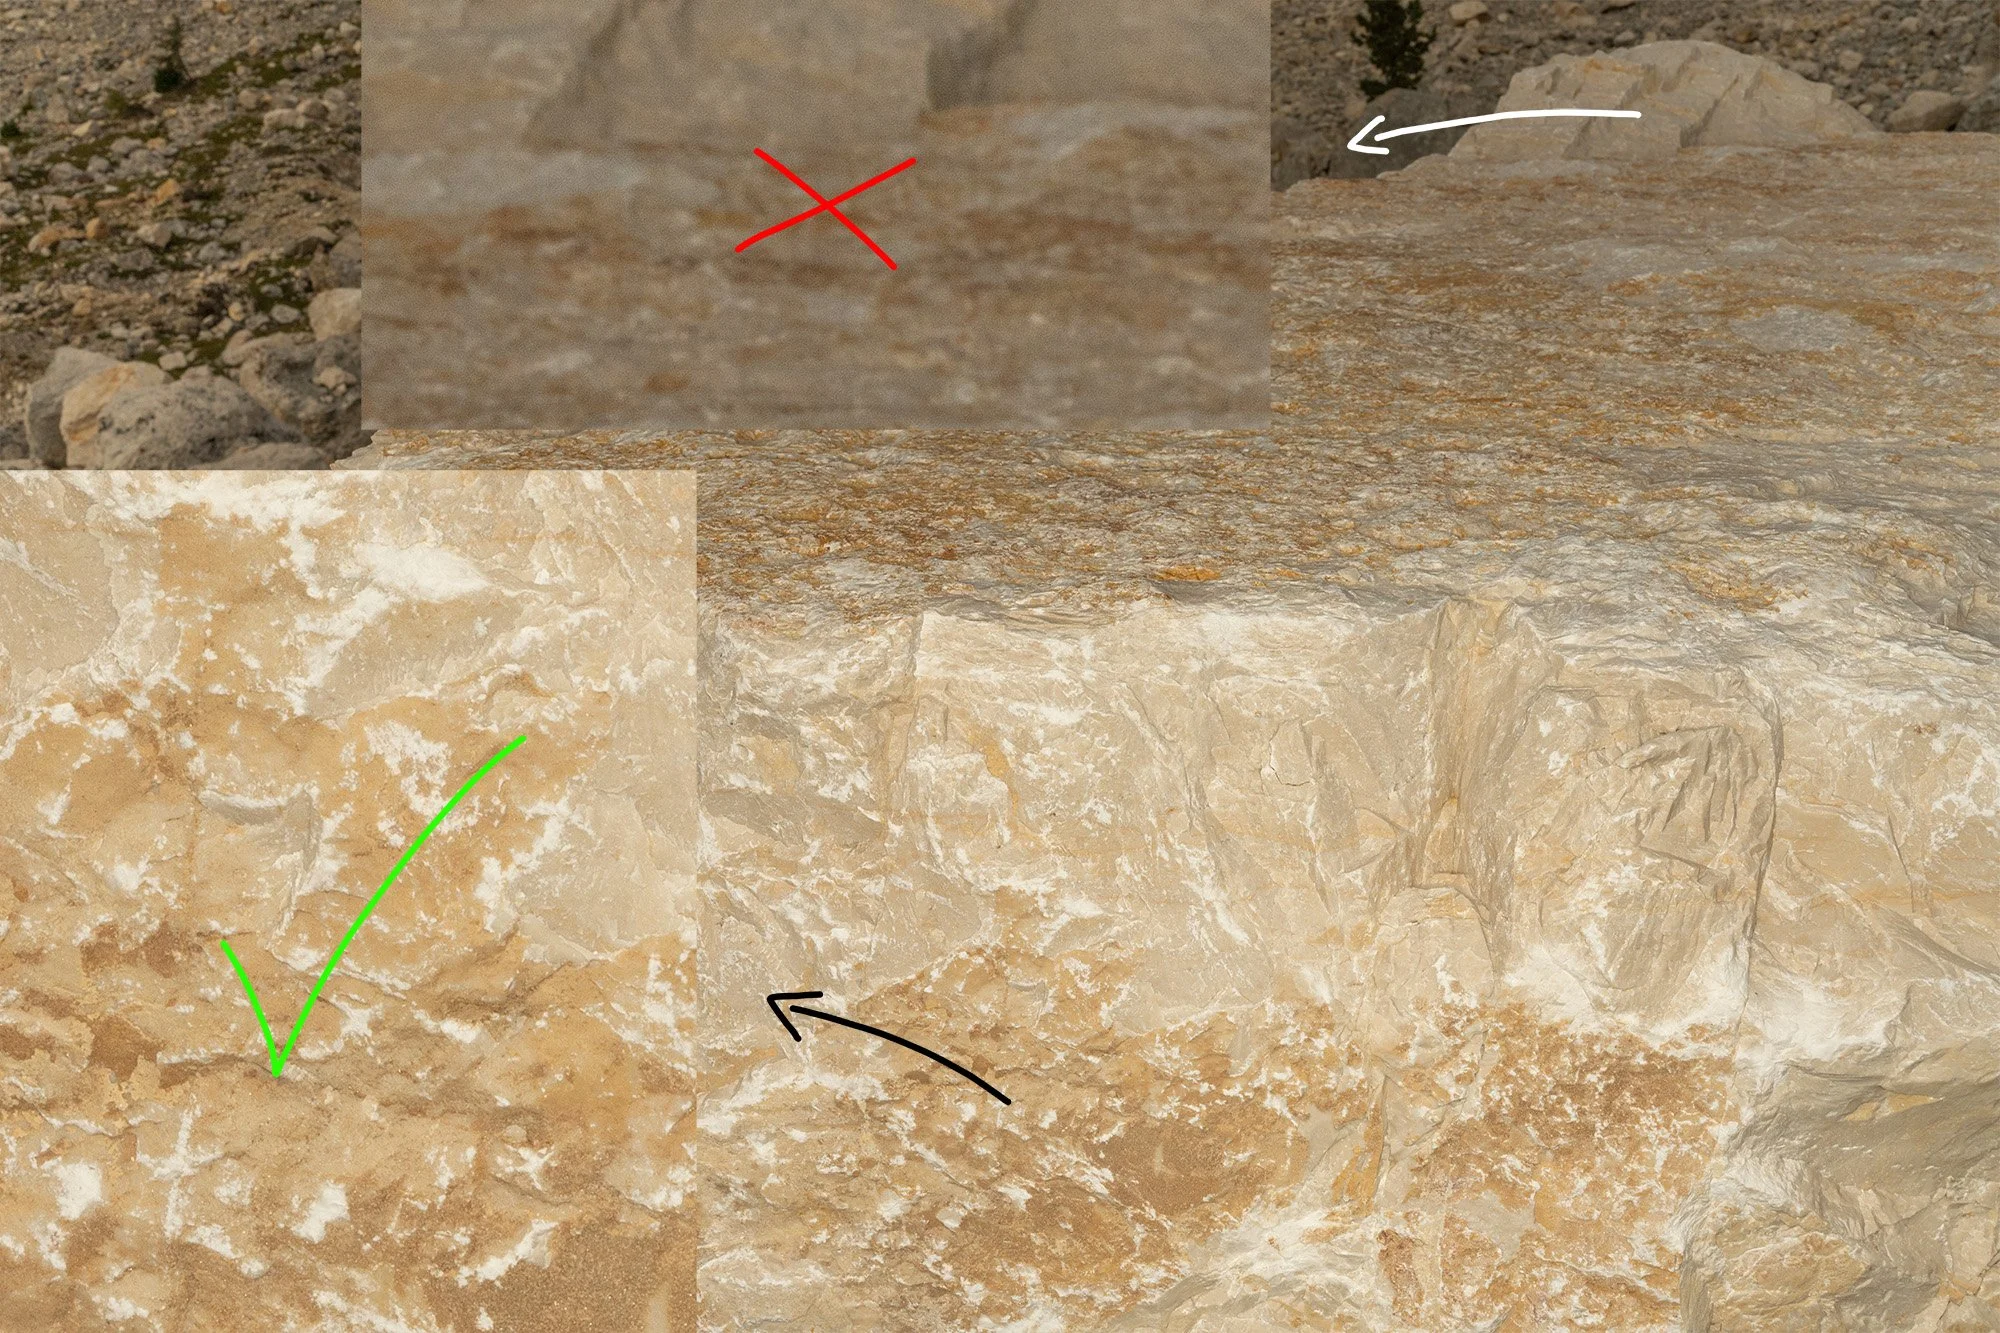
Focus masks
Depth of field can be an issue for texturing building.
Usually, this is not a major issue, but in some cases—especially when maxing out the potential resolution of a scan—it can be noticeable.
A focus mask aims to exclude the out-of-focus parts of an image during texture building.
Don’t enable hole filling
Closing small holes
Improving Alignment
Align at a lower quality
You will use it to help know which areas are missing textures.
Small holes are often hard to detect. Finding them after having finalized the asset can be a problem, so fixing them up front in a clean manner is ideal.
Tools → Model → Close holes
Best to keep the level below 50% to avoid capping things you shouldn’t.
After the holes are capped, it will automatically select the geometry. We like to do a selective smoothing operation on the selection, as this helps blend it into the surrounding geometry.
When alignment fails you are in trouble. Despite mitigating this through good on-location practices, sometimes things just don’t work as expected.
There are a few tricks we can employ to try and save it.
Firstly, optimizations don't really work
This may be a hot take, but we never found camera/point cloud optimization helpful from the POV of fixing serious alignment issues, and we tried a lot of them.
We’re not saying it can’t help fix minor issues, but if your scan has serious issues, there is a good chance you won’t be able to fix it (though we still try and sometimes succeed!)
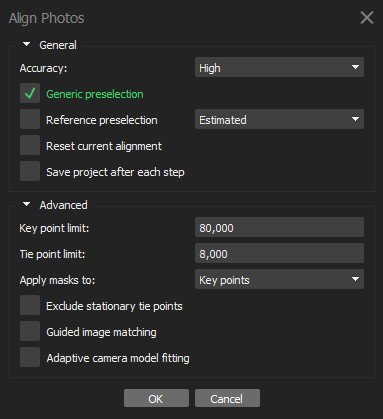
You generally shouldn’t be using highest quality for aligning because it upscales the images. It can in fact produce worse results.
If you are having minor alignment issues, or some of your images won’t align, lowering the alignment quality to medium or even low can help, though we keep it on high unless there is a serious issue.
Increase key/tie point limits
Increasing the key point limit increases the potential amount of features detected per image, while tie point is the amount of features used for alignment.
For complex, high resolution scans—or scans struggling to align—increasing these limits past the default value can help create a tighter point cloud.
We have found these settings to be a good middle ground:
Key point limit: 80000
Tie point limit: 5-8000
Keep in mind that increasing this will increase time and resources required for alignment.
Lower depth maps quality
Object masking
If you are seeing alignment errors on your mesh, try processing an extra mesh on a lower depth map quality.
You can then use that mesh as your lowpoly base, bake and patch up any visible texture errors, or accept a less detailed source (or bake both and blend textures).
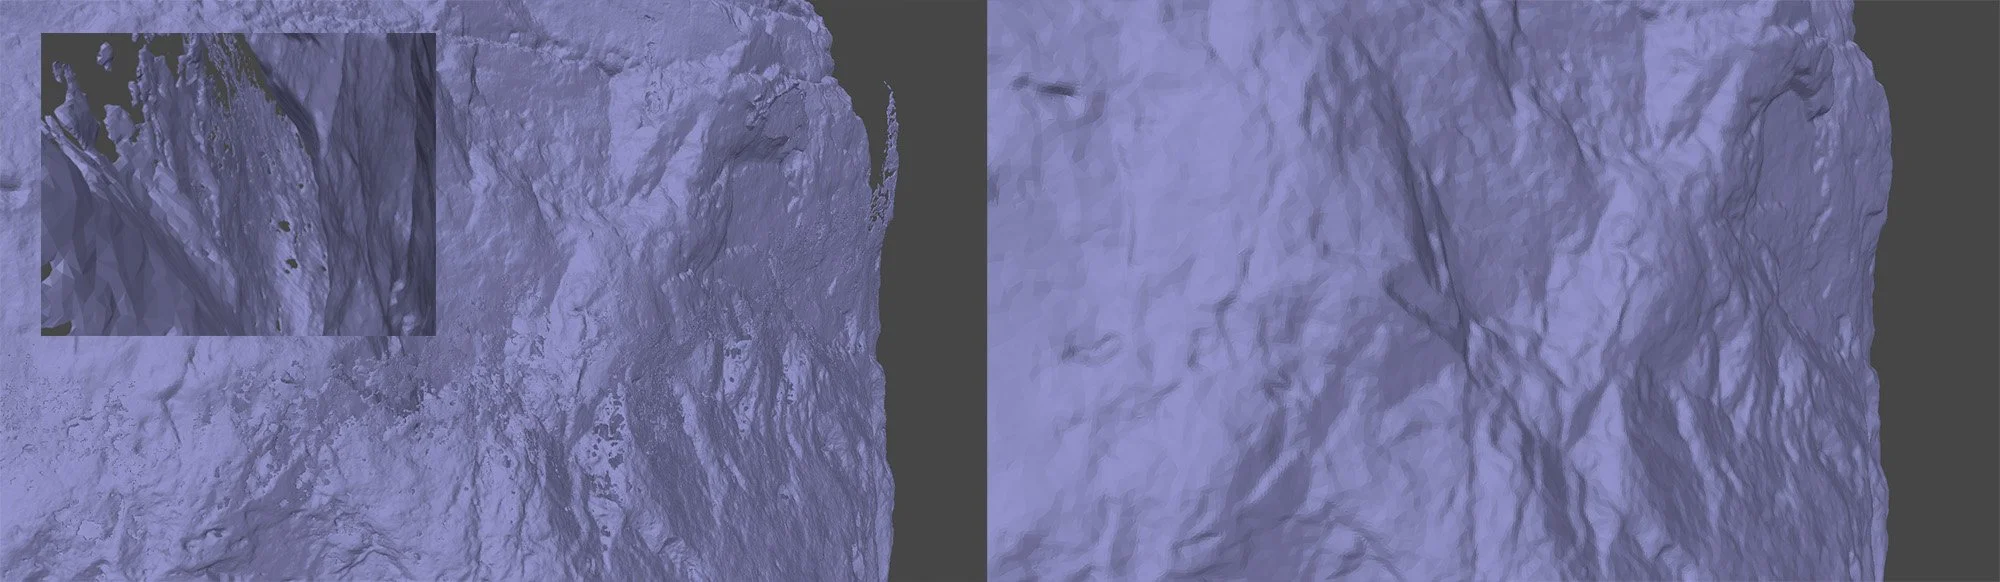
Ultra High → Low
As you can see, the ultra high quality mesh has the same surface generated “twice”, with an offset. These issues are practically gone in the variant processed on low.
This is a far better method to get a clean mesh than doing full retopology. Doing so on this mesh would cause a lot of issues, no matter if you use Dynamesh or VDBs.
Retopology still has its place, especially if you have small errors which isn’t that uncommon, but major ones like this need a different approach.
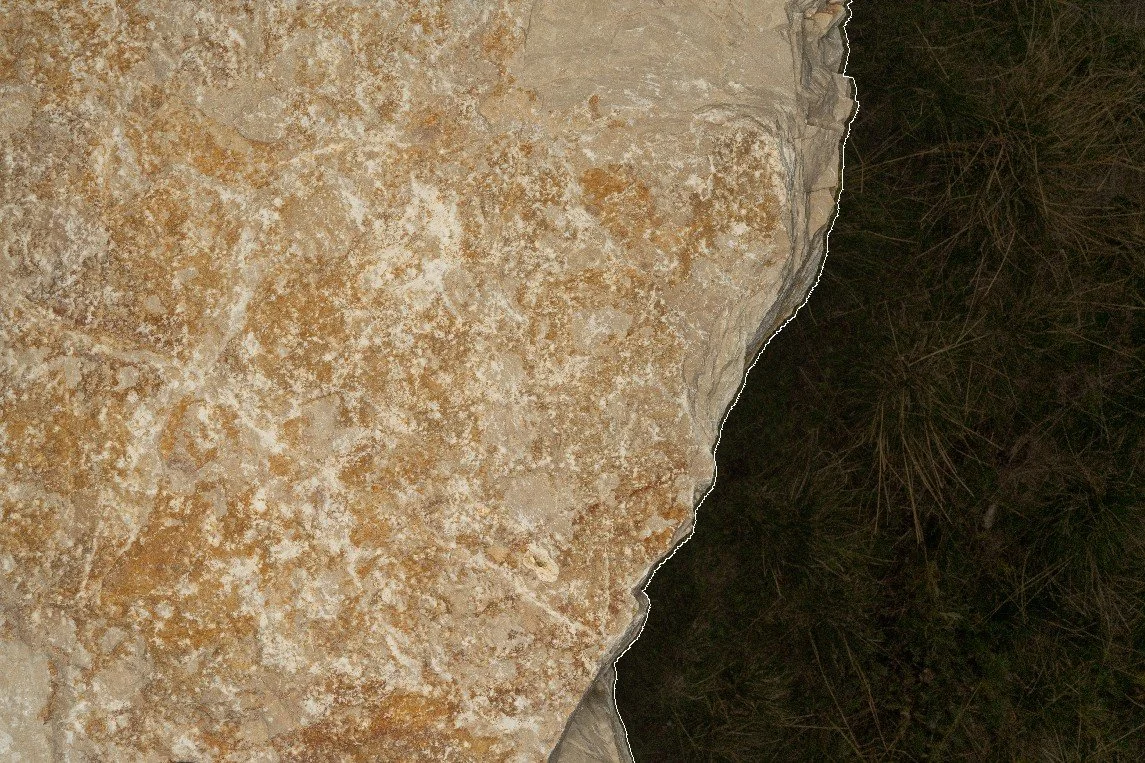
This method creates a mask for your source images of the exact subject you are scanning, and may help creating tighter alignment. We have saved a few scans using this technique, so it’s worth trying, but it doesn’t always help.
It involves a few potential approaches, either:
Build a mesh on a lower quality and using that to automatically create the masks in MS
Import your own masks
Automate this in Photoshop by creating an action applying focus mask and running the action in the image processor
Generate image masks using AI
Works well for things with a solid background, ie. turntable scanning. Far too unreliable to use for outdoor scans
Custom masks
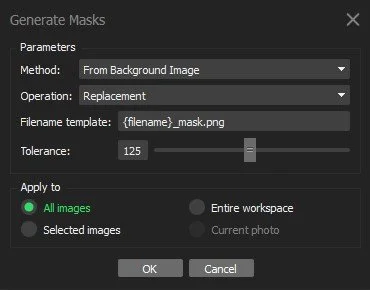
If you want to import your own masks into Metashape, make sure that the masks have exactly the same name as your images.
If your image is named DSC01858, your mask should also be named DSC01858. You can ad an extension such as _mask, just as long as the filename template is updated accordingly.
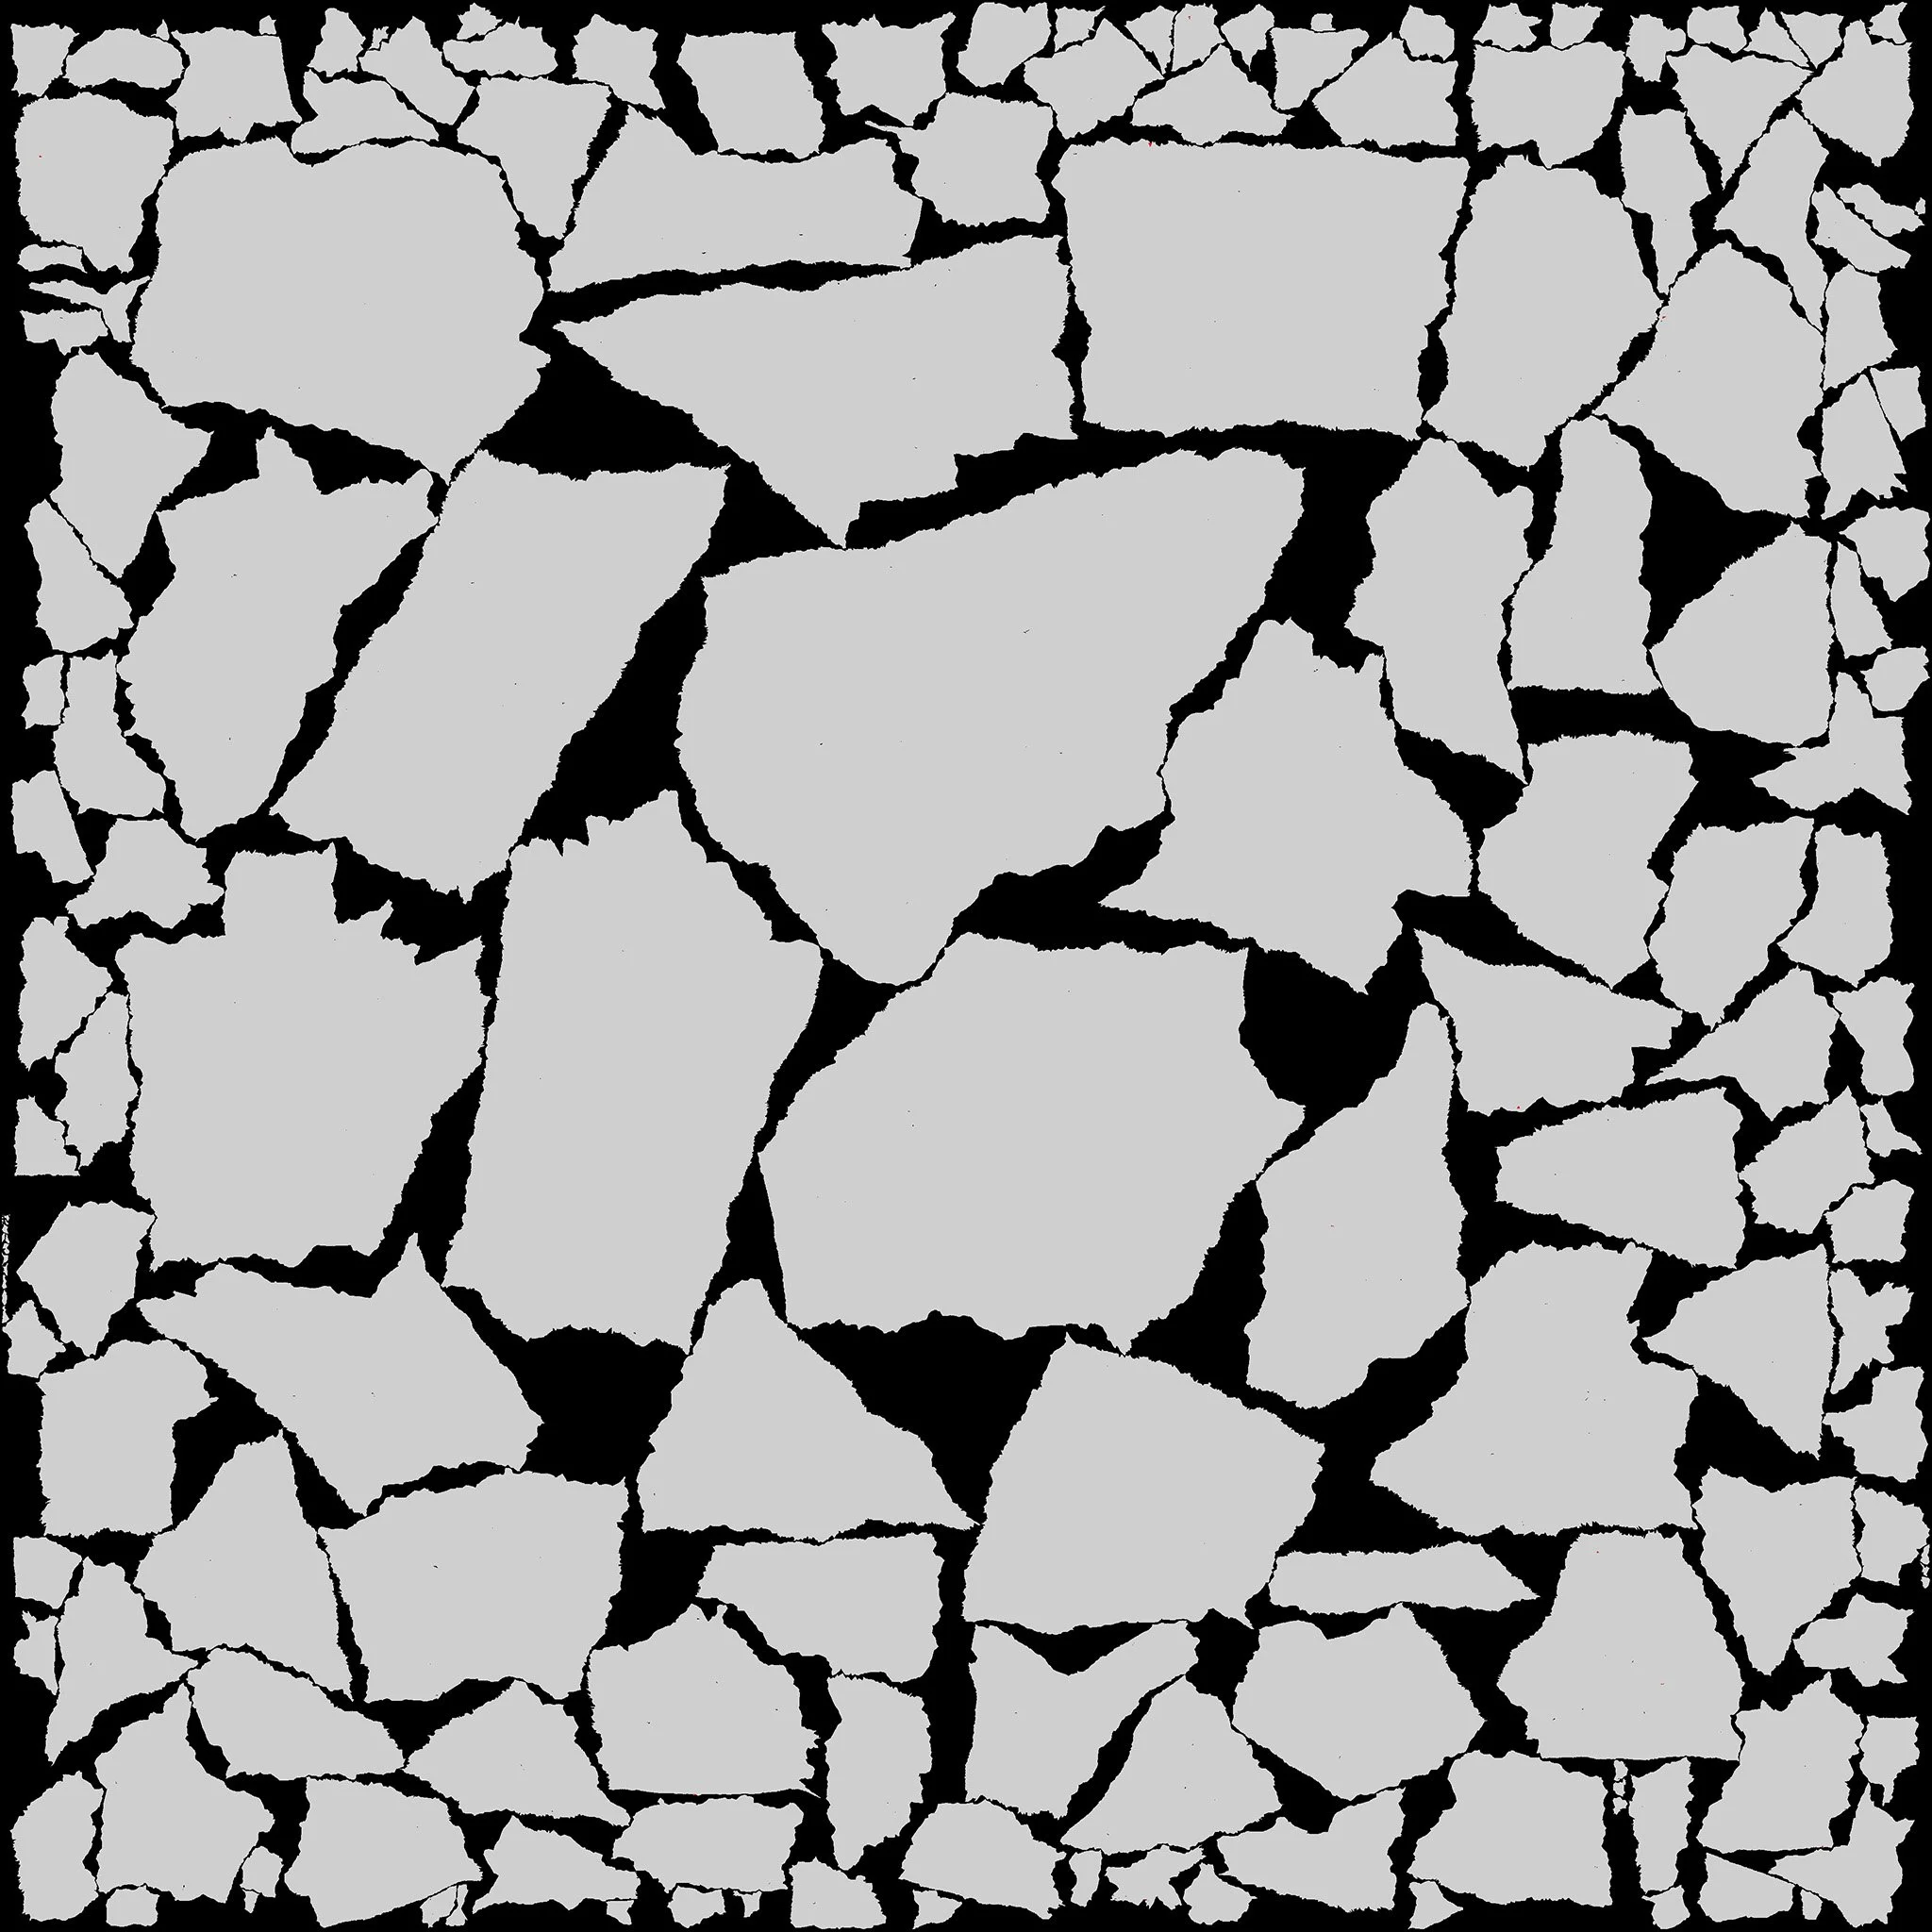
Metashape default (75% usage)
03
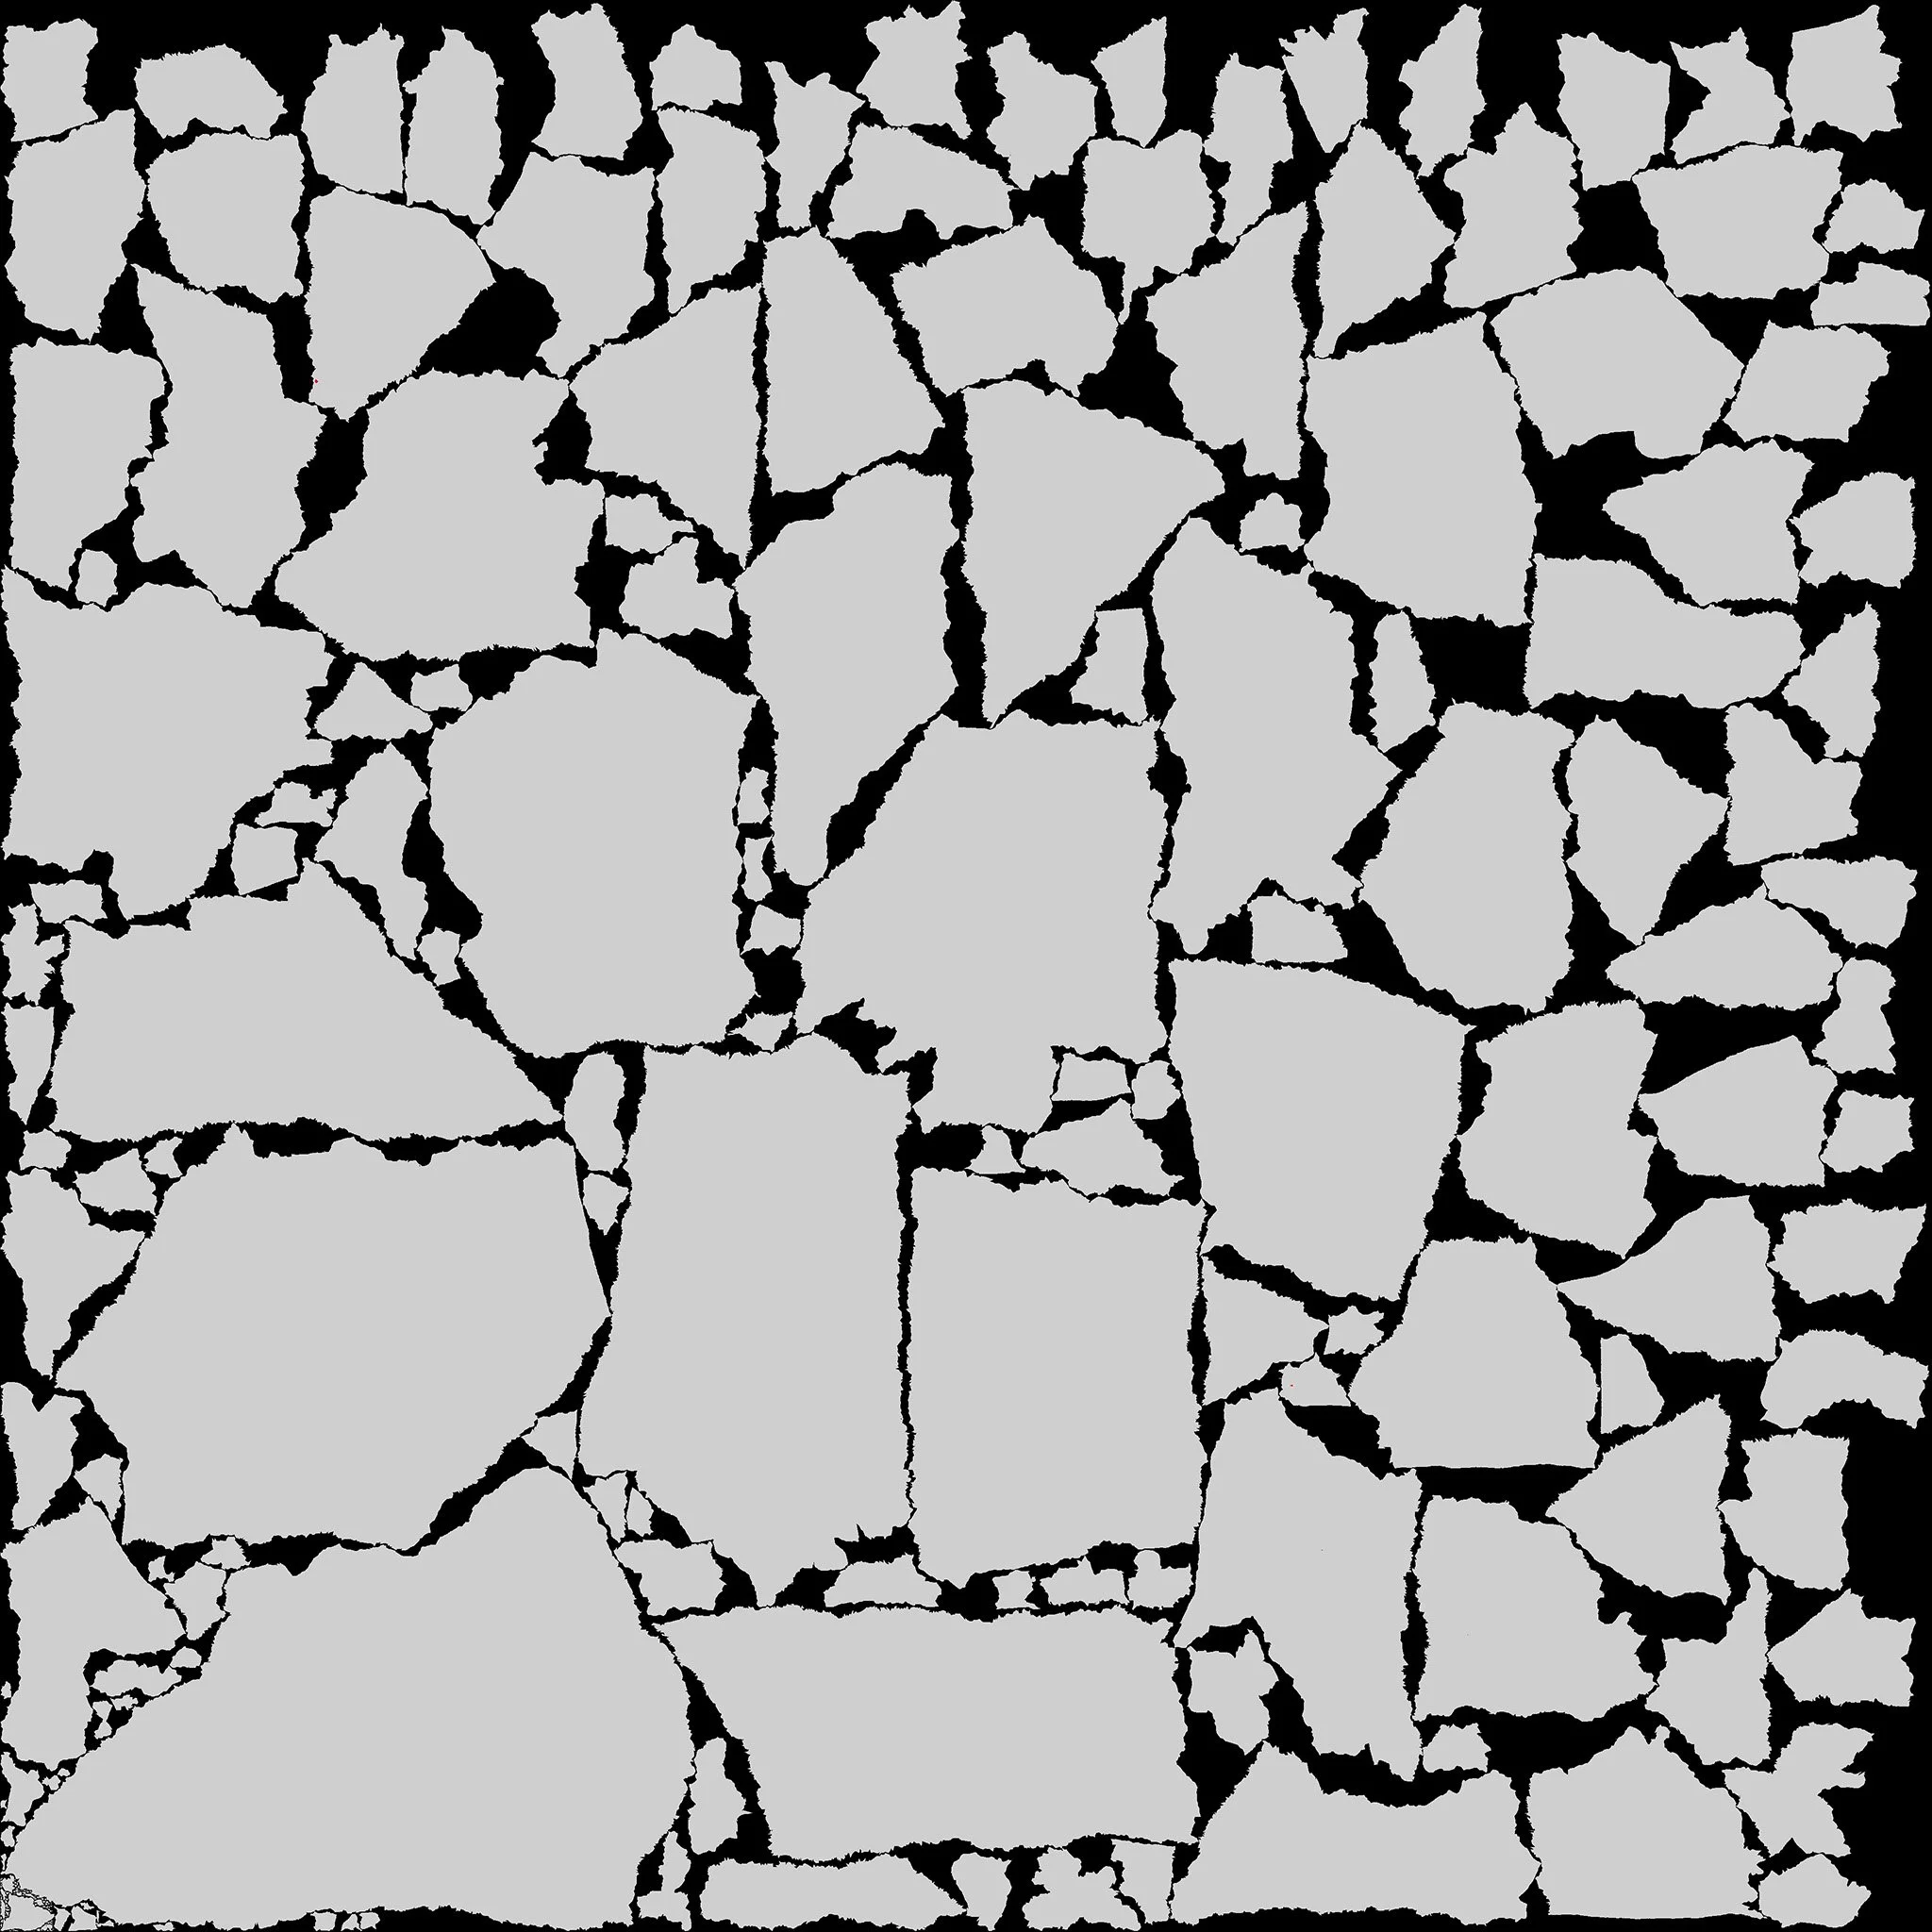
RizomUV (79% usage)
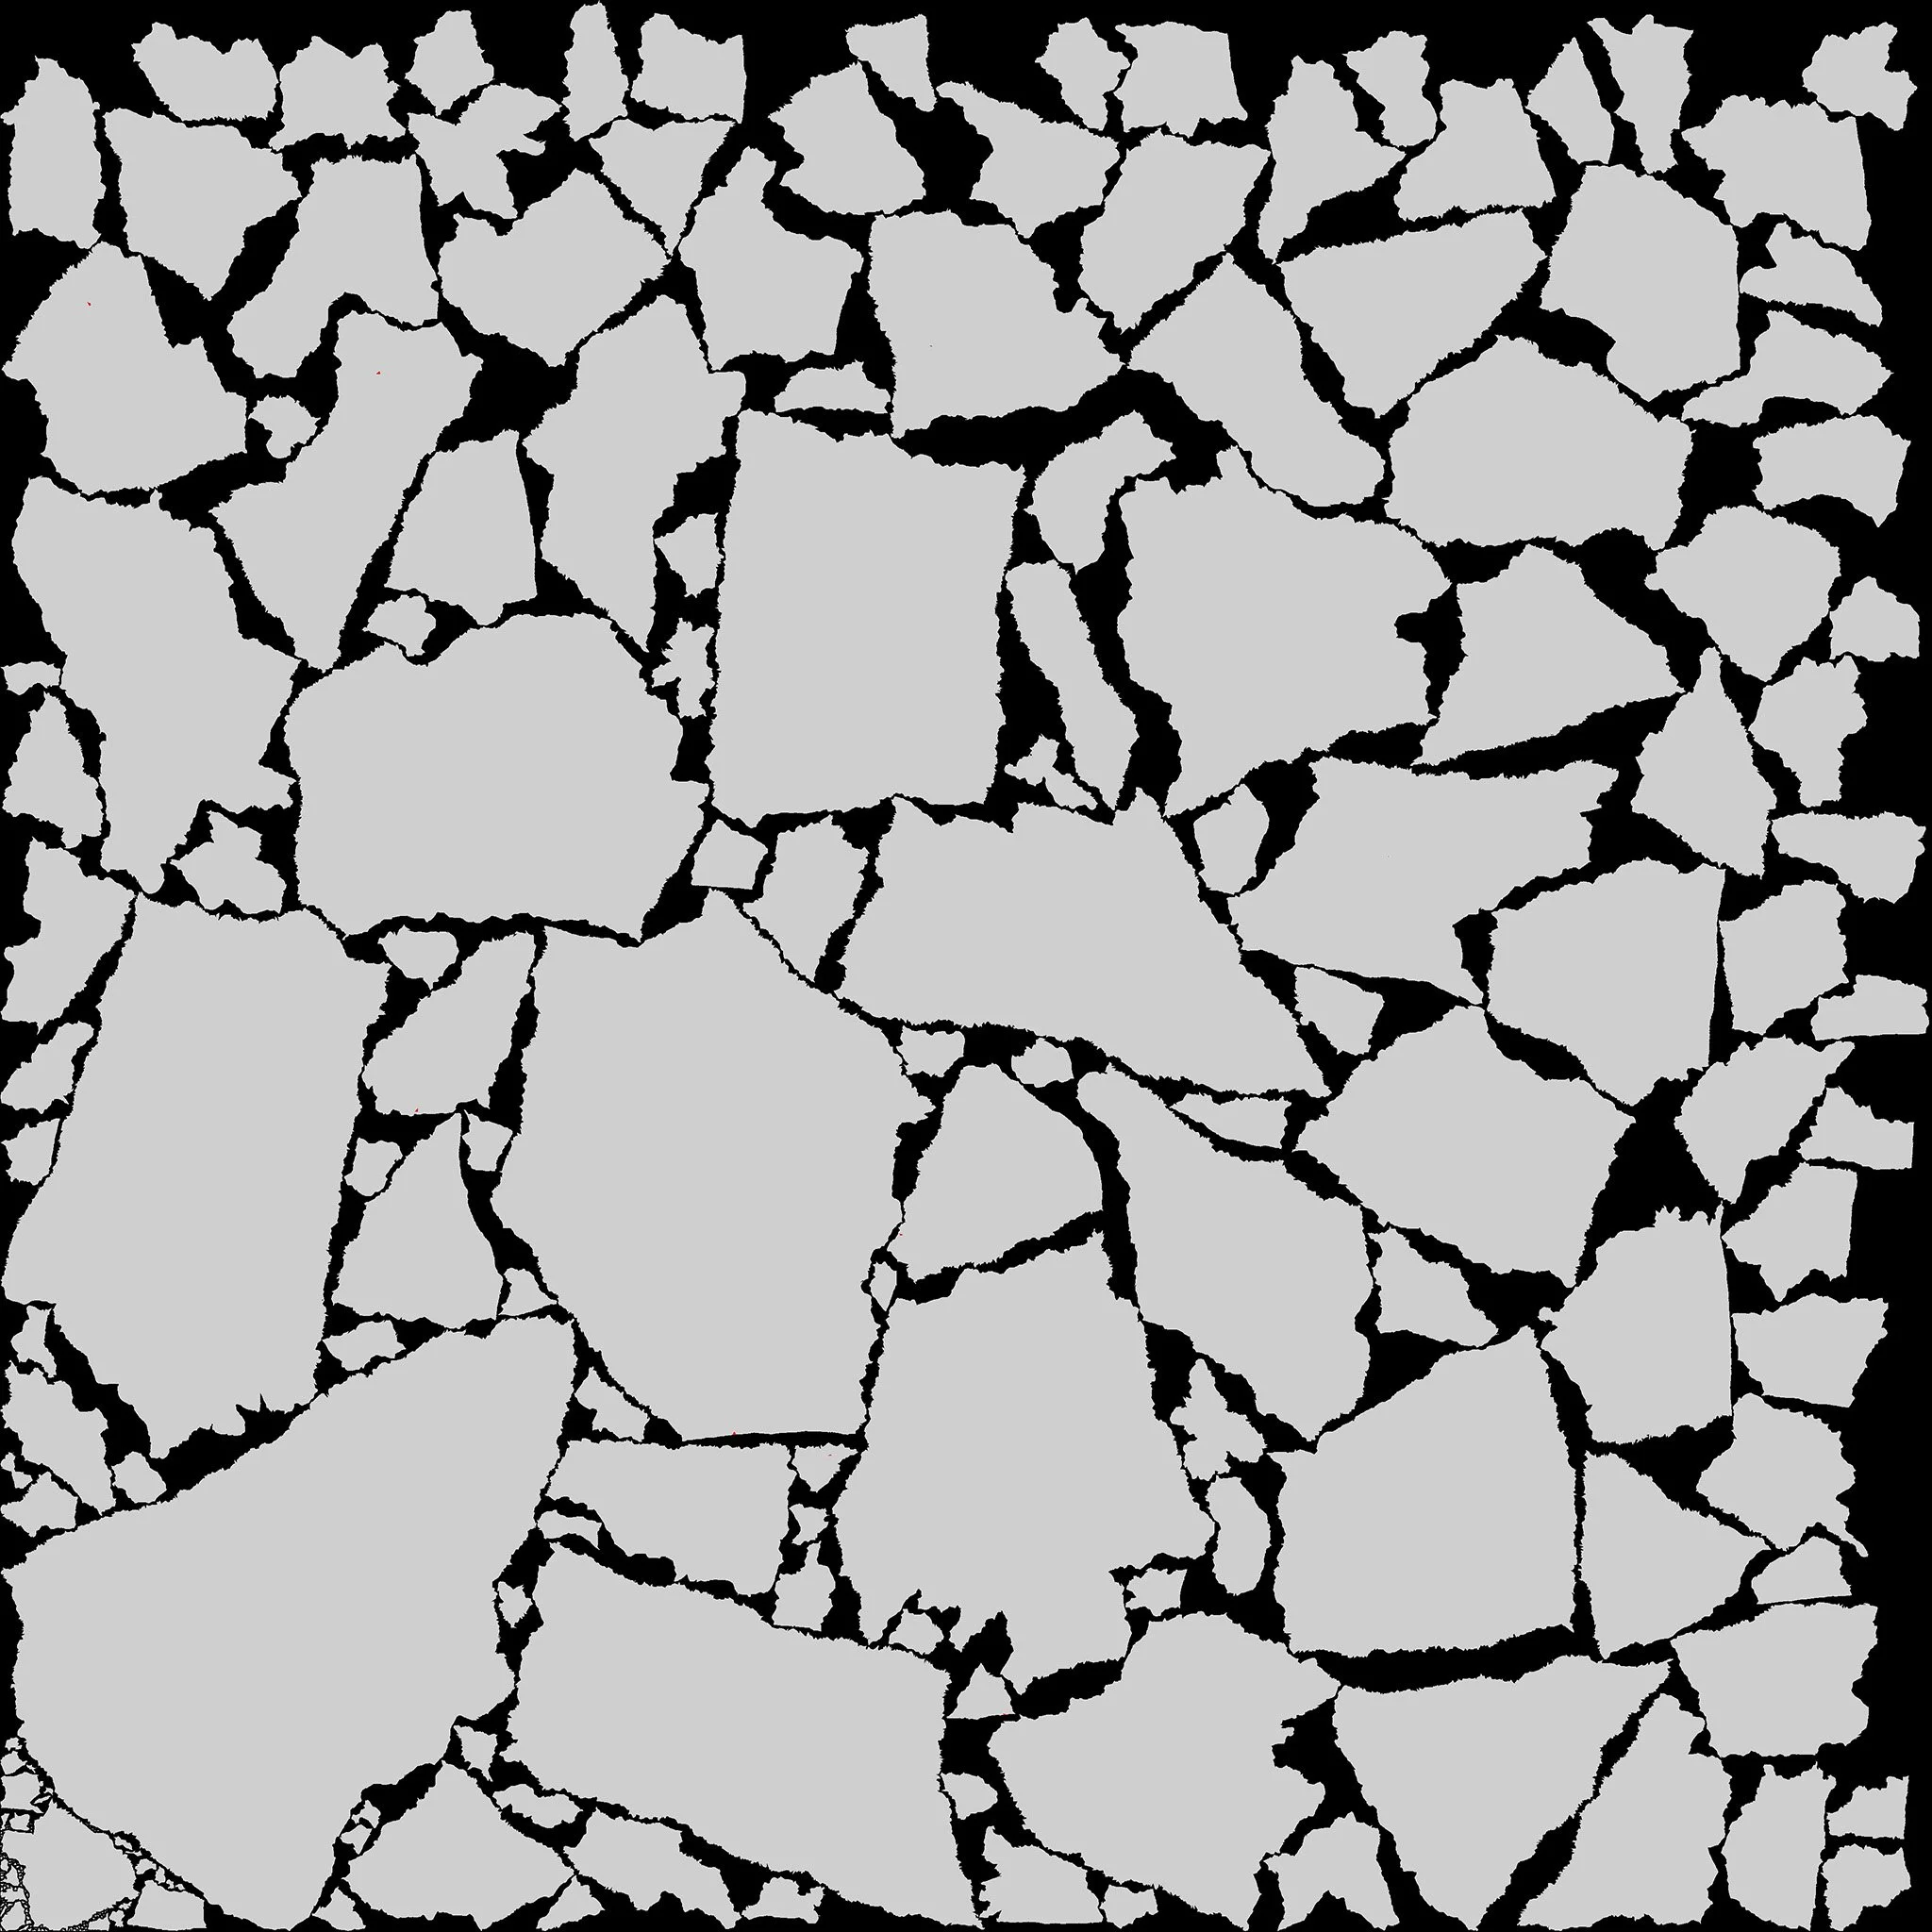
RizomUV (world-aligned, 76% usage)
Unwrapping
Metashape’s unwrapping algorithm is surprisingly robust, but lacks any controls. It will generate a reasonable amount of cuts with relatively low distortion which could be enough, but it leaves several things on the table:
World-aligned UV island rotation
Seam placement control
Packing efficiency can be improved by ~5-10%
RizomUV and UVPackmaster are great options
This becomes a concern if you want to overlay repeating textures such as detail maps, especially if they represent directional features.
While a world-aligned shader can get around this problem, deliberate UVs can project a certain texture flow on the object, helping them feel more integrated on the surface.
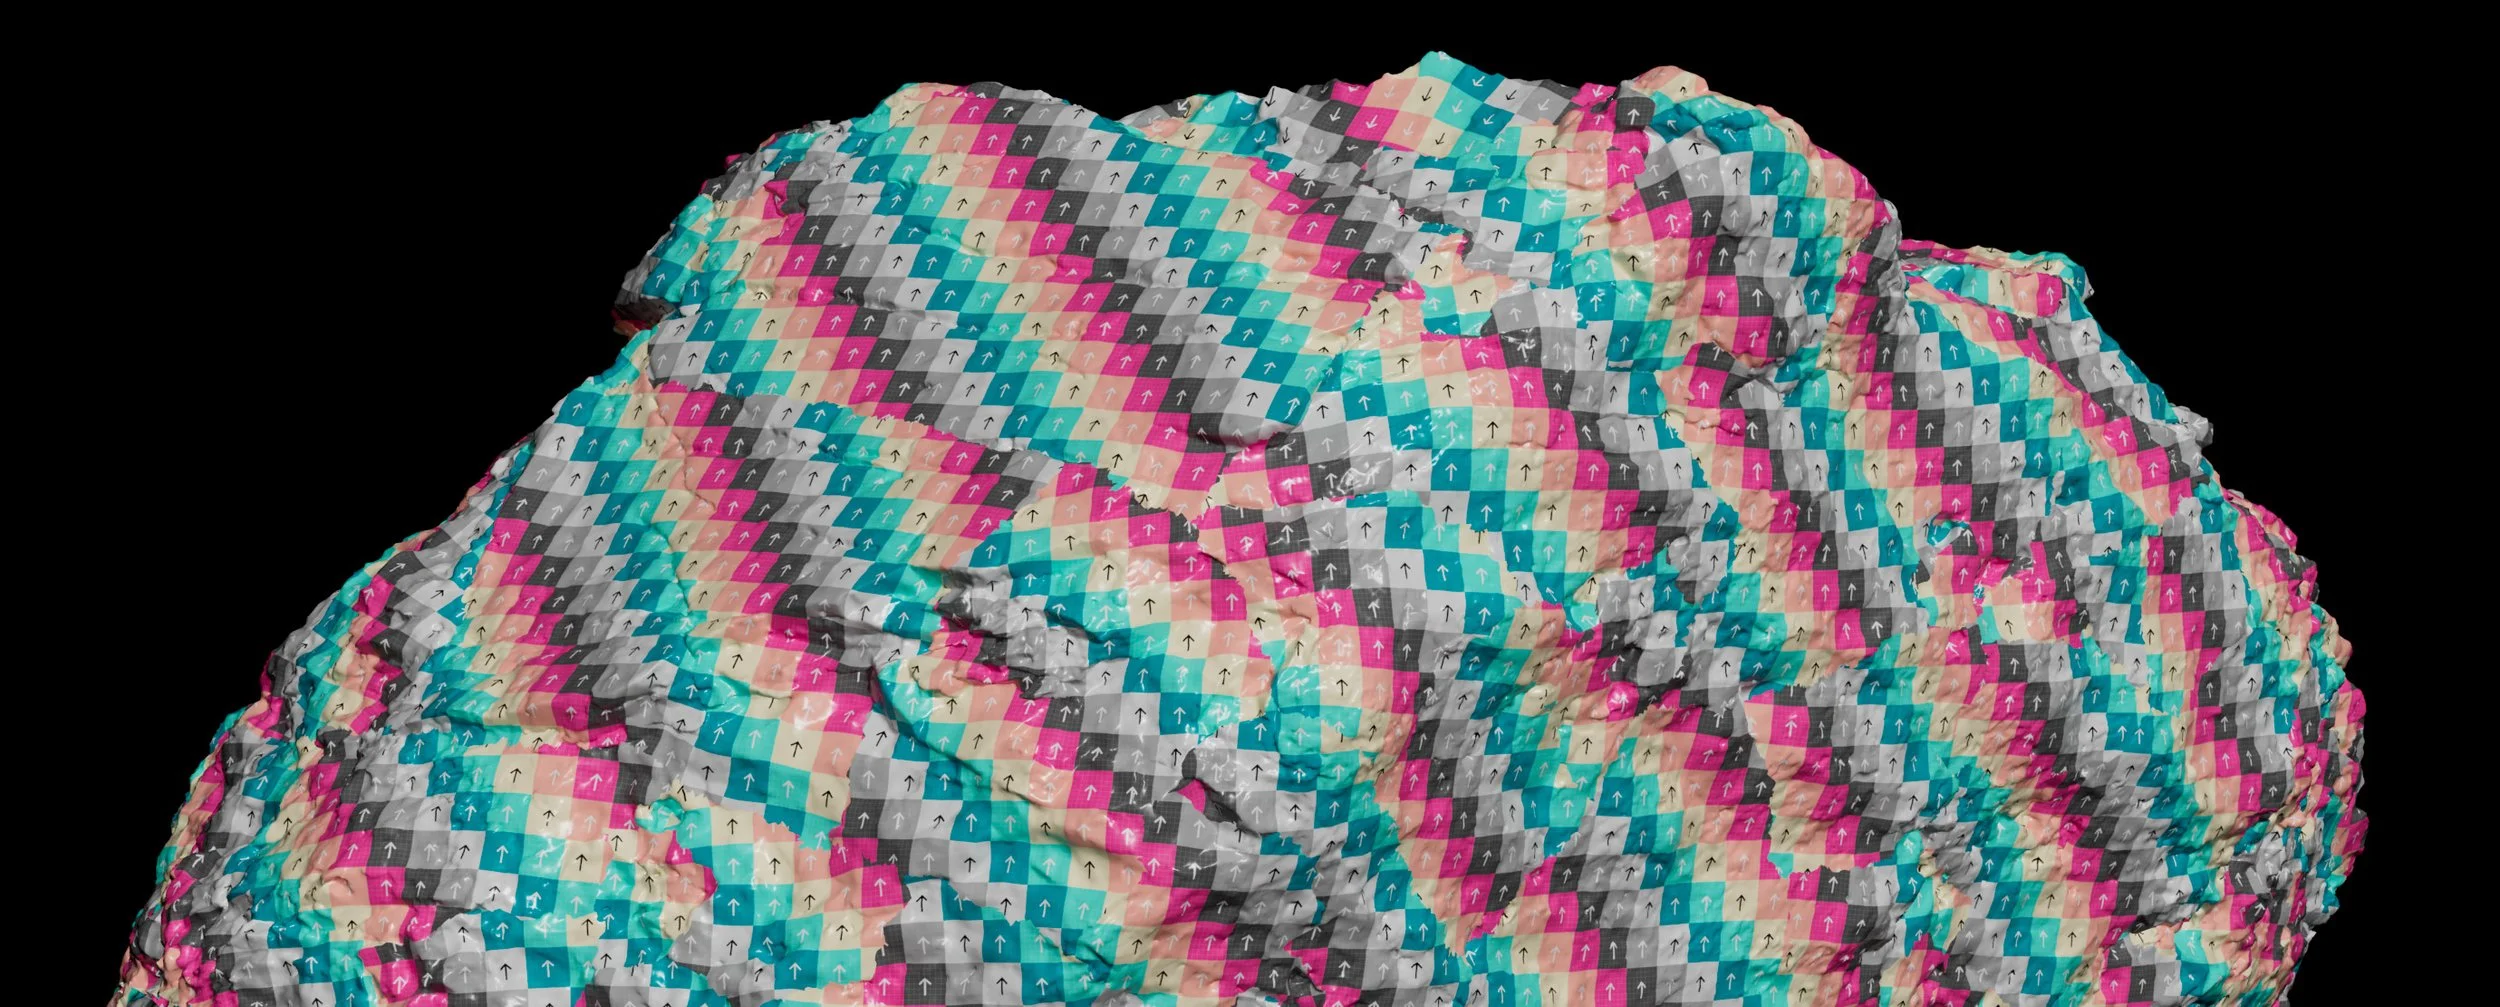
Auto UV
Regarding generating new UVs, the truth is that auto UV solutions are not that strong. Even RizomUV doesn’t give us any reason to not use Metashape.
In case you feel like being more strict about hiding your seams, generating in Metashape and manually stitching some islands together might overall be the best approach.
Part 2
In part 2, we will explore the foliage creation pipeline to better understand the techniques used to combine all the different elements we have talked about into a coherent asset.
Planning a project involving foliage? Let's have a chat!
+357 996 25 761 — 09-21 | GMT+2