
BUILDING FOLIAGE-HEAVY FORESTS — PART 02
Atlasing
Breaking a tree into reusable production assets.
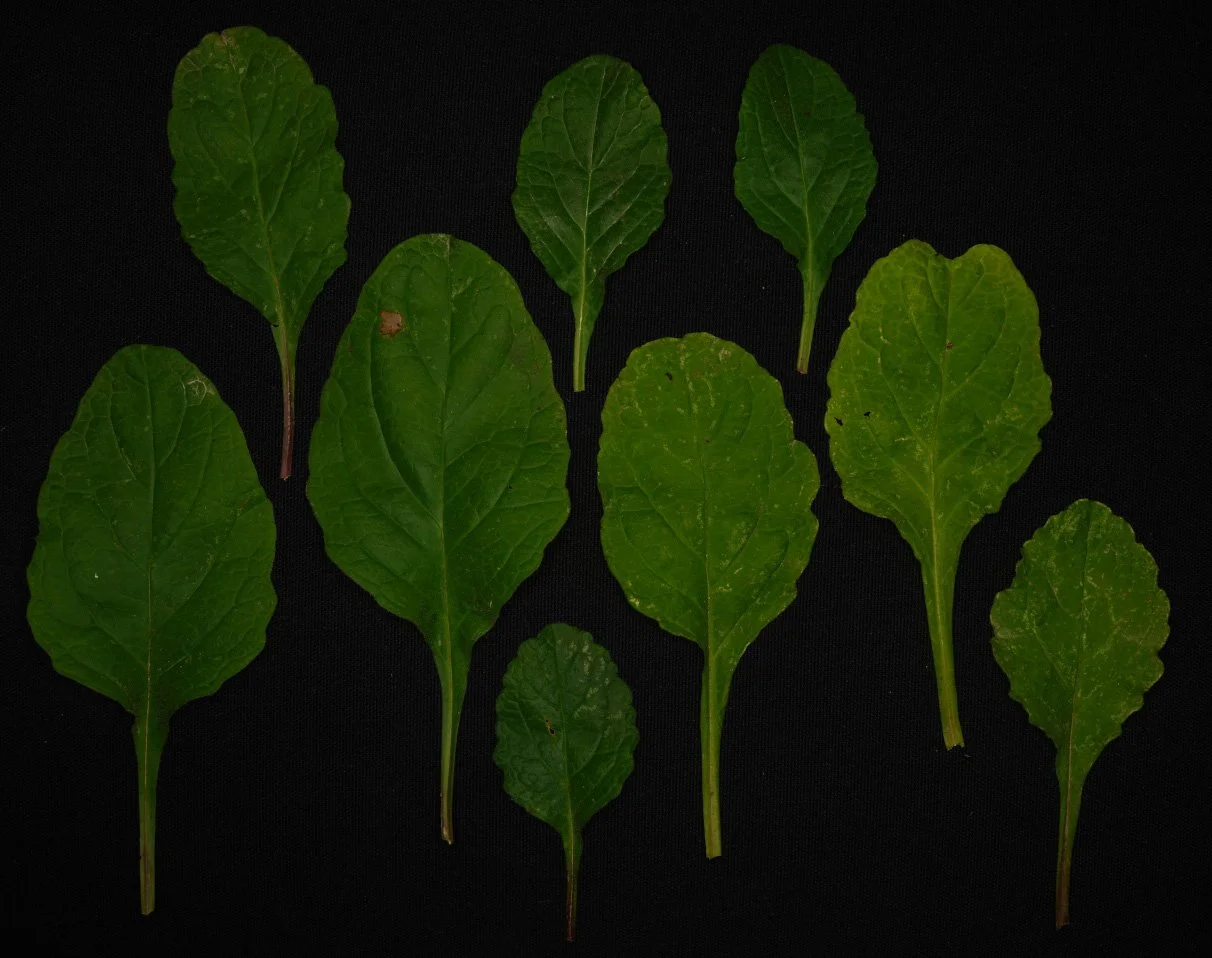
Building a convincing forest is not only about creating the trees. During capture, we break each species down into individual elements that can be reused throughout the wider environment.
For the Aleppo pine, this includes trunks, branches, cones, needles, deadwood and bark surfaces. Some of these elements form the tree itself, while others become forest-floor scatter and used to integrate assemblies.
Photometric stereo
This is the current gold standard for capturing foliage. It involves using lights in a controlled environment to capture the foliage being lit from different angles.
Once set up, it’s rather quick to get results but it does require additional equipment.
Some of the equipment—such as a proper LED backlight—can be tricky to get hold of and travel with, but capturing subsurface scattering is a nice bonus, but not a requirement.
Packing
This is the part where you get to pack your UVs in real-time!
Some repacking is usually in order—especially when combining sets together—but you can avoid some work by being strategic about it.
A few things you should take into consideration:
Don’t pack them so close they cast shadows on each other
Keep the relative coverage of the atlas small
This is to minimize light strength loss from one side to another
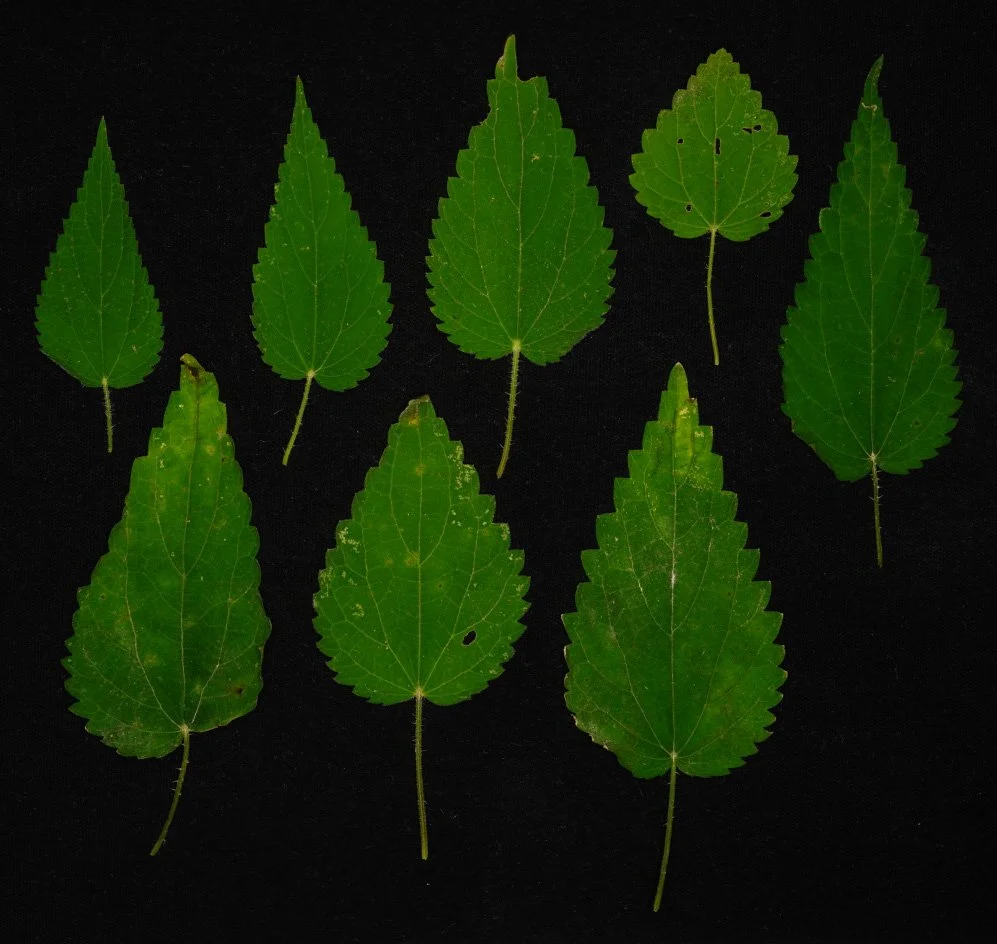
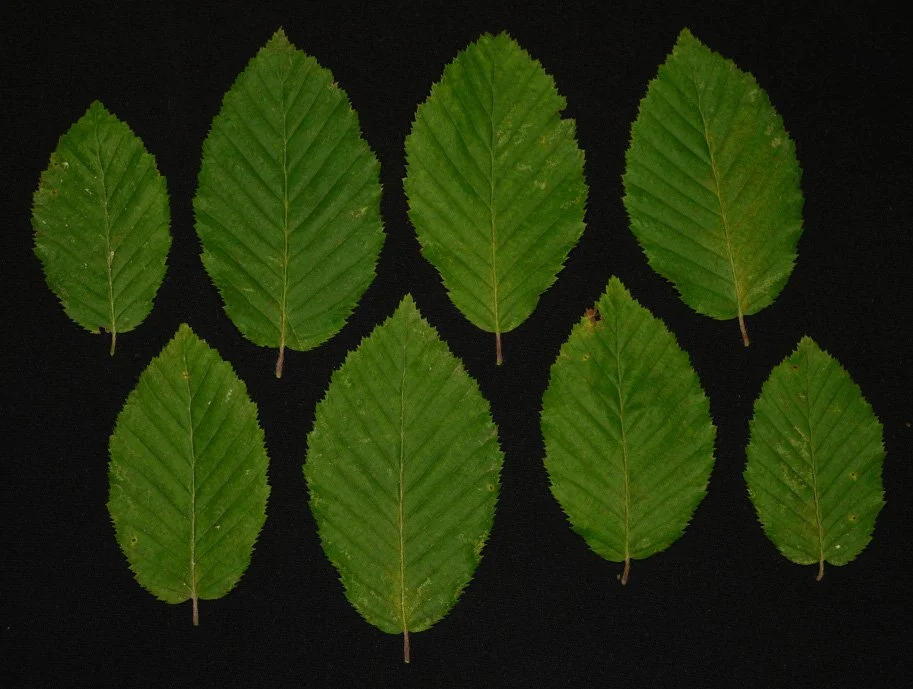
Keep it clean
Do your best to remove dirt and other unwanted things from your atlas space. It will save you time down the line.
Background
The ideal background is one that doesn’t reflect anything back, as the bright lights used will cause more light to bounce, creating a secondary light source.
A matte, black background will produce the cleanest results, although a white one usually does the trick if that’s what you have. We are being picky.
Light absorbent cloth is very useful. It can help automate the masking process and doesn’t cause light bouncing on the subject, but is expensive and gets dirty.
Still some issues
Backlight reflections
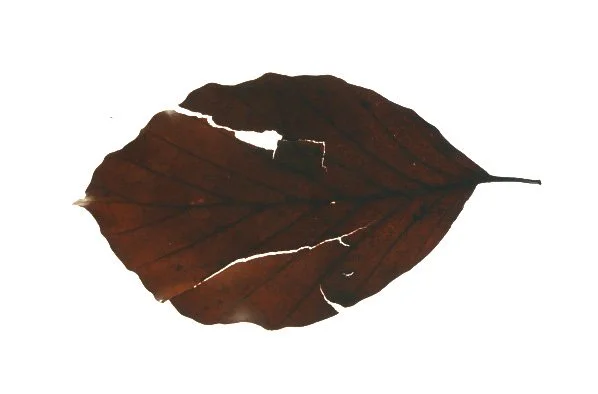
When capturing SSS using LED, areas where the edges are heavily bent down towards the light will be lit up disproportionally.
Equipment
To do a complete capture, you need quite a bit of additional equipment. If your only goal is to capture 2D atlases, no problem, but if you also go with cameras, flashes, drones, laptops and other accessories it adds up.
As doing scan trips for weeks at a time is tough, making sure that we travel without as light as possible becomes an important logistical consideration.
Image processing
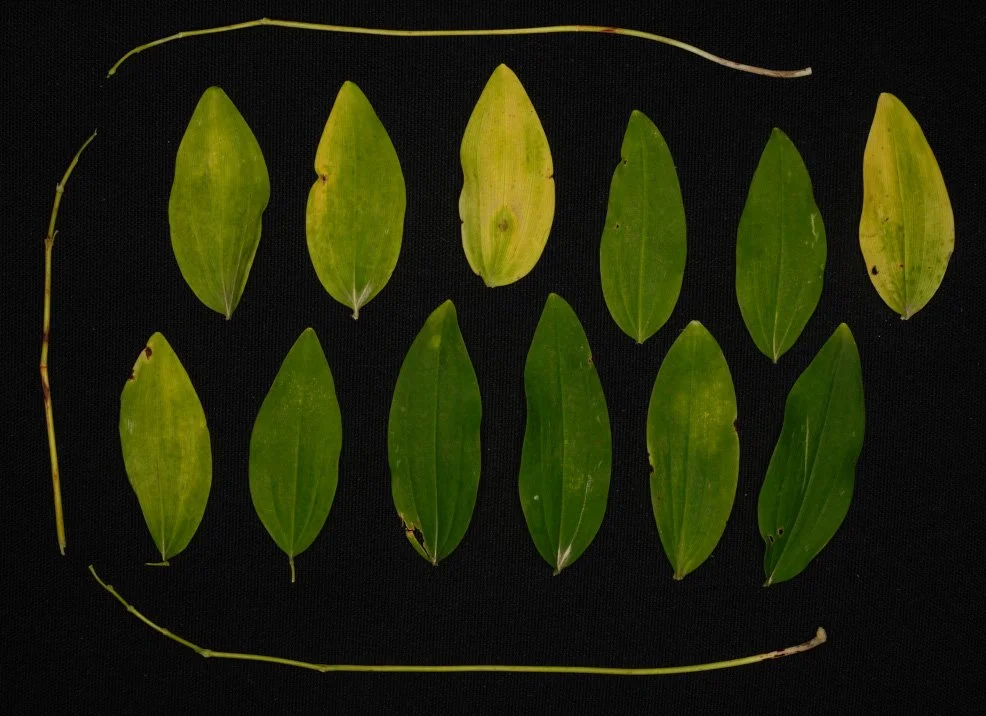
If the leaf has a strong shape, the light might create a translucent effect around the borders of the leaf.
The solution is usually to move your light source up and avoid strong lighting perpendicular to the leaf, but can be hard to avoid.
There are a few options:
Details Capture
RelightLab
Substance Designer
Details Capture has the ability to automatically detect the light direction for you if you used a chrome ball or similar, however this is where the advantages end.
RelightLab we haven’t tested, but it’s a free option. It might be worth checking if you’re just getting started.
Substance Designer has the best overall toolset, especially if you want to automate the process which wouldn’t be possible in any other tool.
Heightmap
Height is derived from the normal map. This gives more than good enough results for the purpose of displacement. If you use Substance Designer, use the Normal to Height node (not the HQ one!).
A good free alternative is Materialize, although it’s not node based so we only use it selectively.
Color
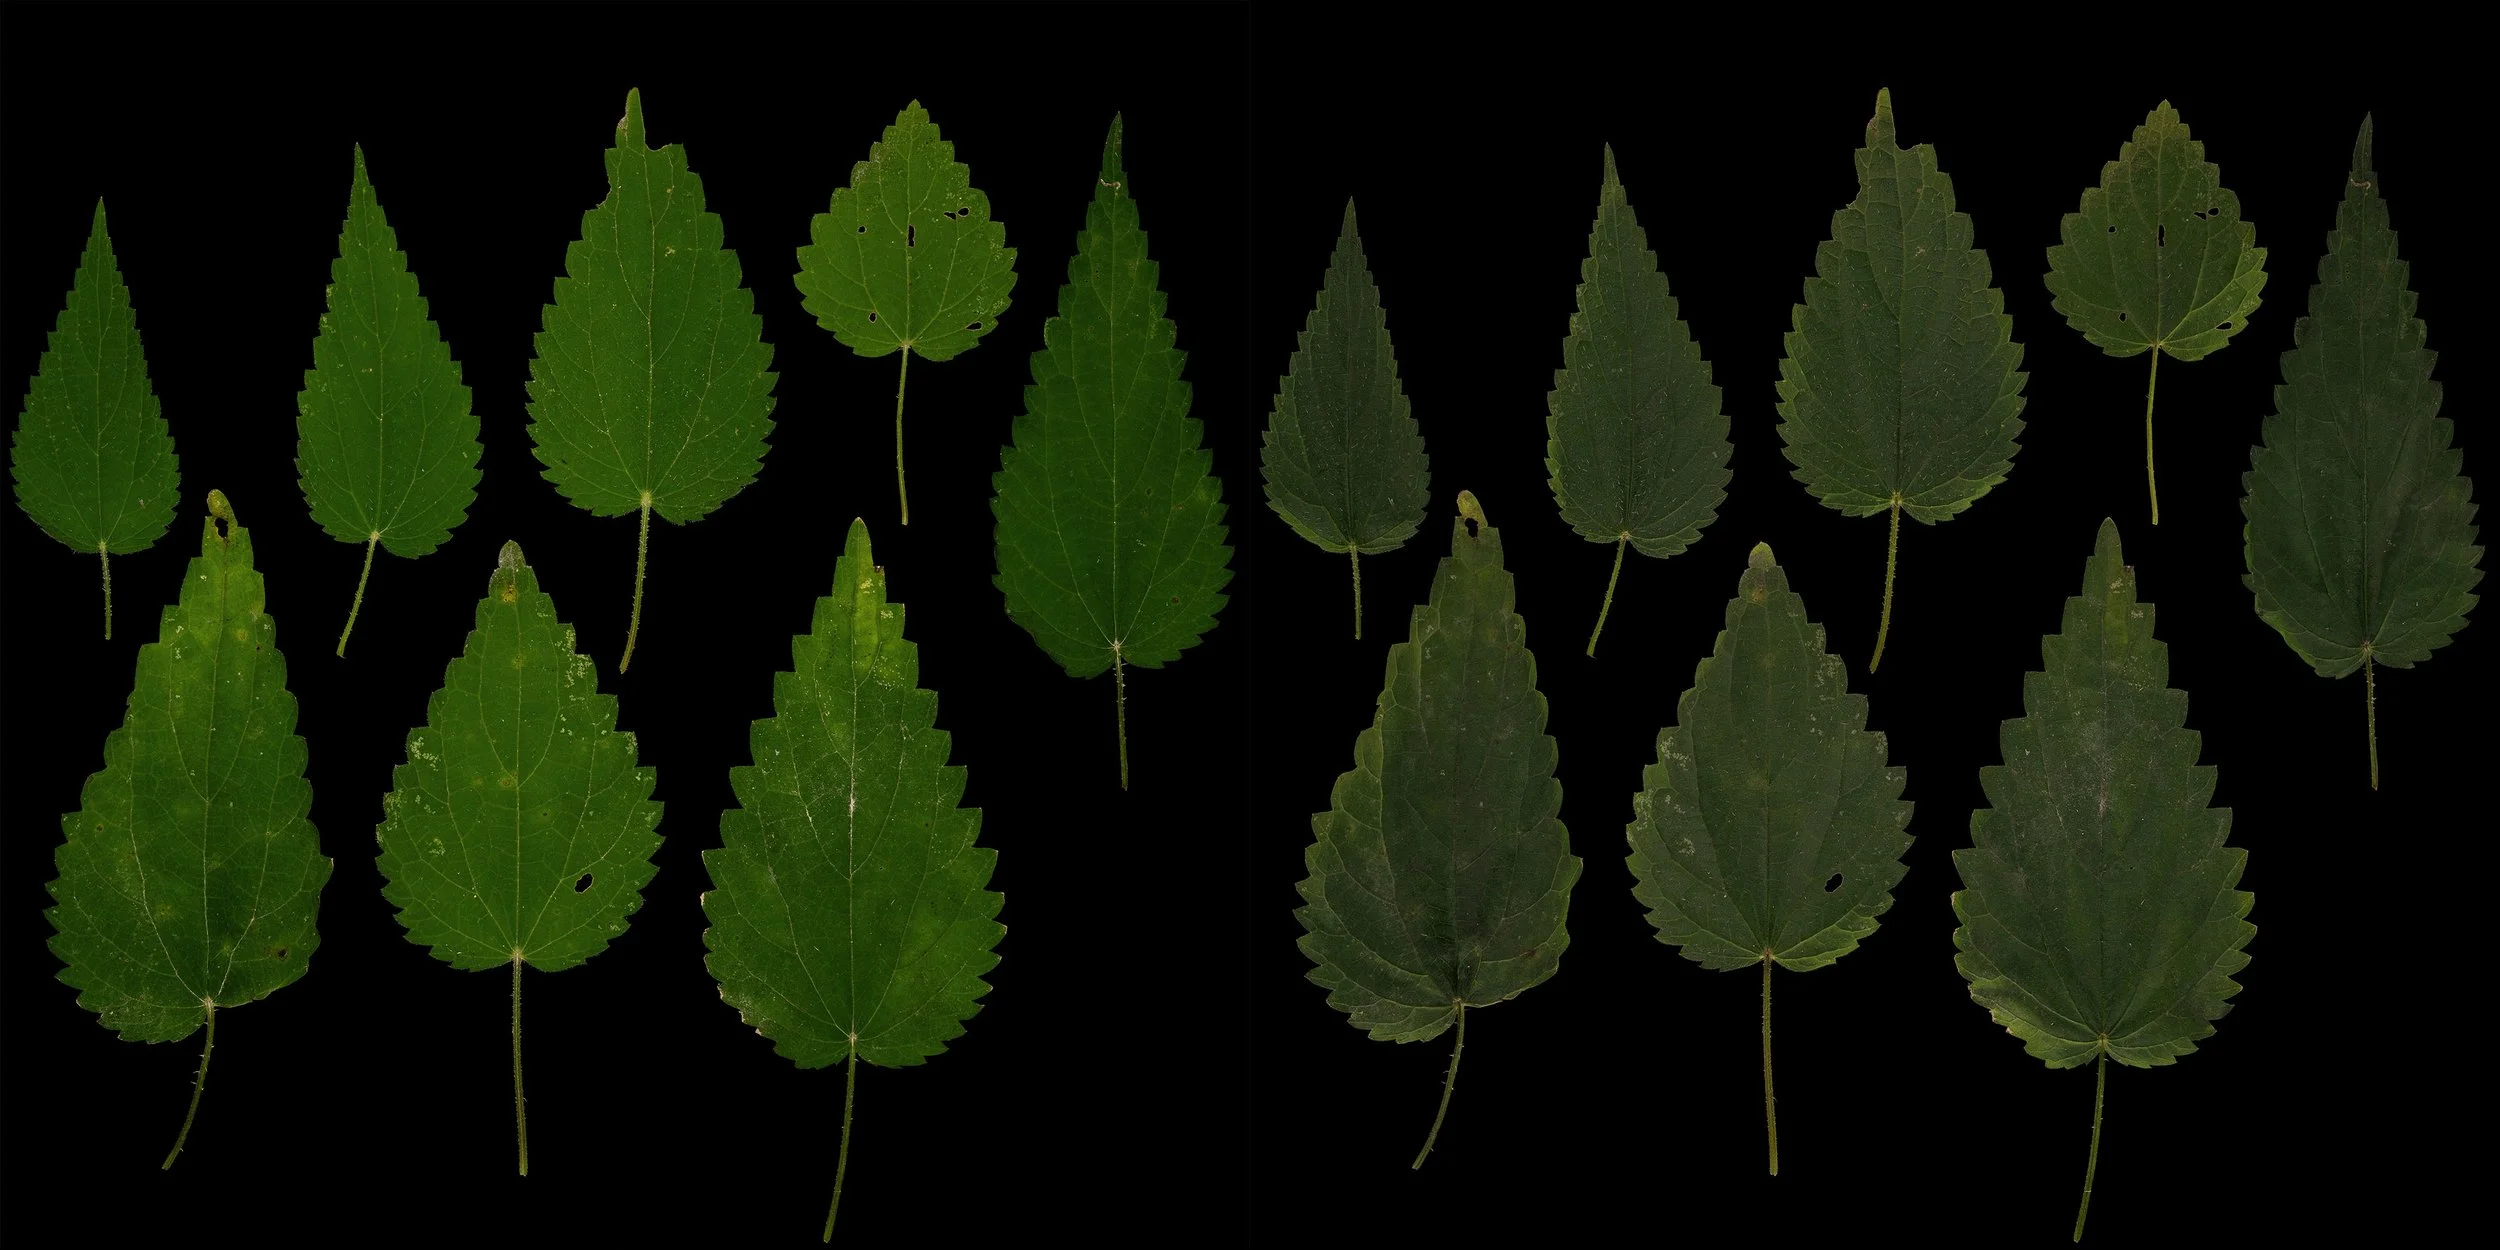
Combining all the lit areas in the directionally lit images can produce a mostly neutral albedo.
Cross-polarized (left) vs generated (right) - It's clearly not that accurate, but means you have a fallback option if it cannot be done properly.
If you want to learn more about photometric stereo, this video by Grzegorz Baran touches on the basics nicely:
Self-translucency
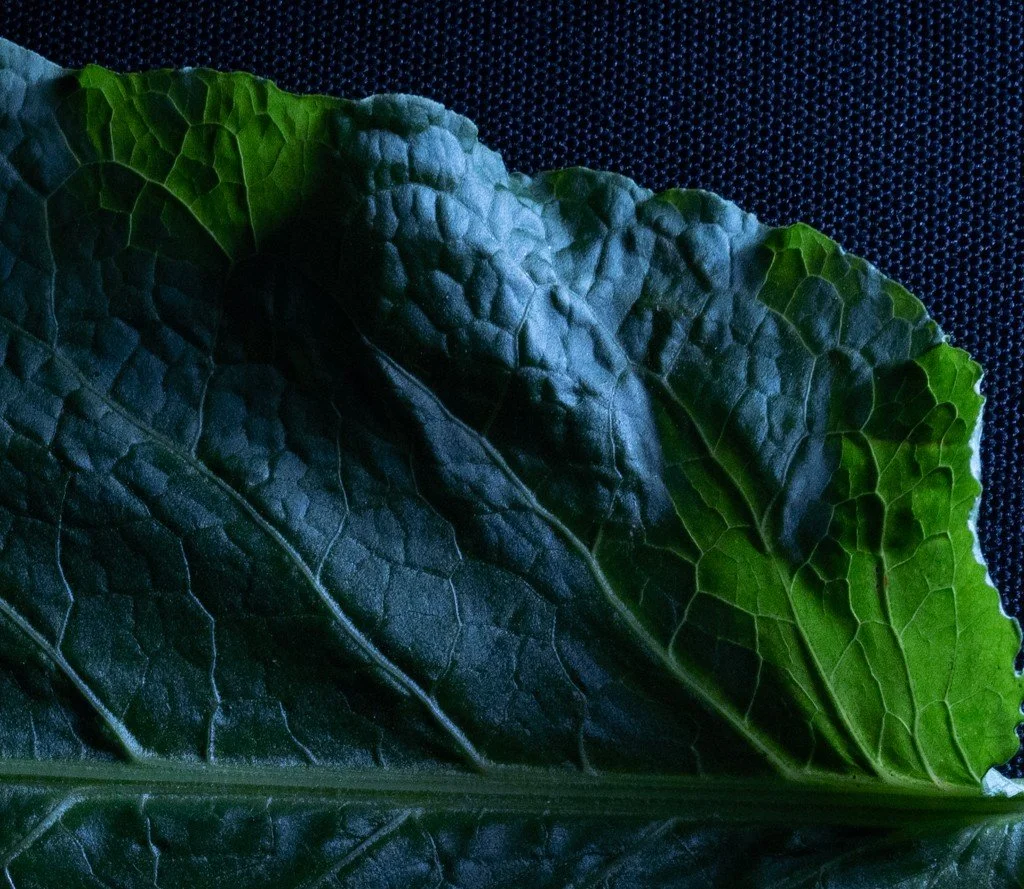
Photogrammetry
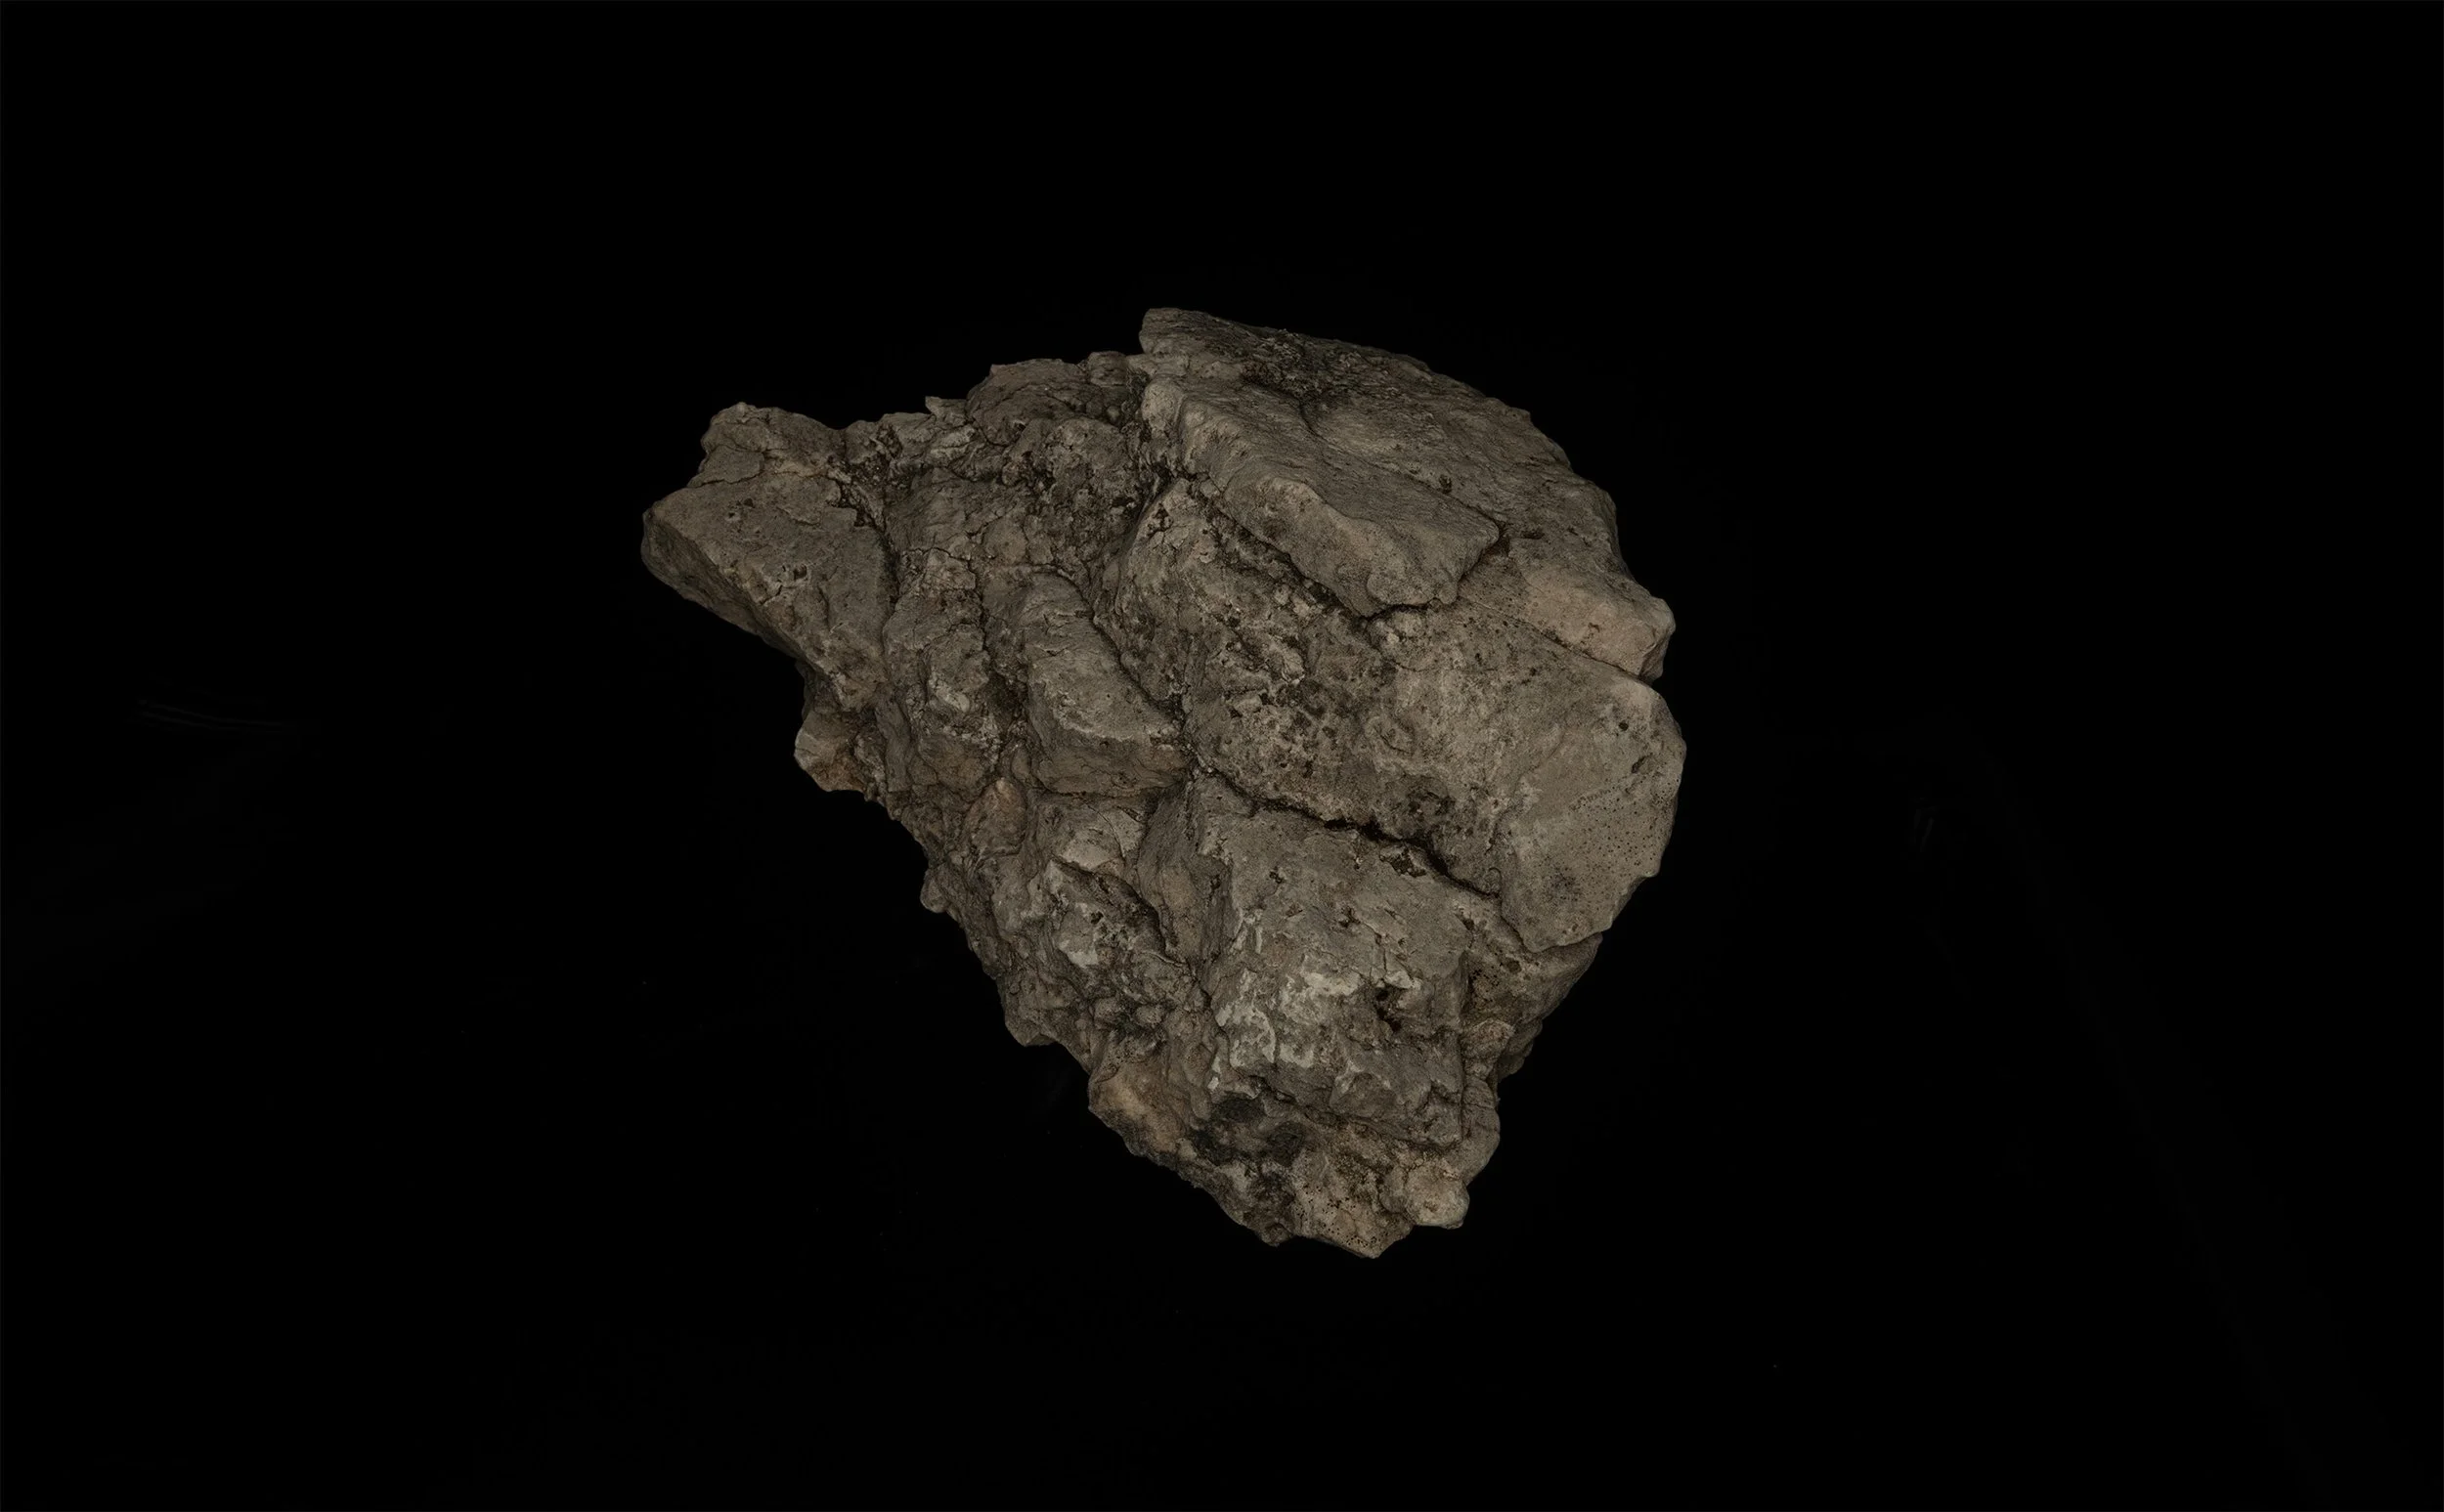
Meshing
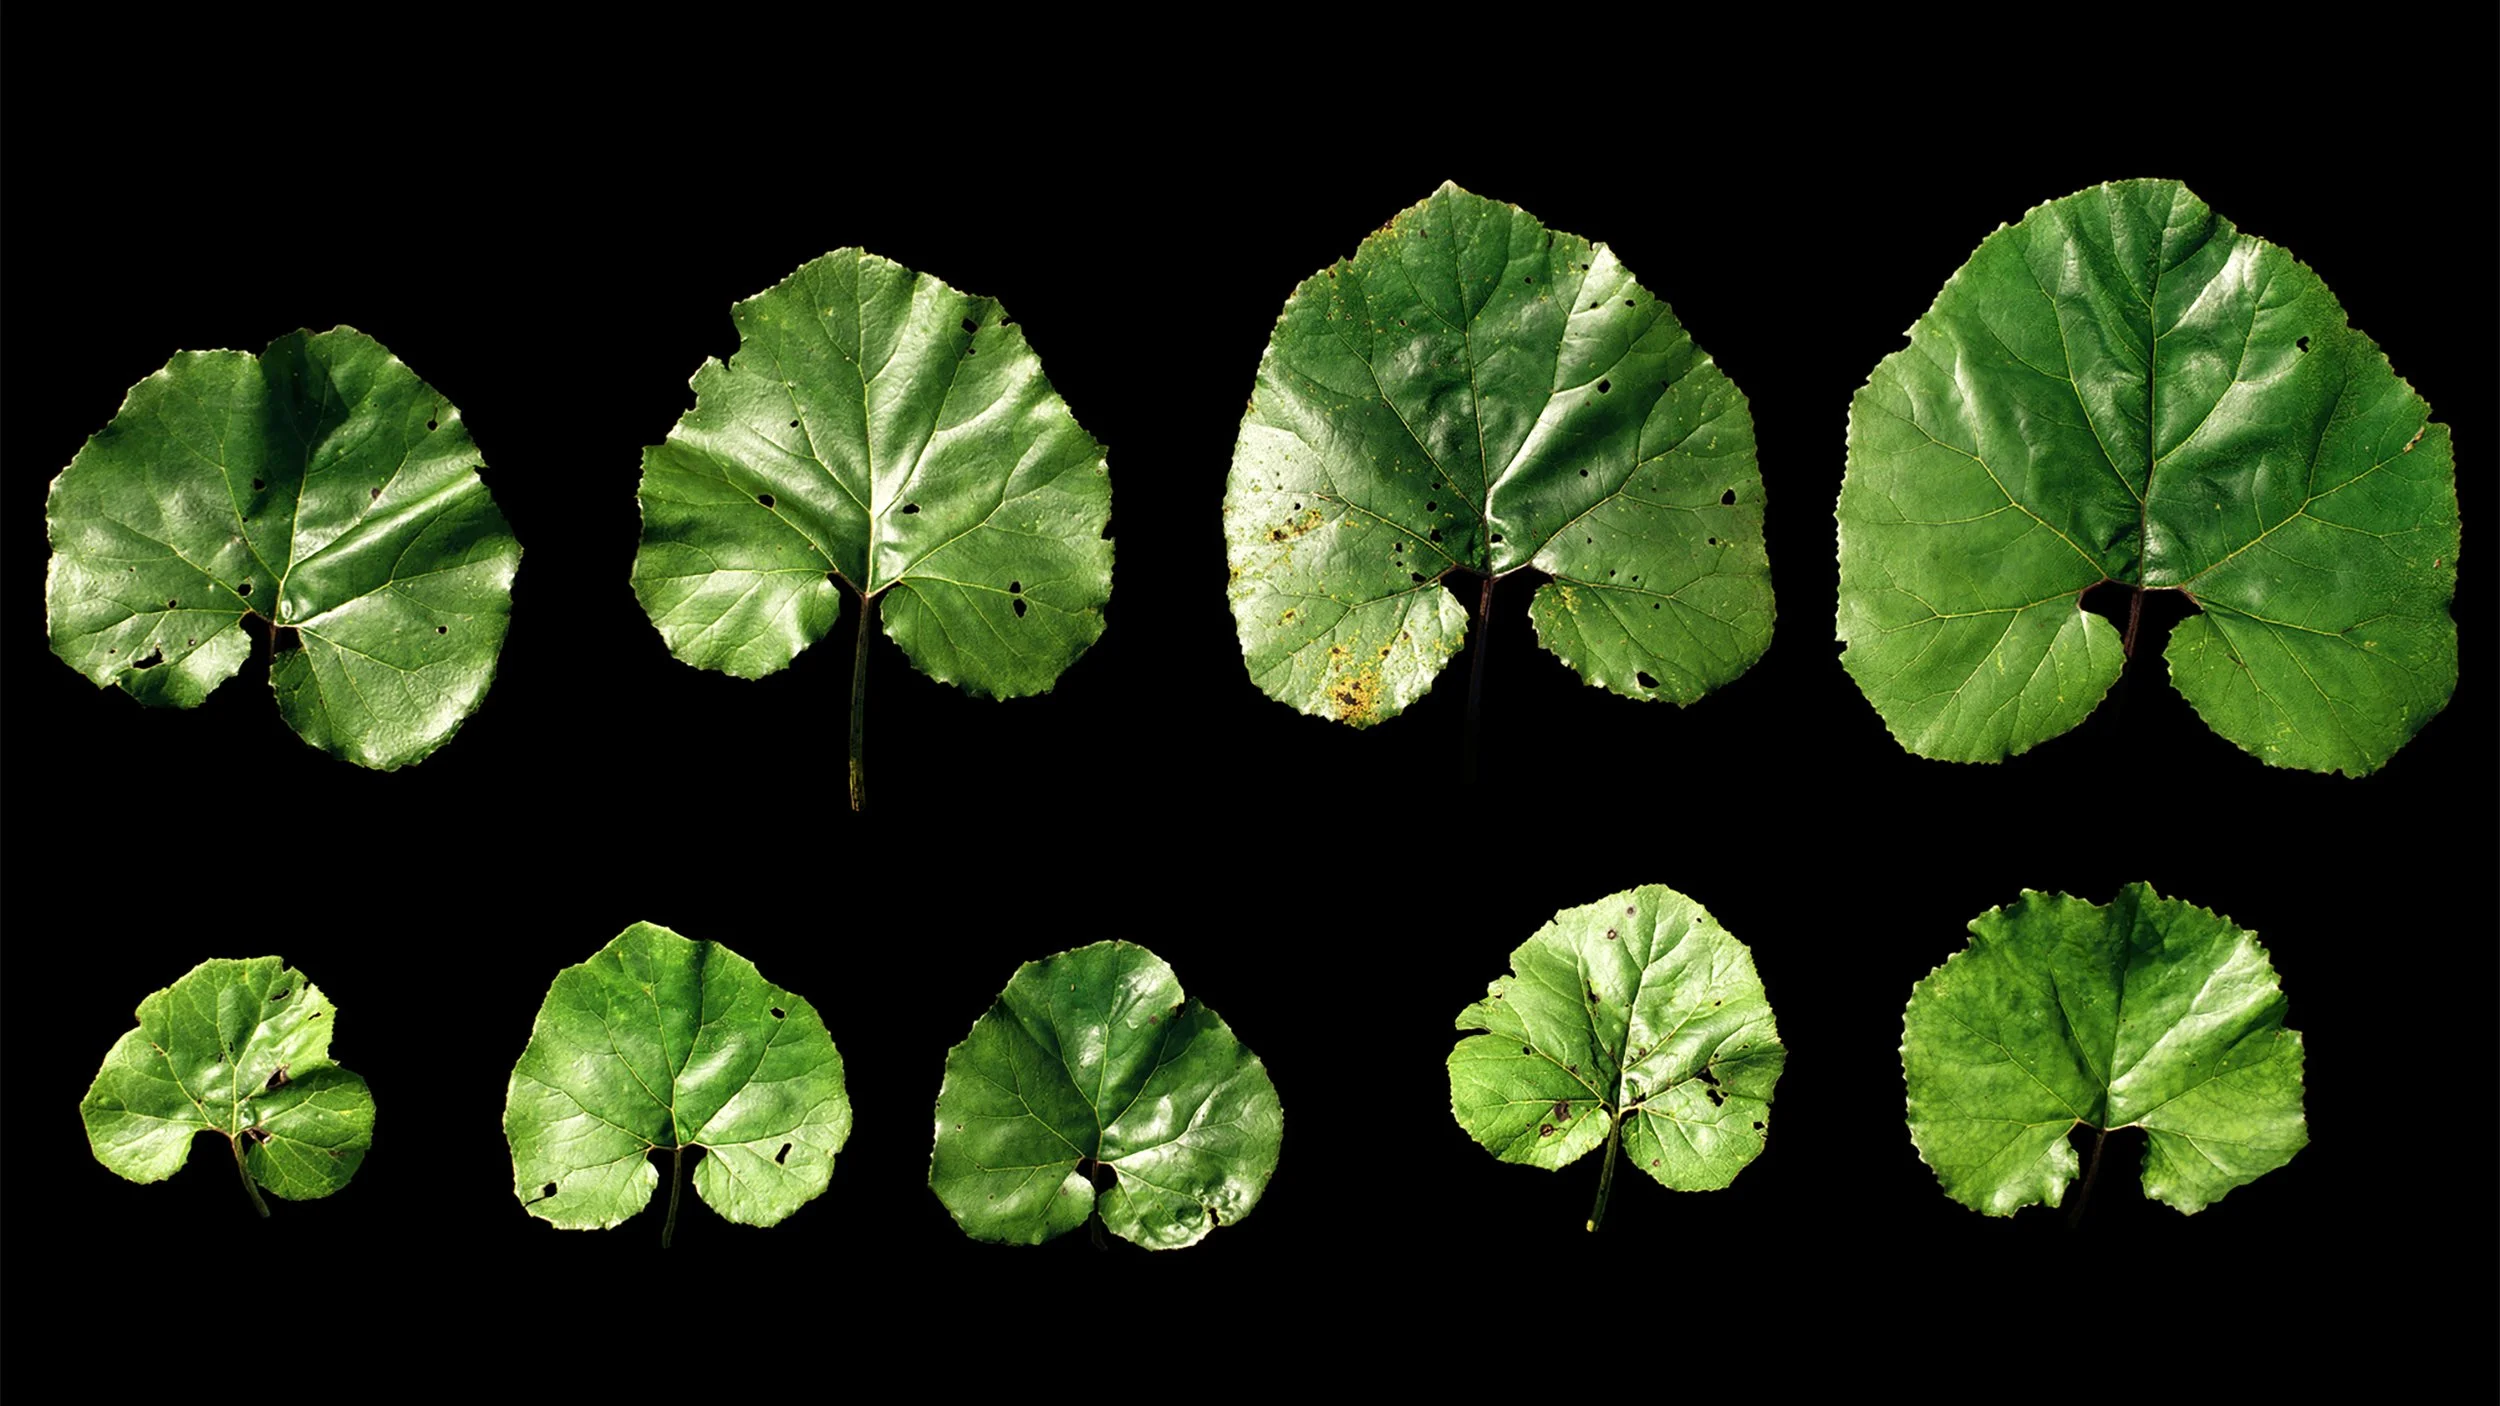
Test case: Petasites Hybridus
Was primarily chosen since it was quite large and major vertical undulating shapes and some overlap.
Most of the time was spent on:
Processing each leaf individually. Partly due to size, and partly due to the accuracy needed when doing this kind of scanning.
Creating a clean alpha map for cut-out despite the bright LED background
Clean mesh cut-out and retopology on the final mesh before baking the textures
Most of these things are relatively automatable. Most of it will depend on how reliable your captures are. High consistency means reliable automated output, while low consistency means manual input. This is the crux of why photometric stereo is king.
Pain points:
How to ensure leaf doesn’t deform at all during the process
Some kind of spray?
How to get fully aligned subsurface (without syncing camera/LED)
Currently only 4 images are taken with the backlight on. This is enough for relatively accurate alignment, but minor offset will probably occur
Clean retopology has quite a few steps
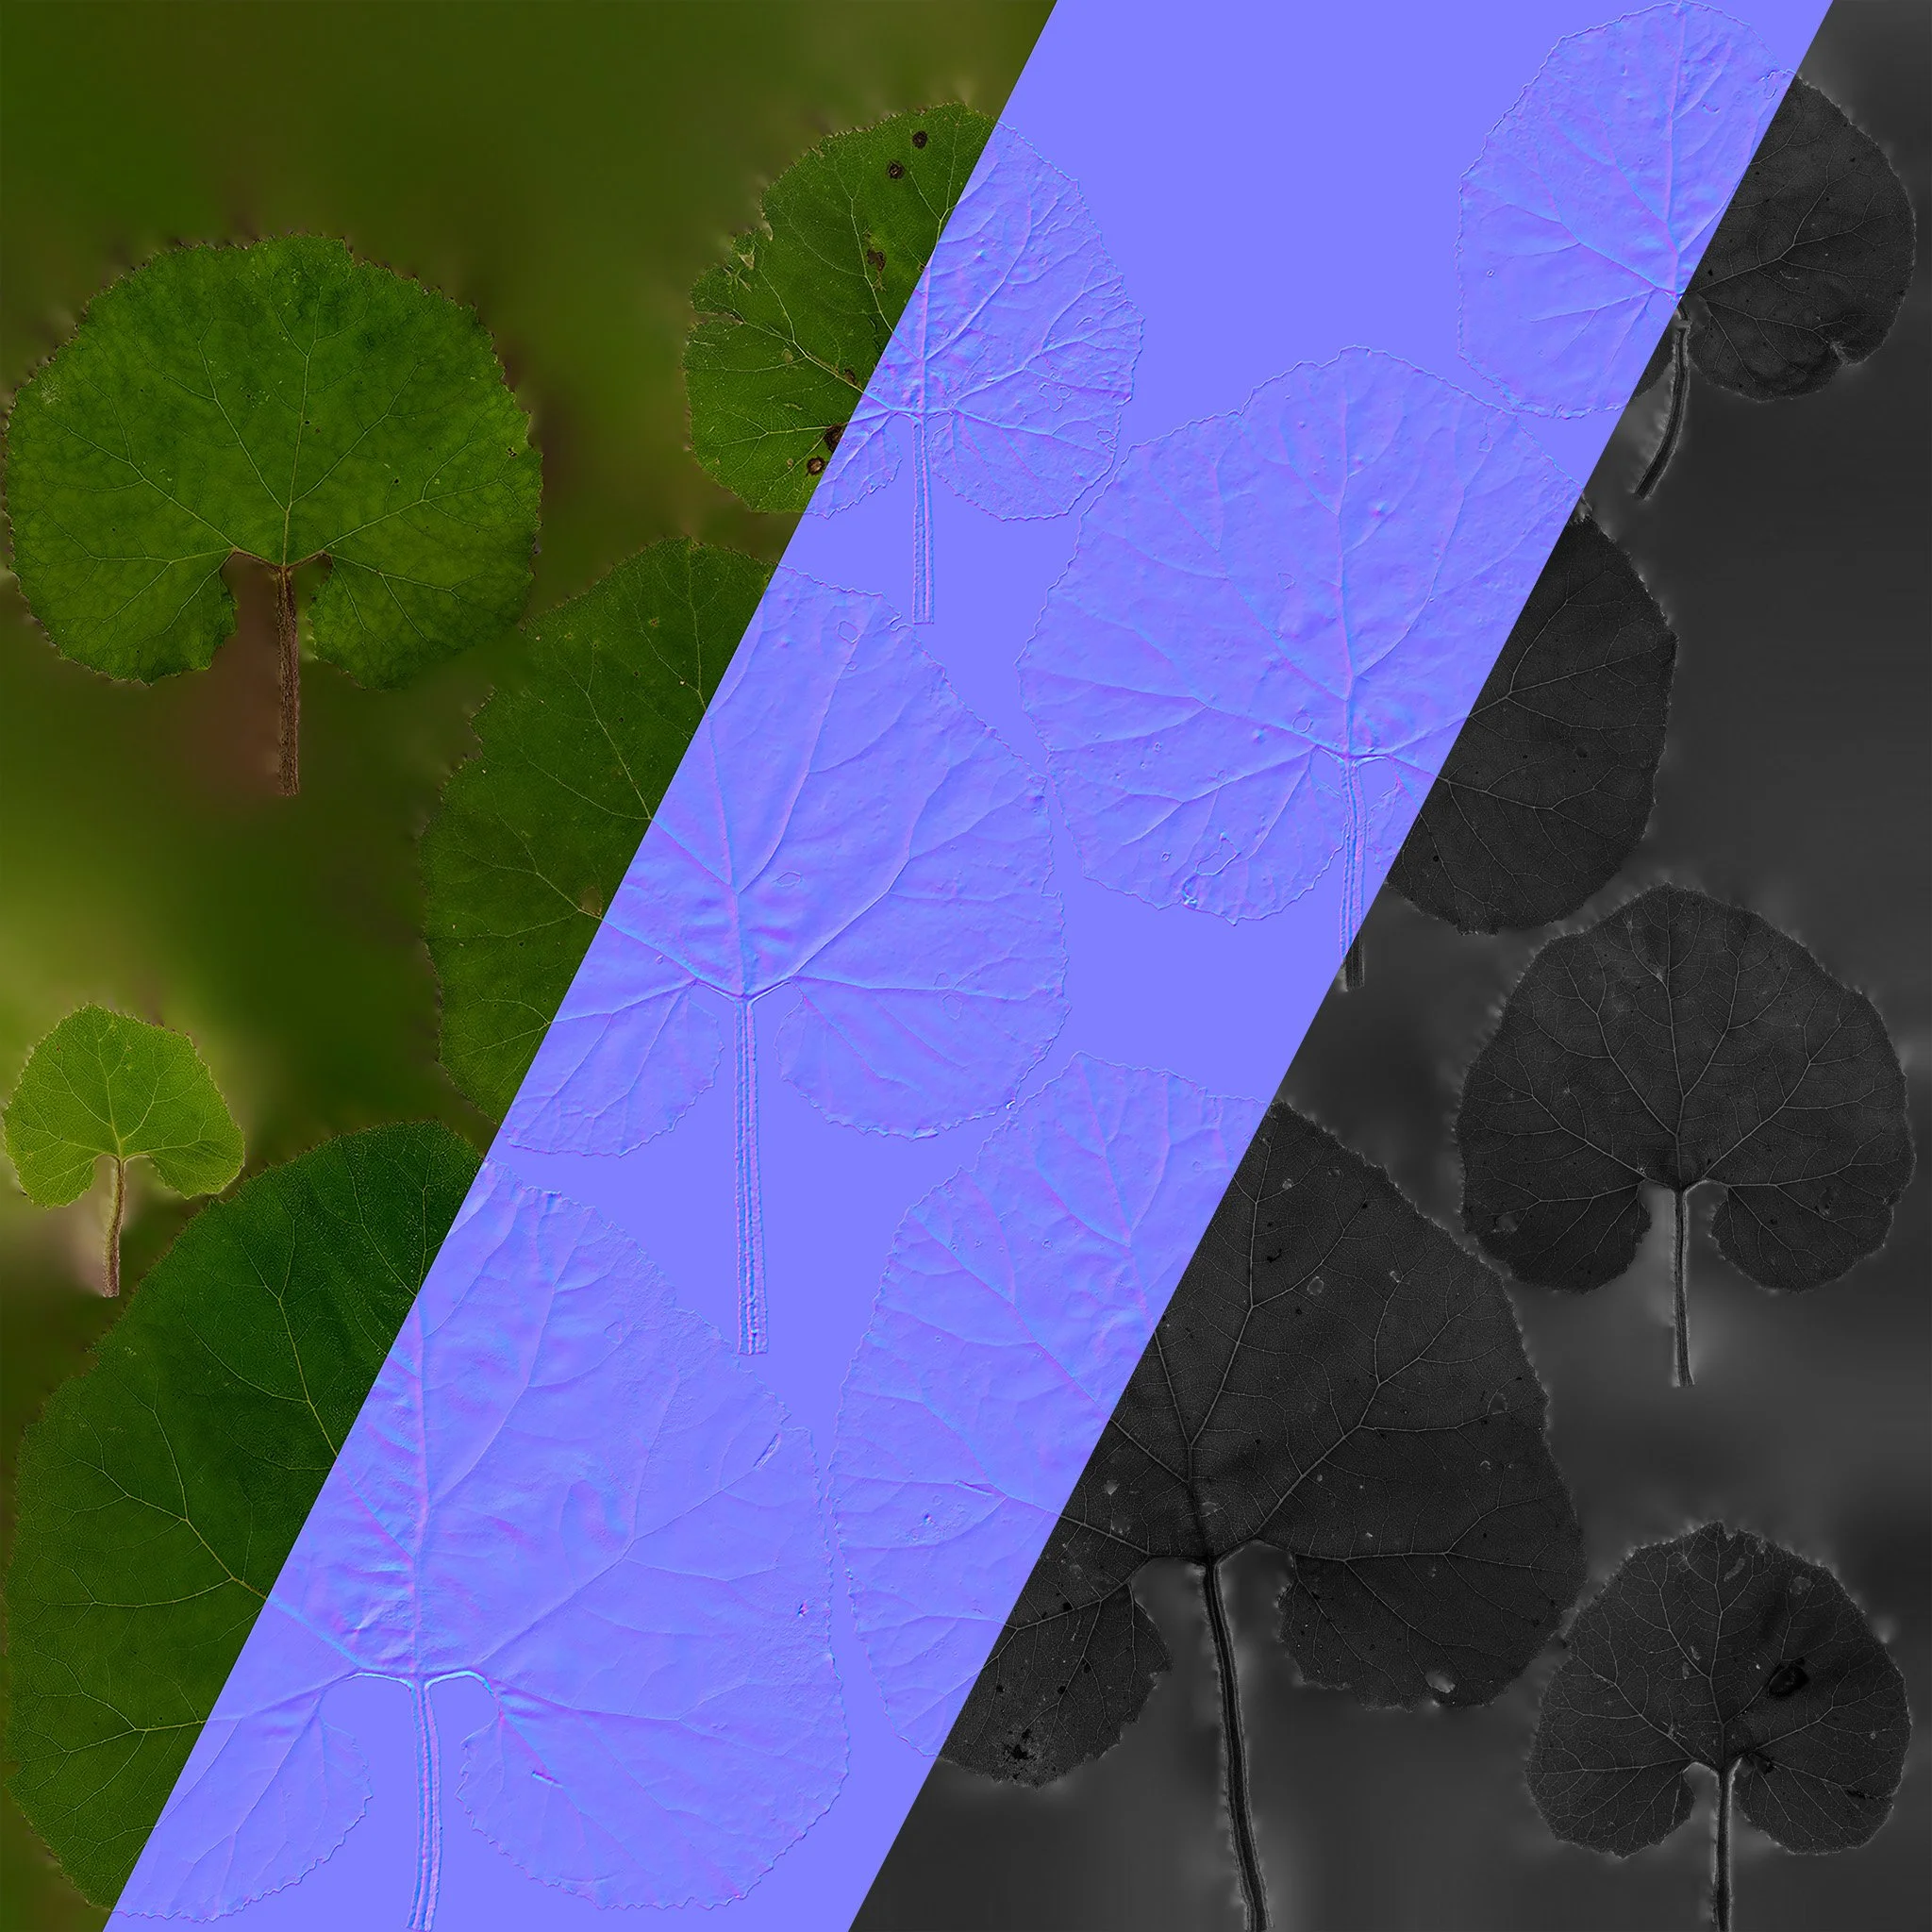
Raw mesh/Color/SSS
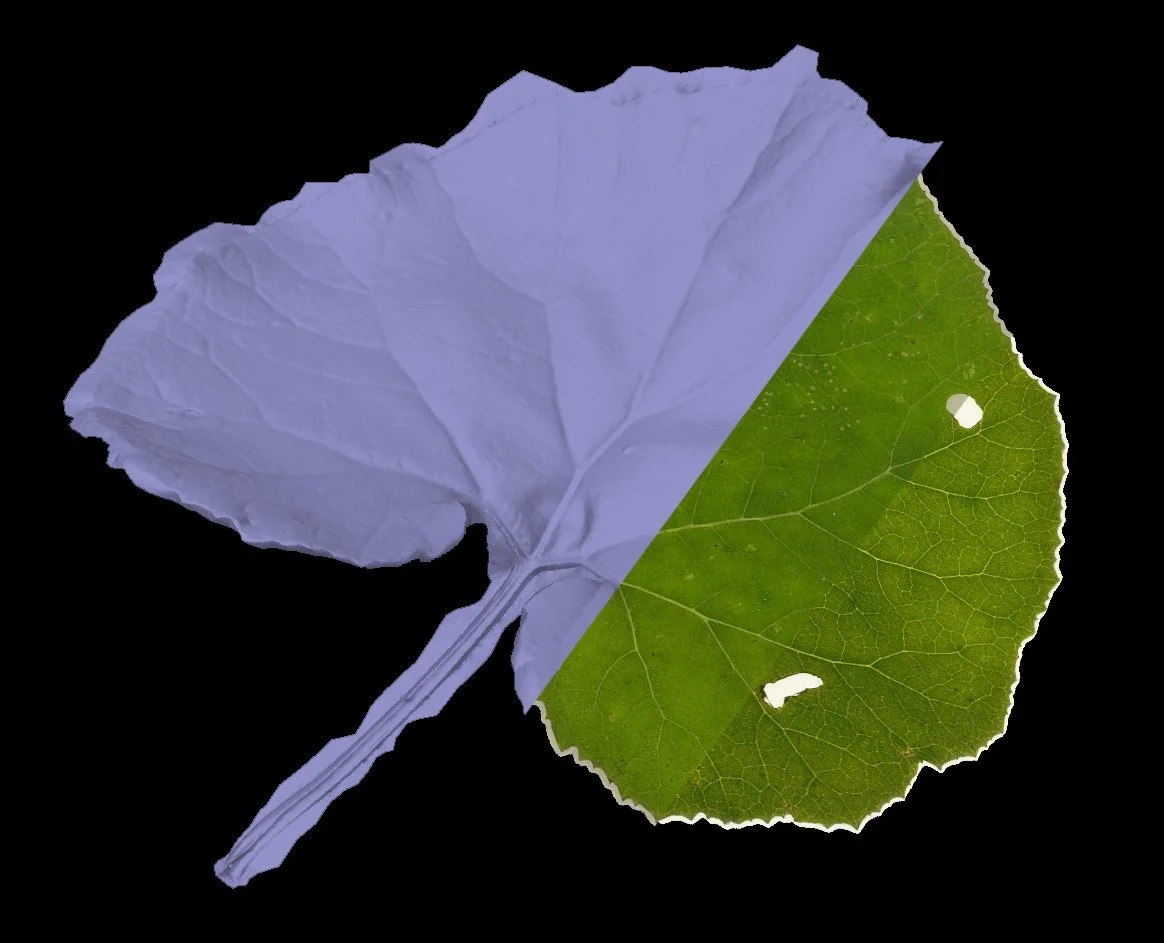
Raw mesh → remeshed
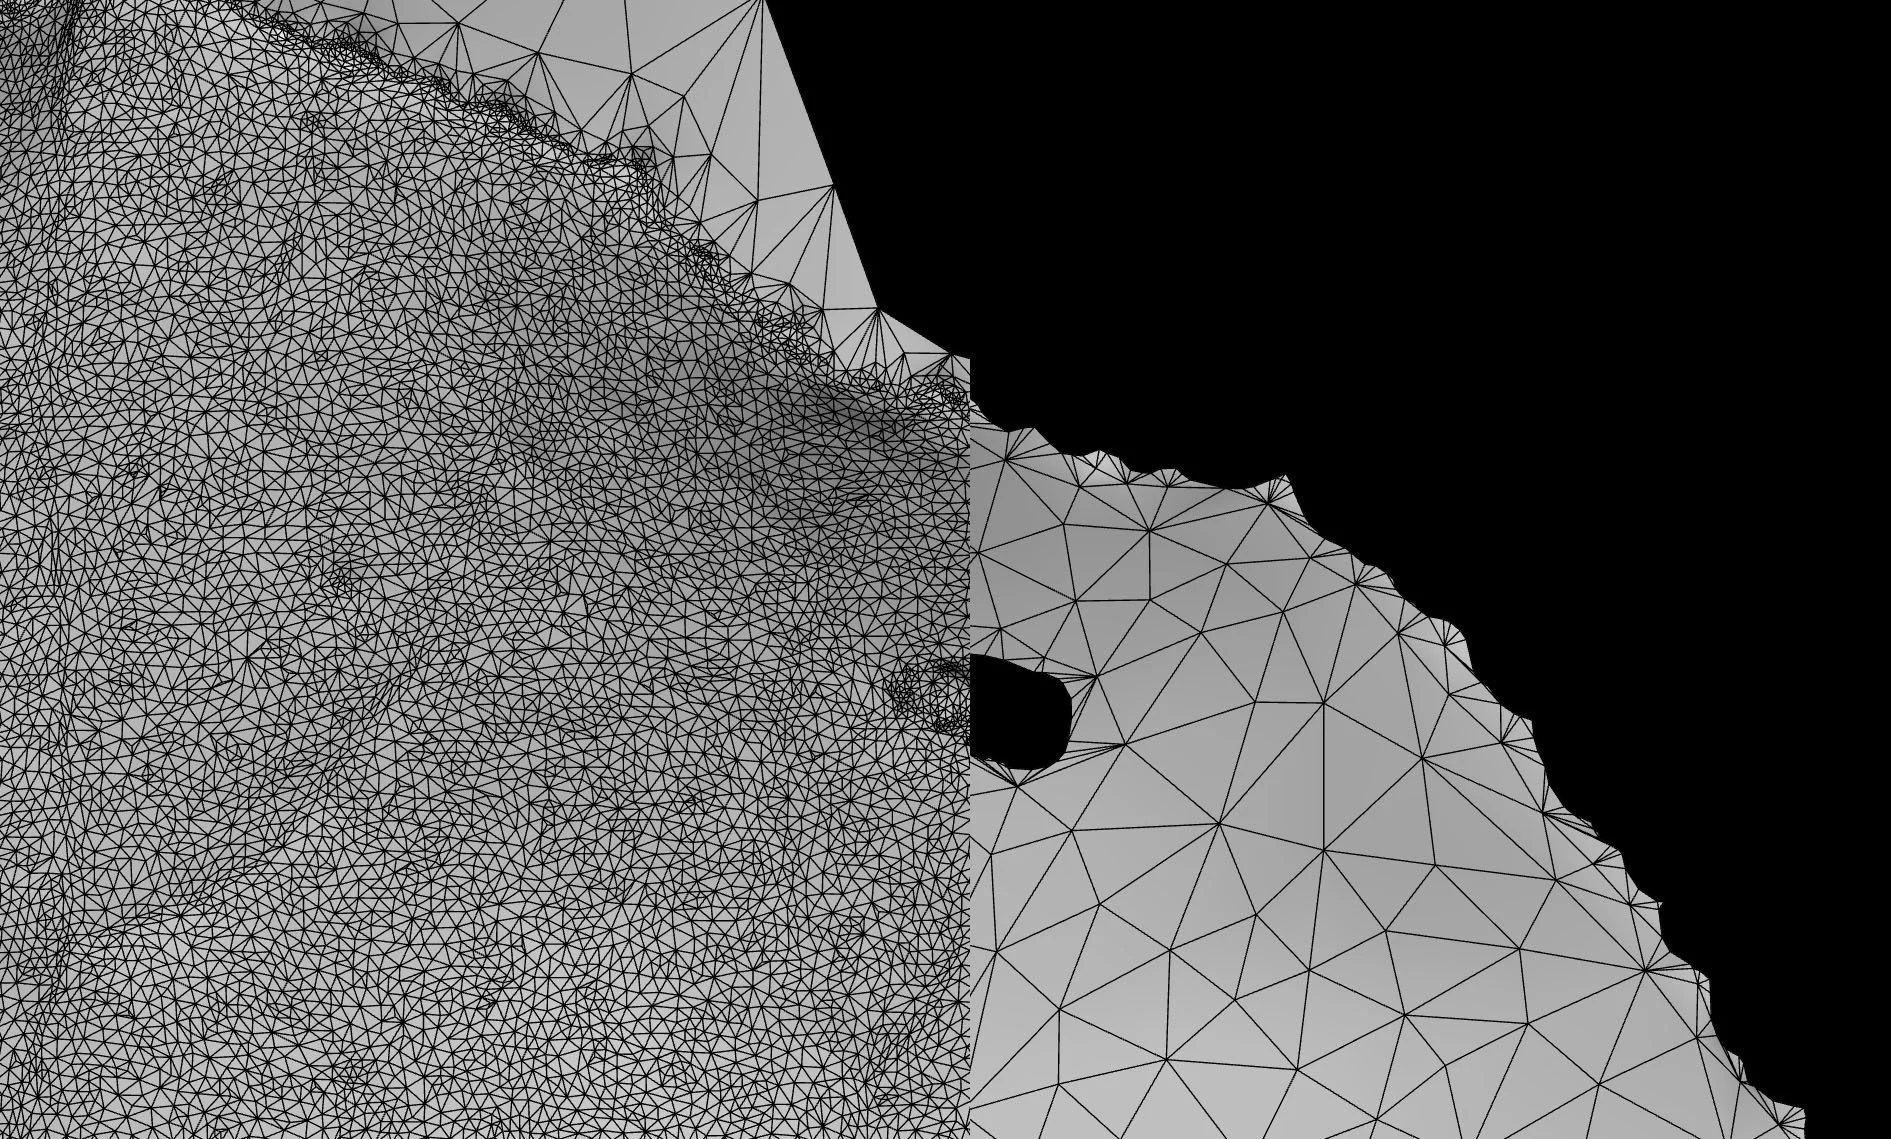
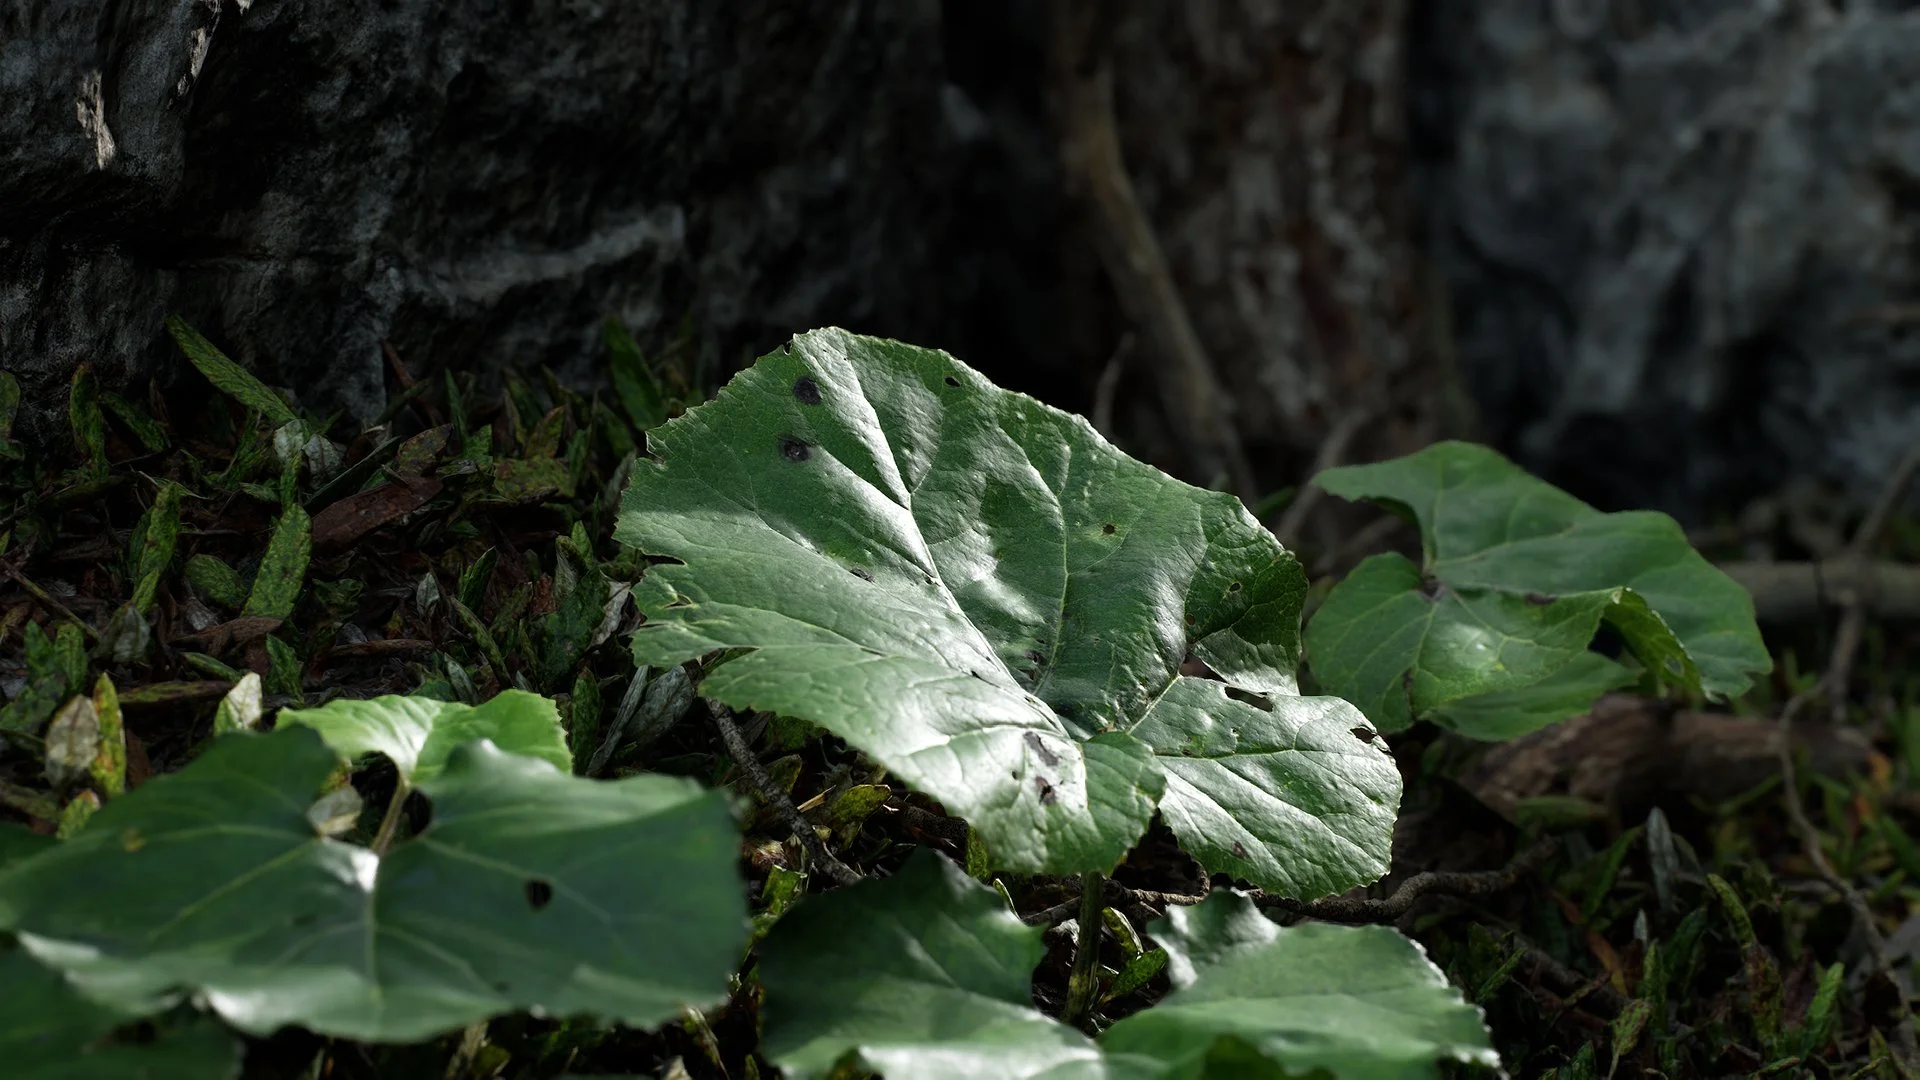
The main thing to keep in mind when remeshing is edge preservation.
Since we are are not using alpha cards, we need the edges of our cutouts to hold up to avoid blocky silhouettes on our foliage atlas geometry.
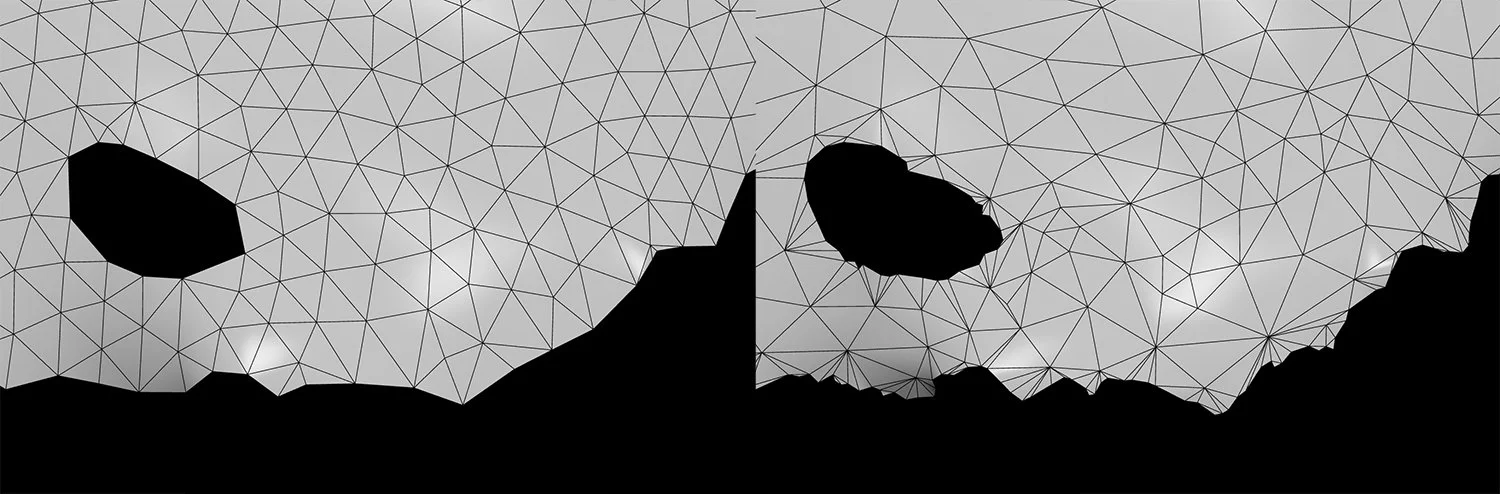
Same triangle count, much better silhouette.
There exist quite a few retopology tools/plugins that can achieve solid edge preservation. Here are a few:
1
2
3
Alpha cards still have a place and may in theory result in better performance in some cases.
It will ultimately depend on the specifics of the project.
Planning a project involving foliage? Let's have a chat!
+357 996 25 761 — 09-21 | GMT+2